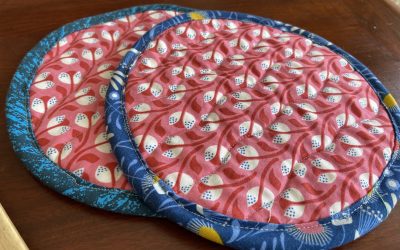
It has taken years for me to find my halloween decor groove. My kids want to see our house get festive for the holidays and I remember loving halloween stuff when I was a kid too. But the retail stuff available can be kinda ugly, right? And creepy too. So, here is my compromise! Still festive and a little spooky, but not over the top.
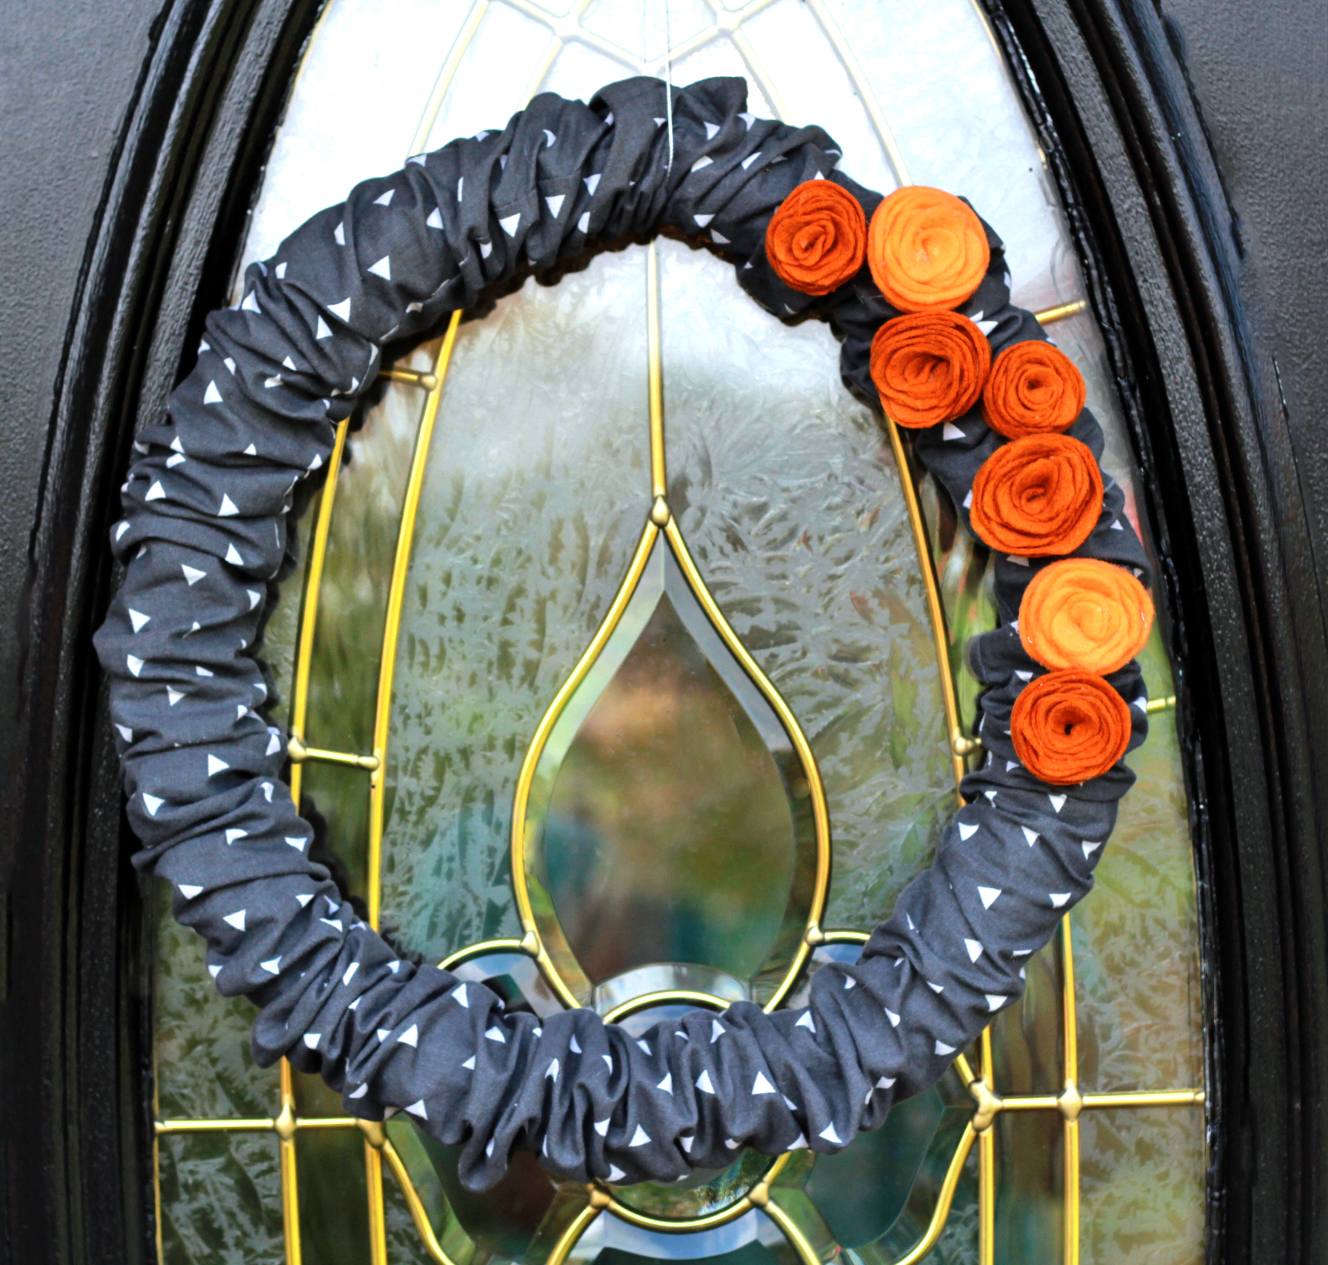
First is my new wreath! I made this by recovering my spring wreath from this video tutorial. I simply cut two 7” x WOF pieces of fabric and sewed them together to make an 7” x approx 84” piece of fabric. Then I sewed it right sides together to make a long tube. I turned it inside out and covered my wreath just like in the video. Very easy!
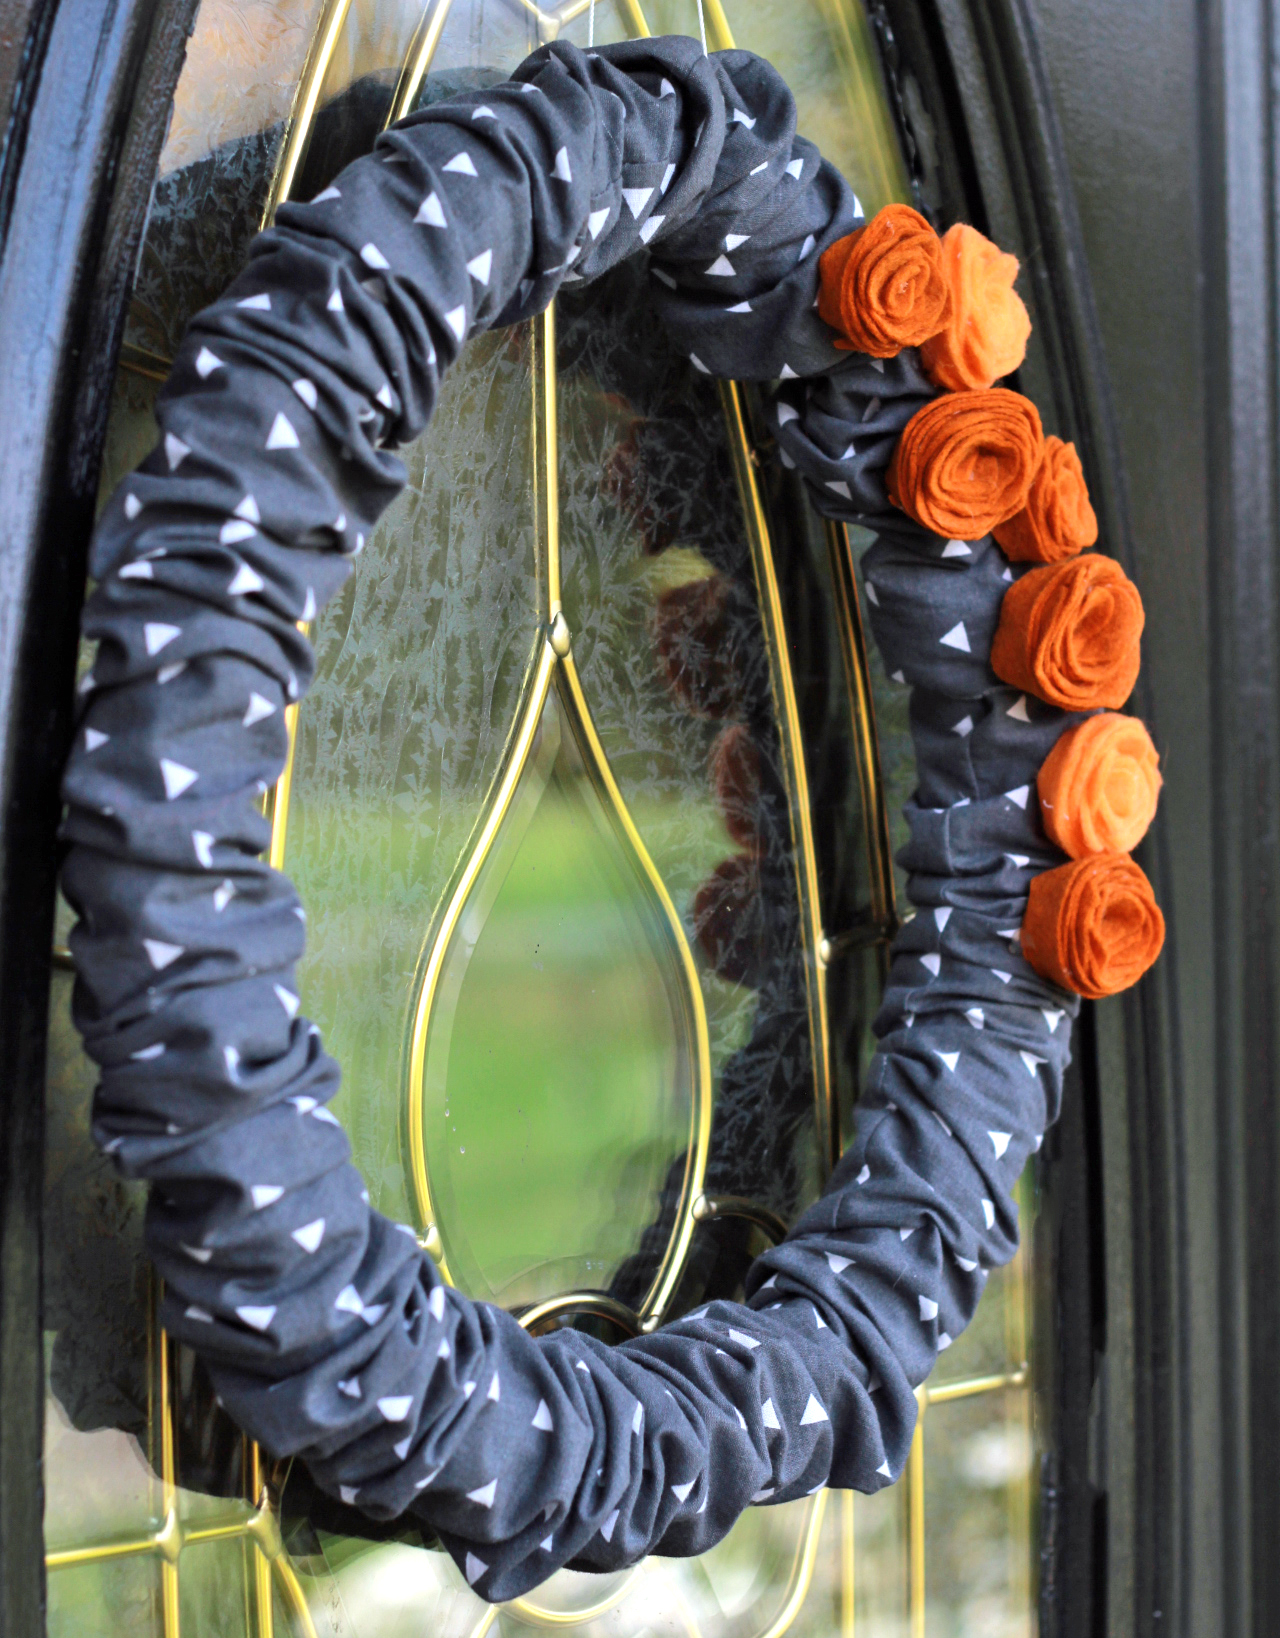 The flowers are 2 colors of orange wool felt. These types of felt flowers are very easy to make! I used the method described here. I usually make my cuts kinda wavy to add more imperfection to the flower if that makes sense.
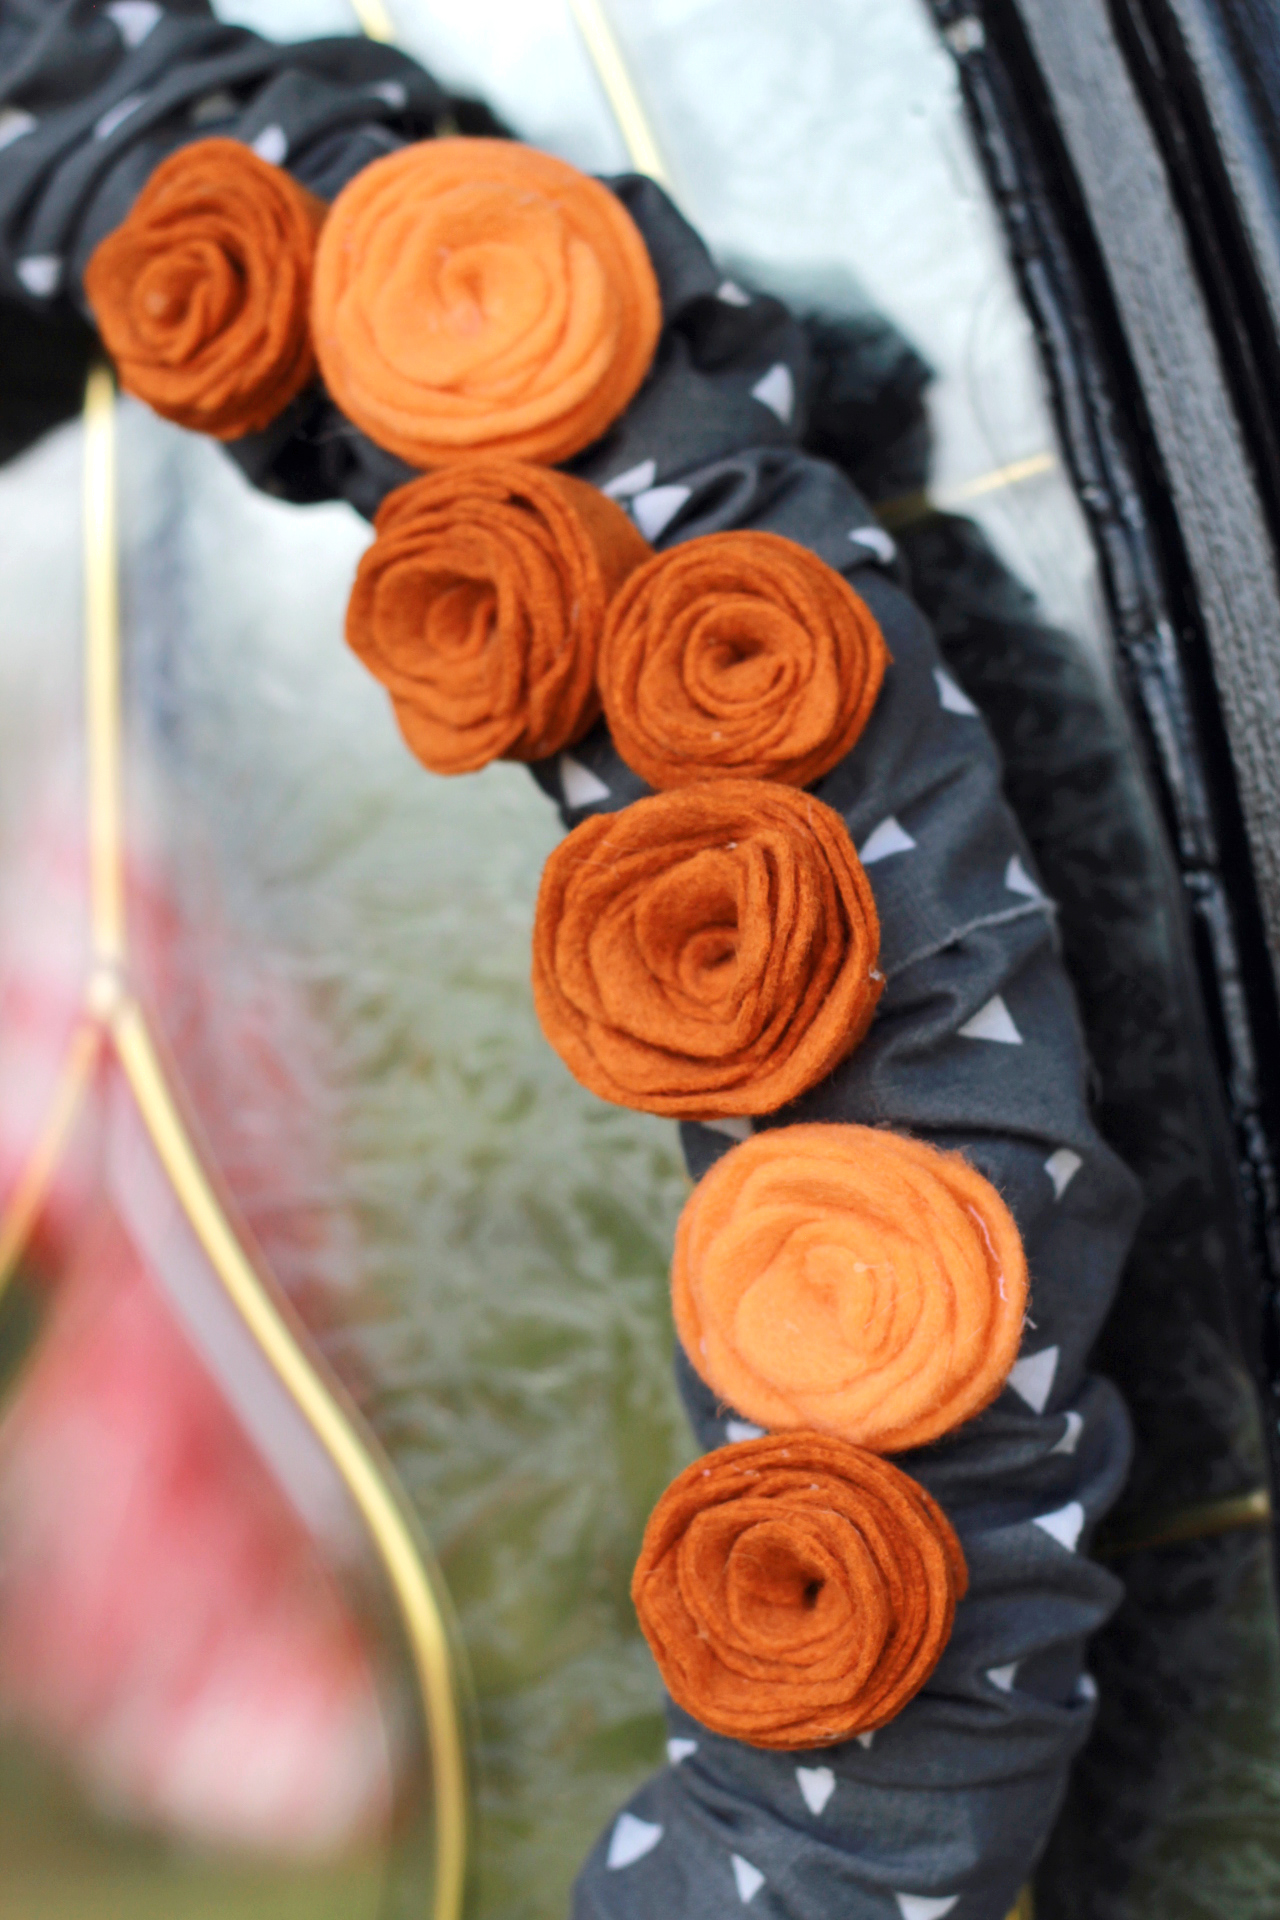 I love the simple gathered wreath and felt flowers look. Not too much and still festive! Here is a quick photo tutorial for making the flowers. You can read that link above for more detailed info on making the flowers.
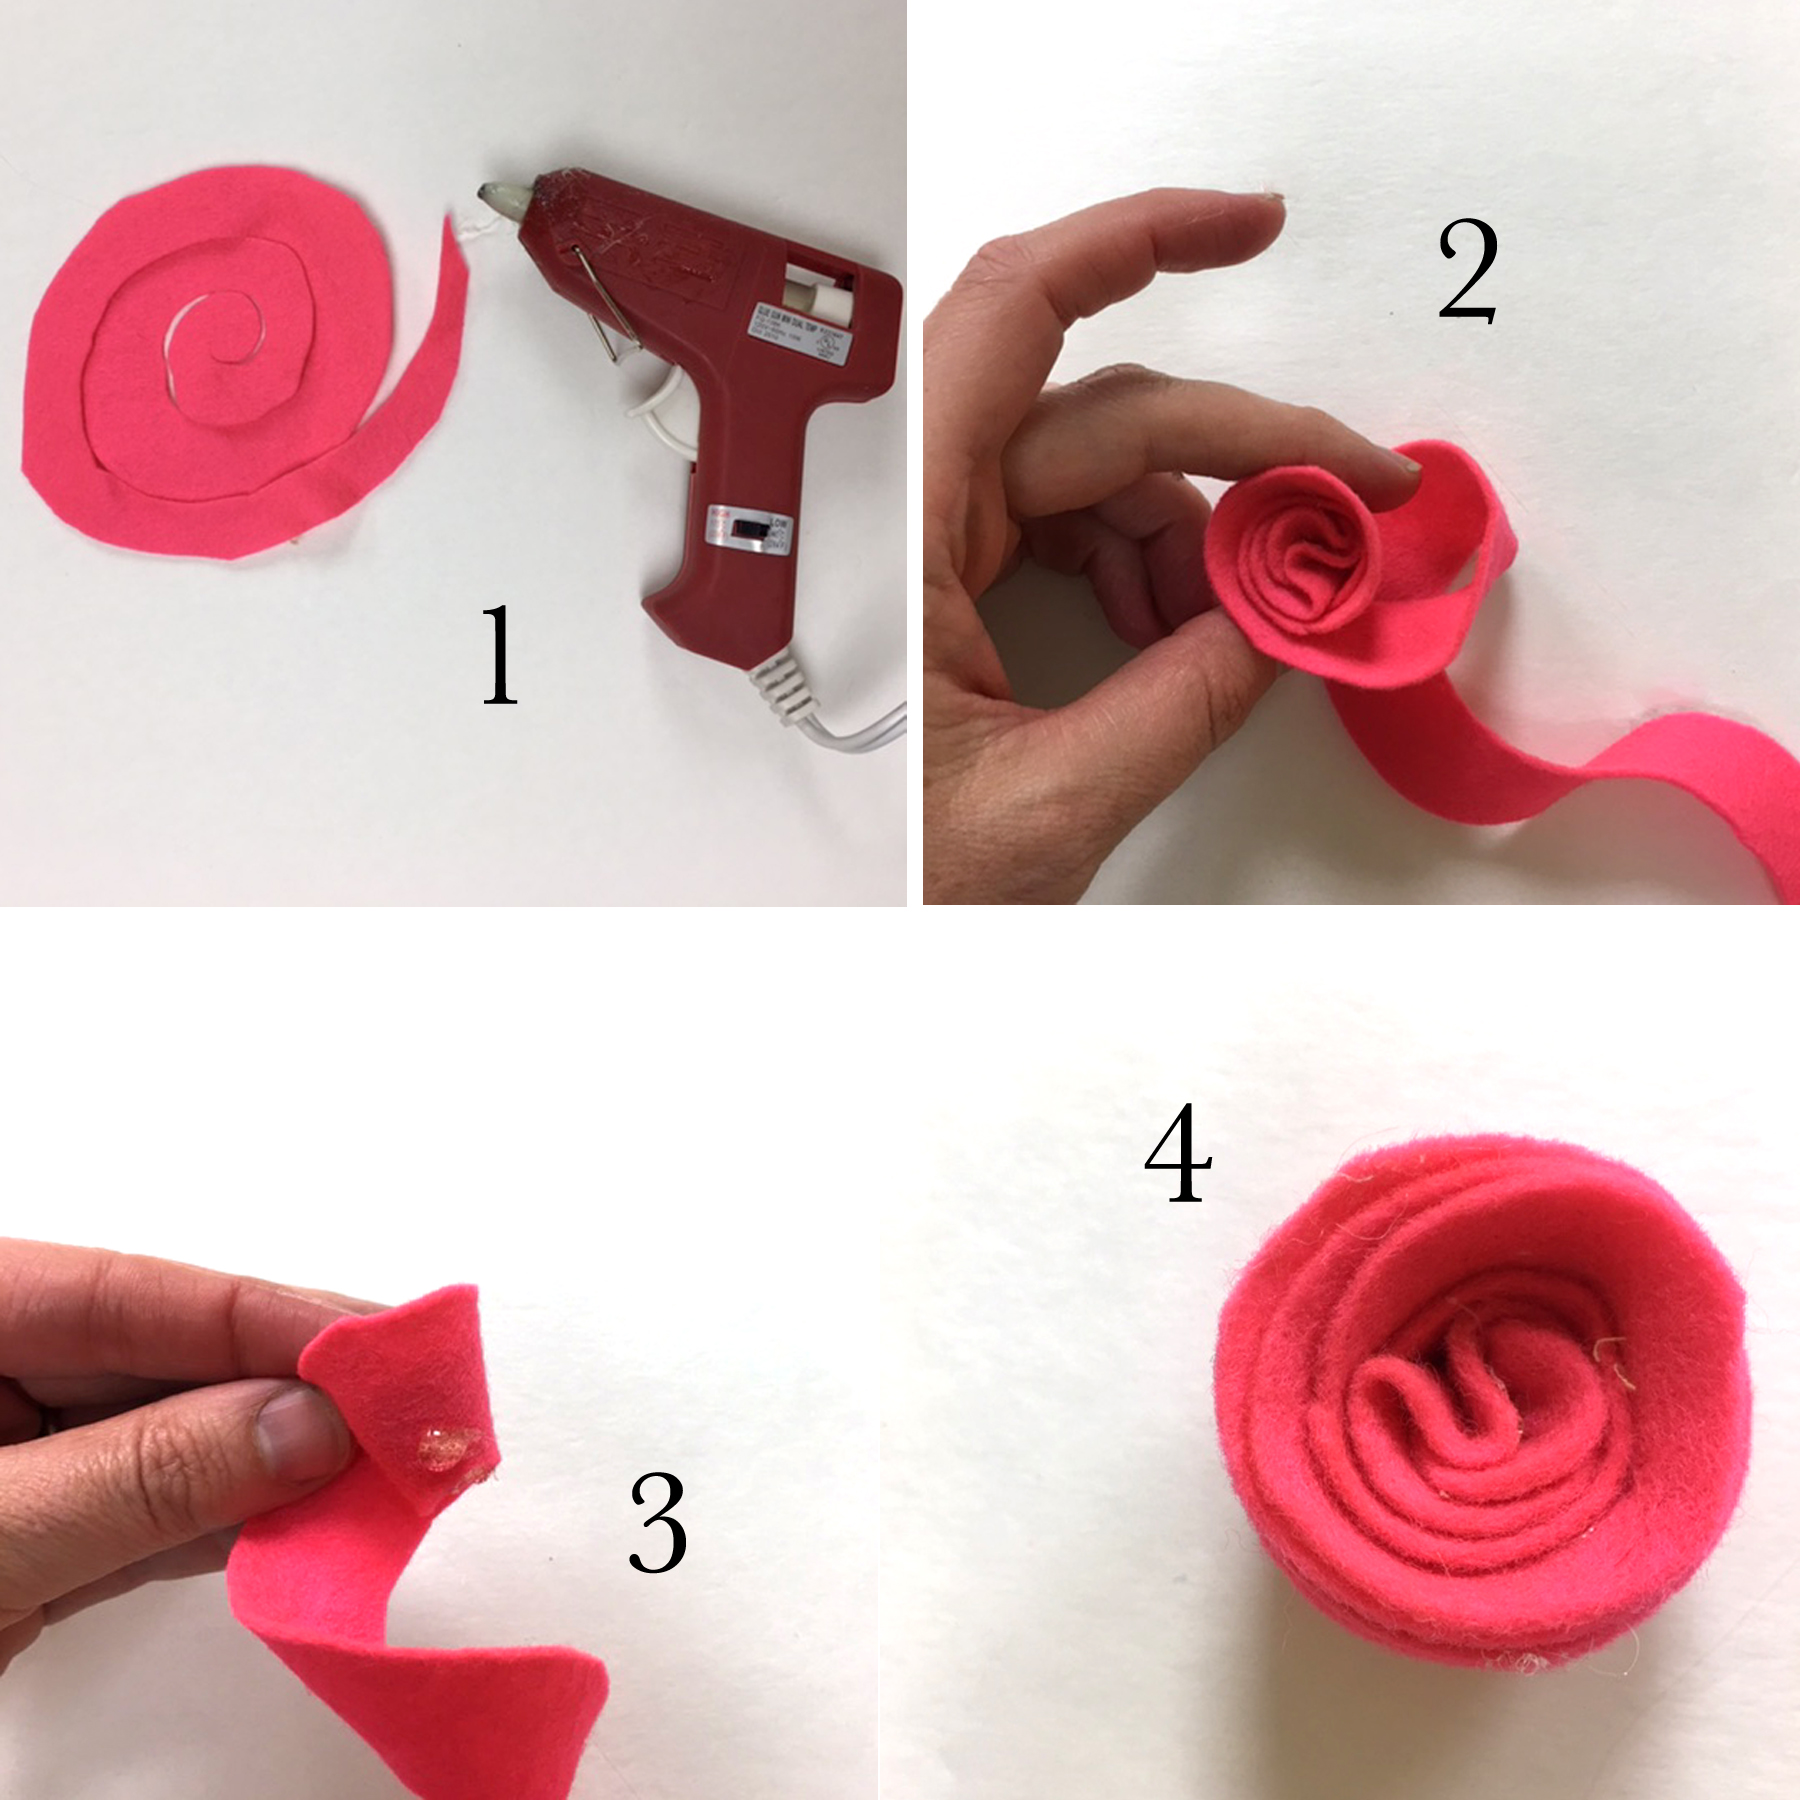 Don’t worry, I did get a little spooky for the kids ! A couple of years ago I made these ghosts to fit over my front door lights. Aren’t they fun? The kids love them so much and they are so excited to come home from school to see them up.
 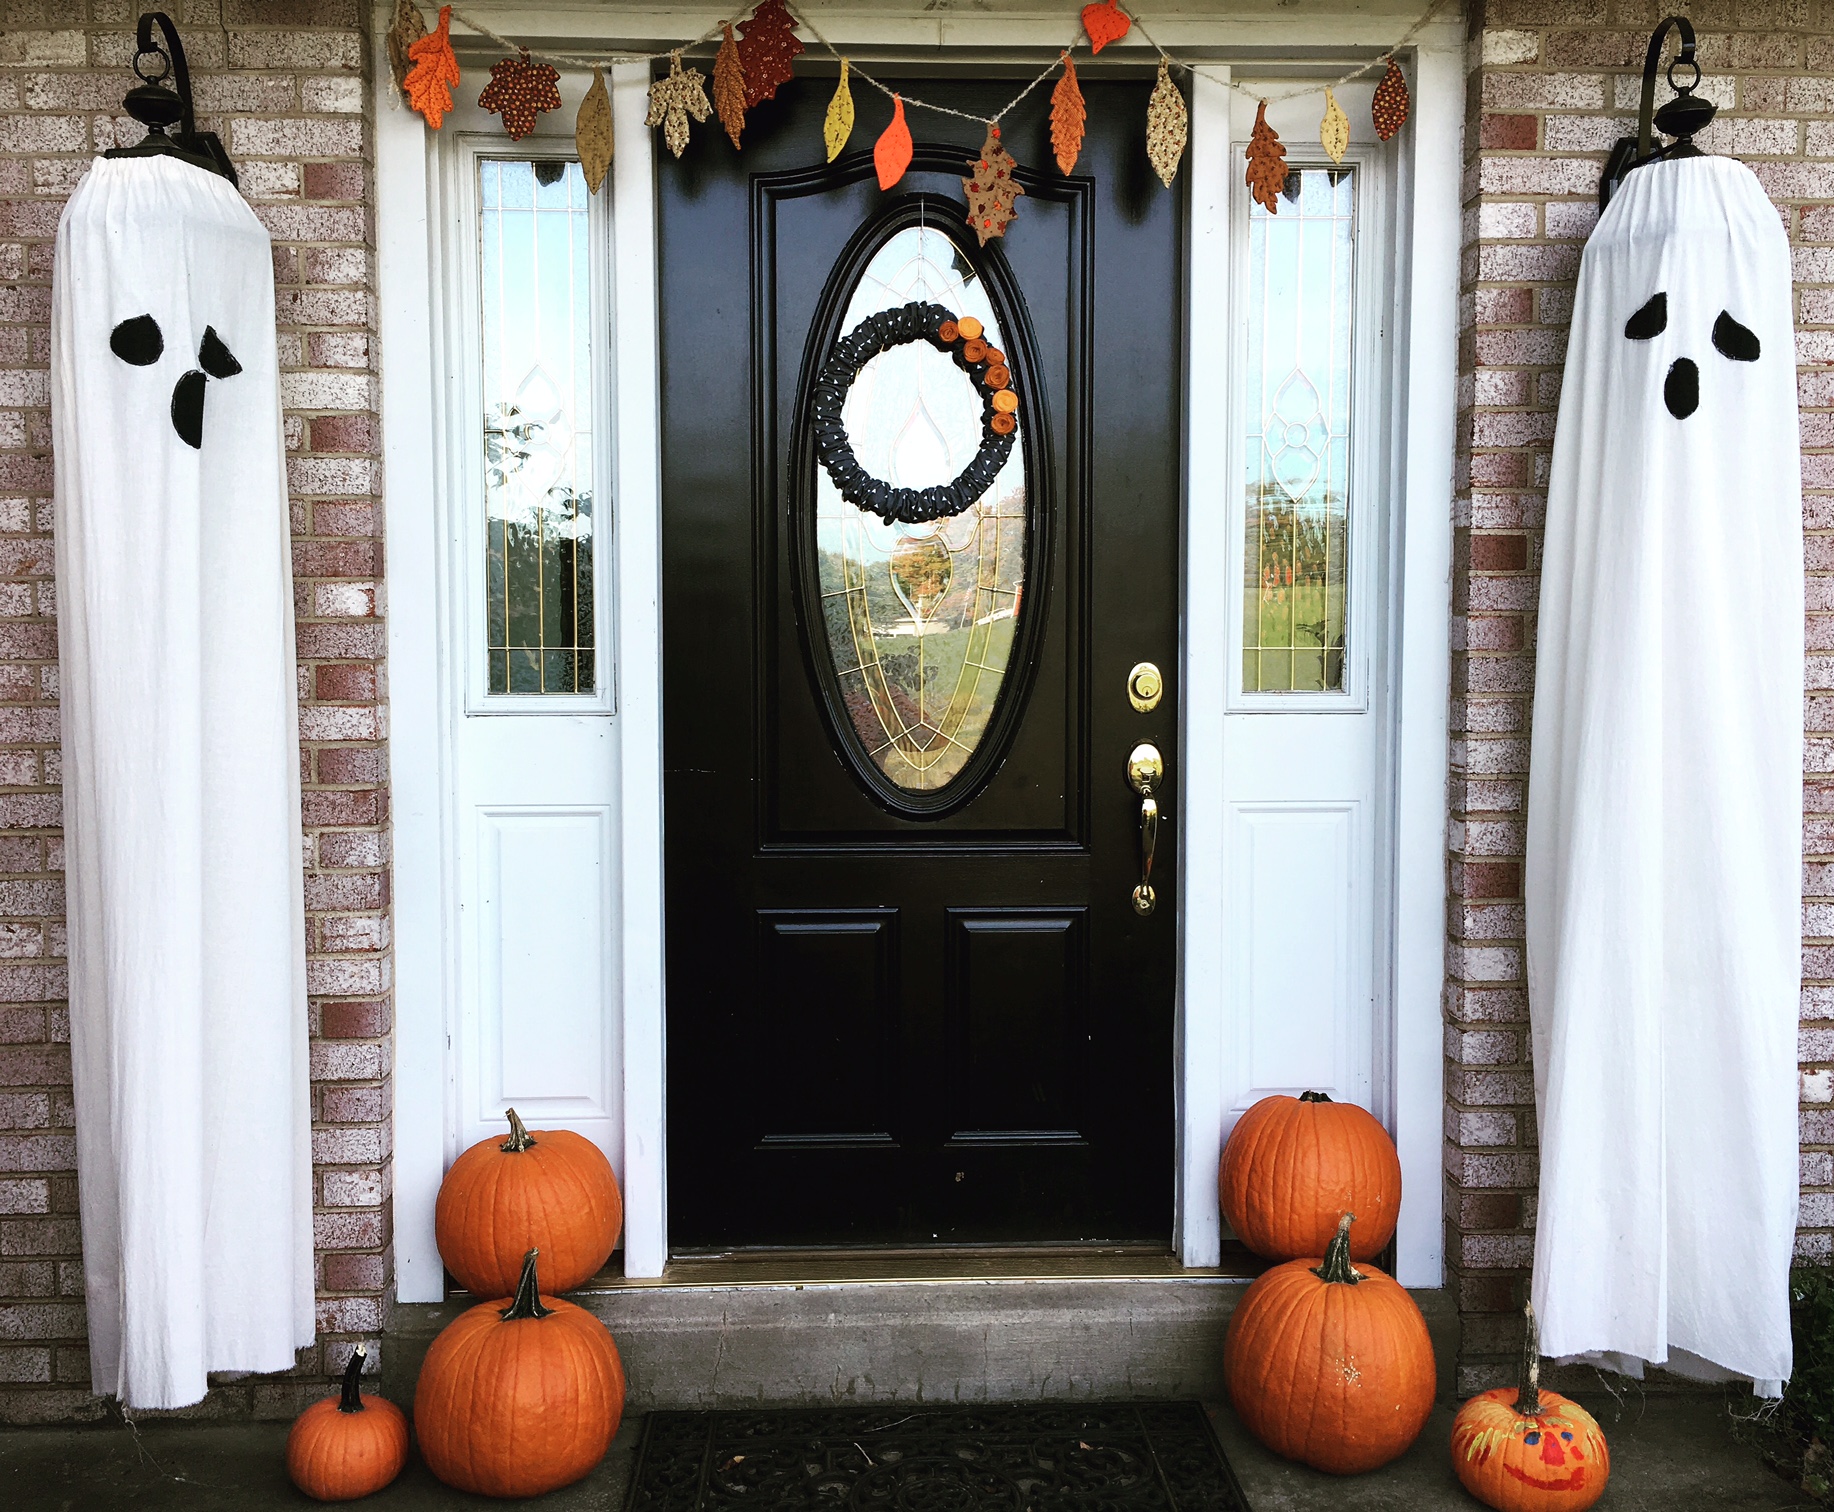 And they are SUPER easy to make. I measured how far it is the from the top of the lights (where the glass starts) and down to the ground. Then I added 1.5” for the casing on top. I used the WOF and made a large tube by sewing the piece right sides together. I just used inexpensive muslin fabric that was about 42” wide. With the height of my lights and front door, I bought 6 yards of fabric for both lights.
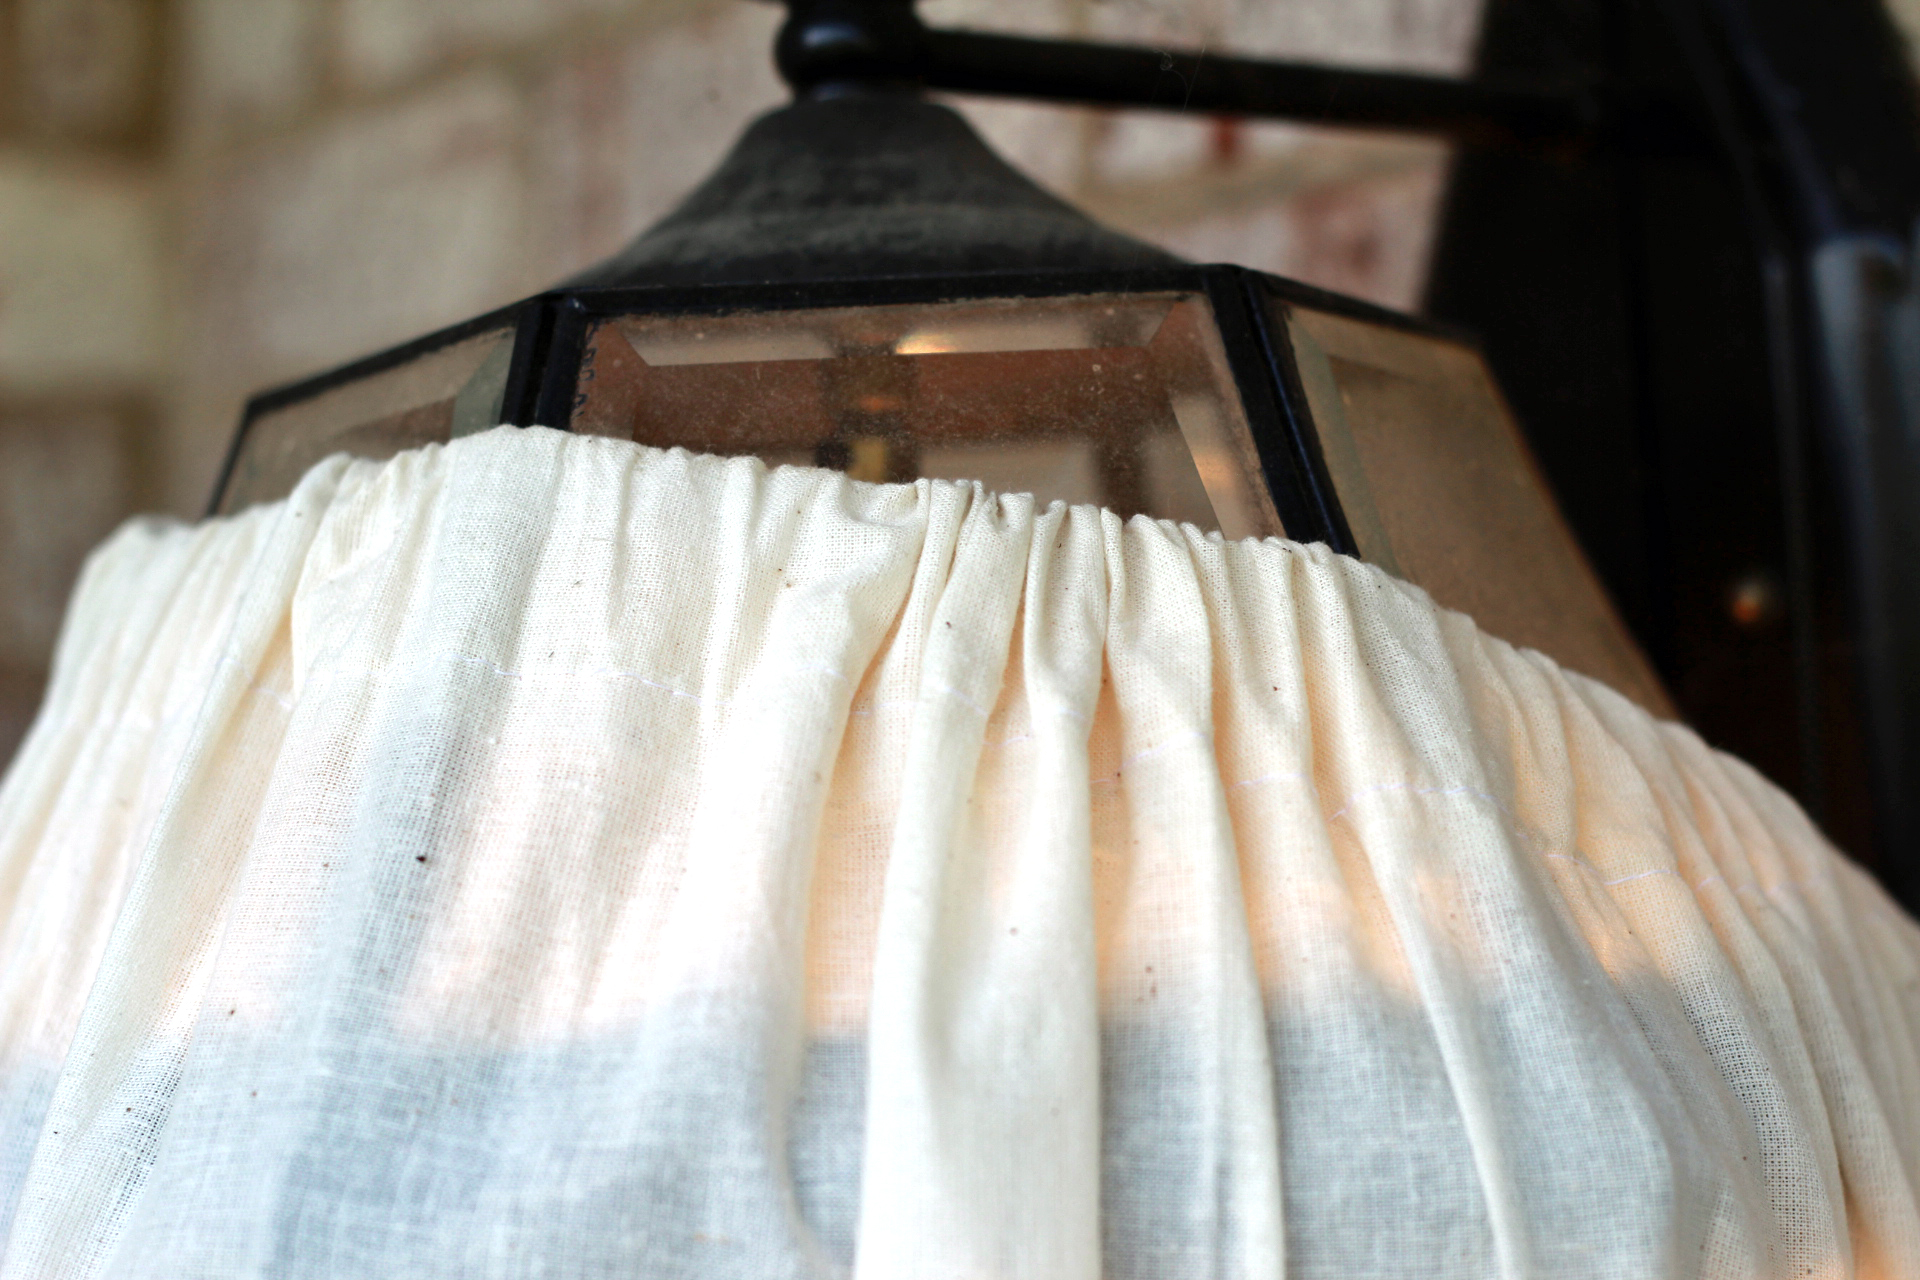
I used 3/4” wide elastic. When I sew a casing like this, I use this classic method. Very simple and easy! You can see from the photo below that the fabric does not fit over the light entirely. It doesn’t matter! It will still look great.
 Making the face is easy too. Simply draw a face that you like on a piece of paper. Cut out shapes to make pattern pieces. Use pattern pieces to cut out shapes on the black material. Then use black thread to sew the face onto your ghost. I did mine backwards and then cut the white fabric away since I didn’t have any black thread. It was more complicated! But you can do that method too if you would like.
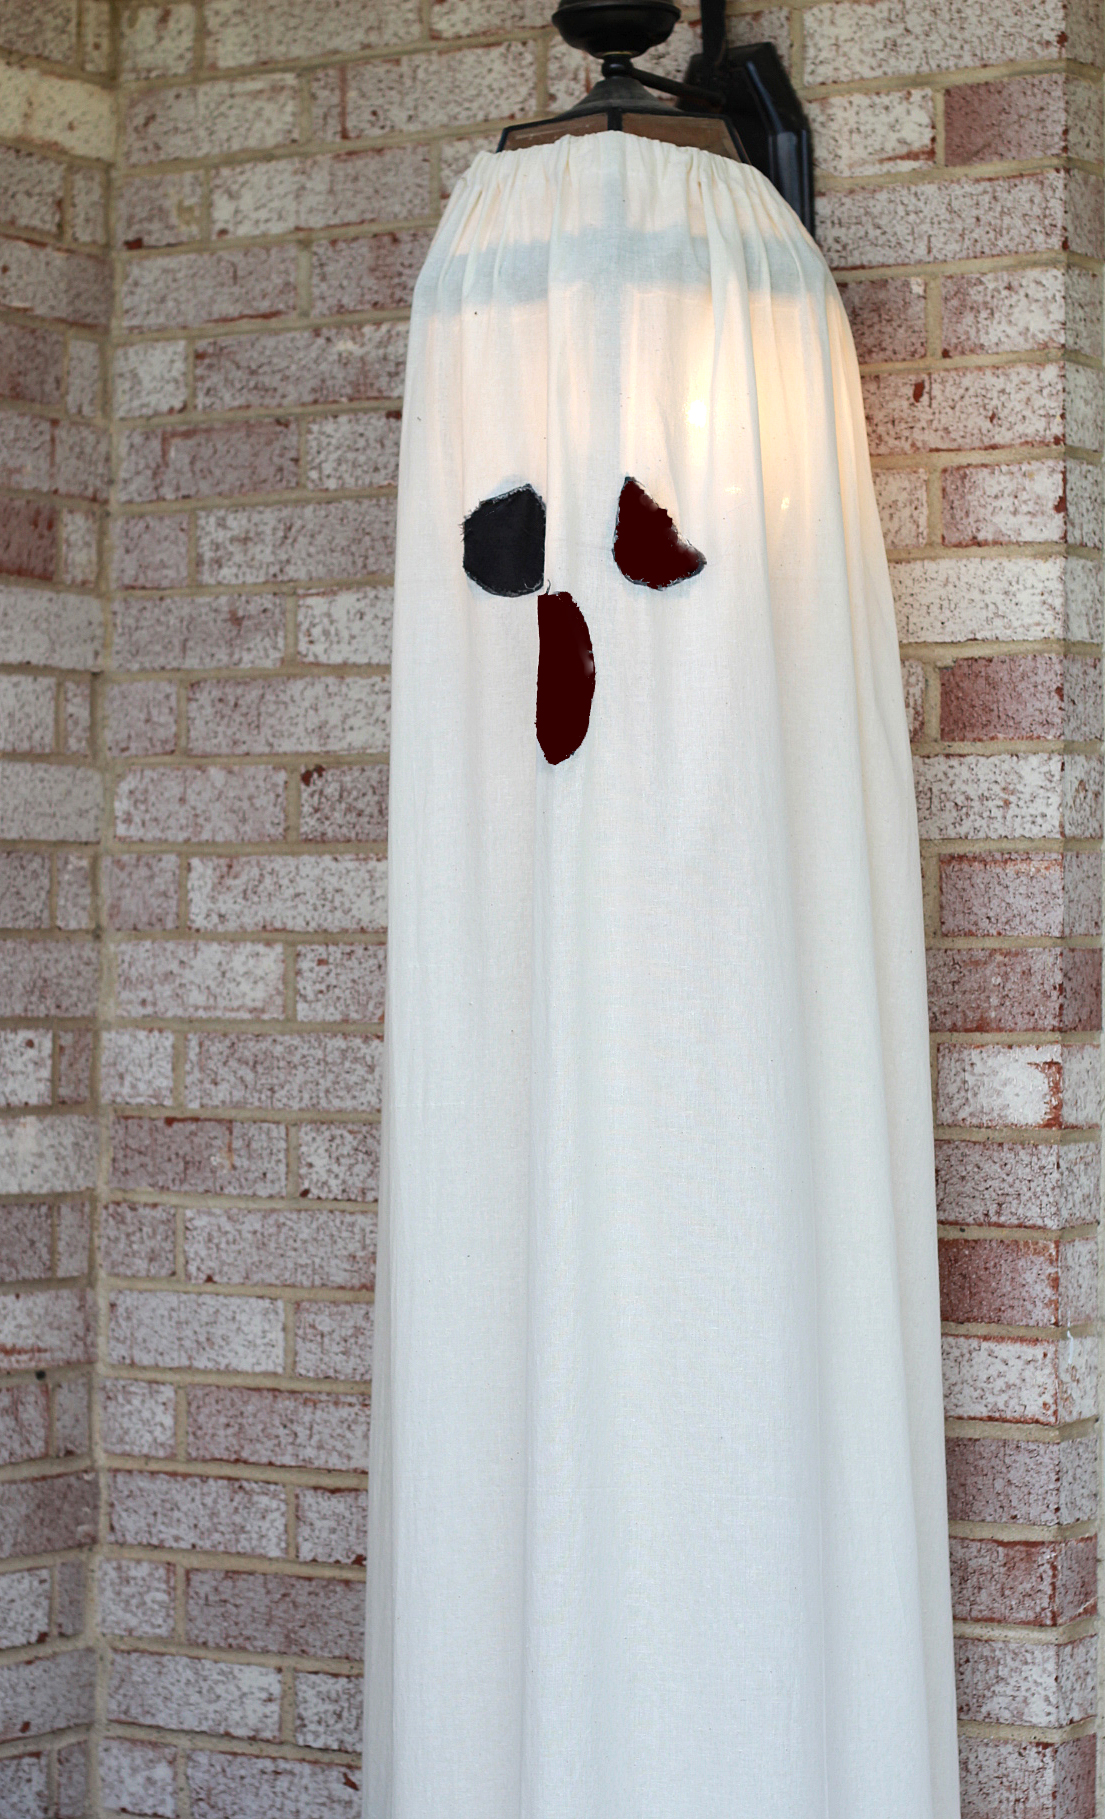 Voila! Ghosts! I just fold them up and put them away in a drawer after Halloween. Once last look at the wreath before we go 🙂
 I would love to see your halloween inspired front doors! Send me a photo or post on the gingercake facebook page!
And here is another link to the wreath video I made~