I really like the dimensions of the day off backpack. Big enough to carry my things but not so huge that things get lost! A few weeks ago, before we left for Colorado, I made a winter tote version of the backpack that I love using everyday.
 I have discovered that a tote is better for me to use everyday than a backpack. The backpacks I save for special excursions- to the pool, on a hike, etc. The tote I can use for carrying just my wallet and a few essentials, and then add everyone’s extra mittens and library books if needed!
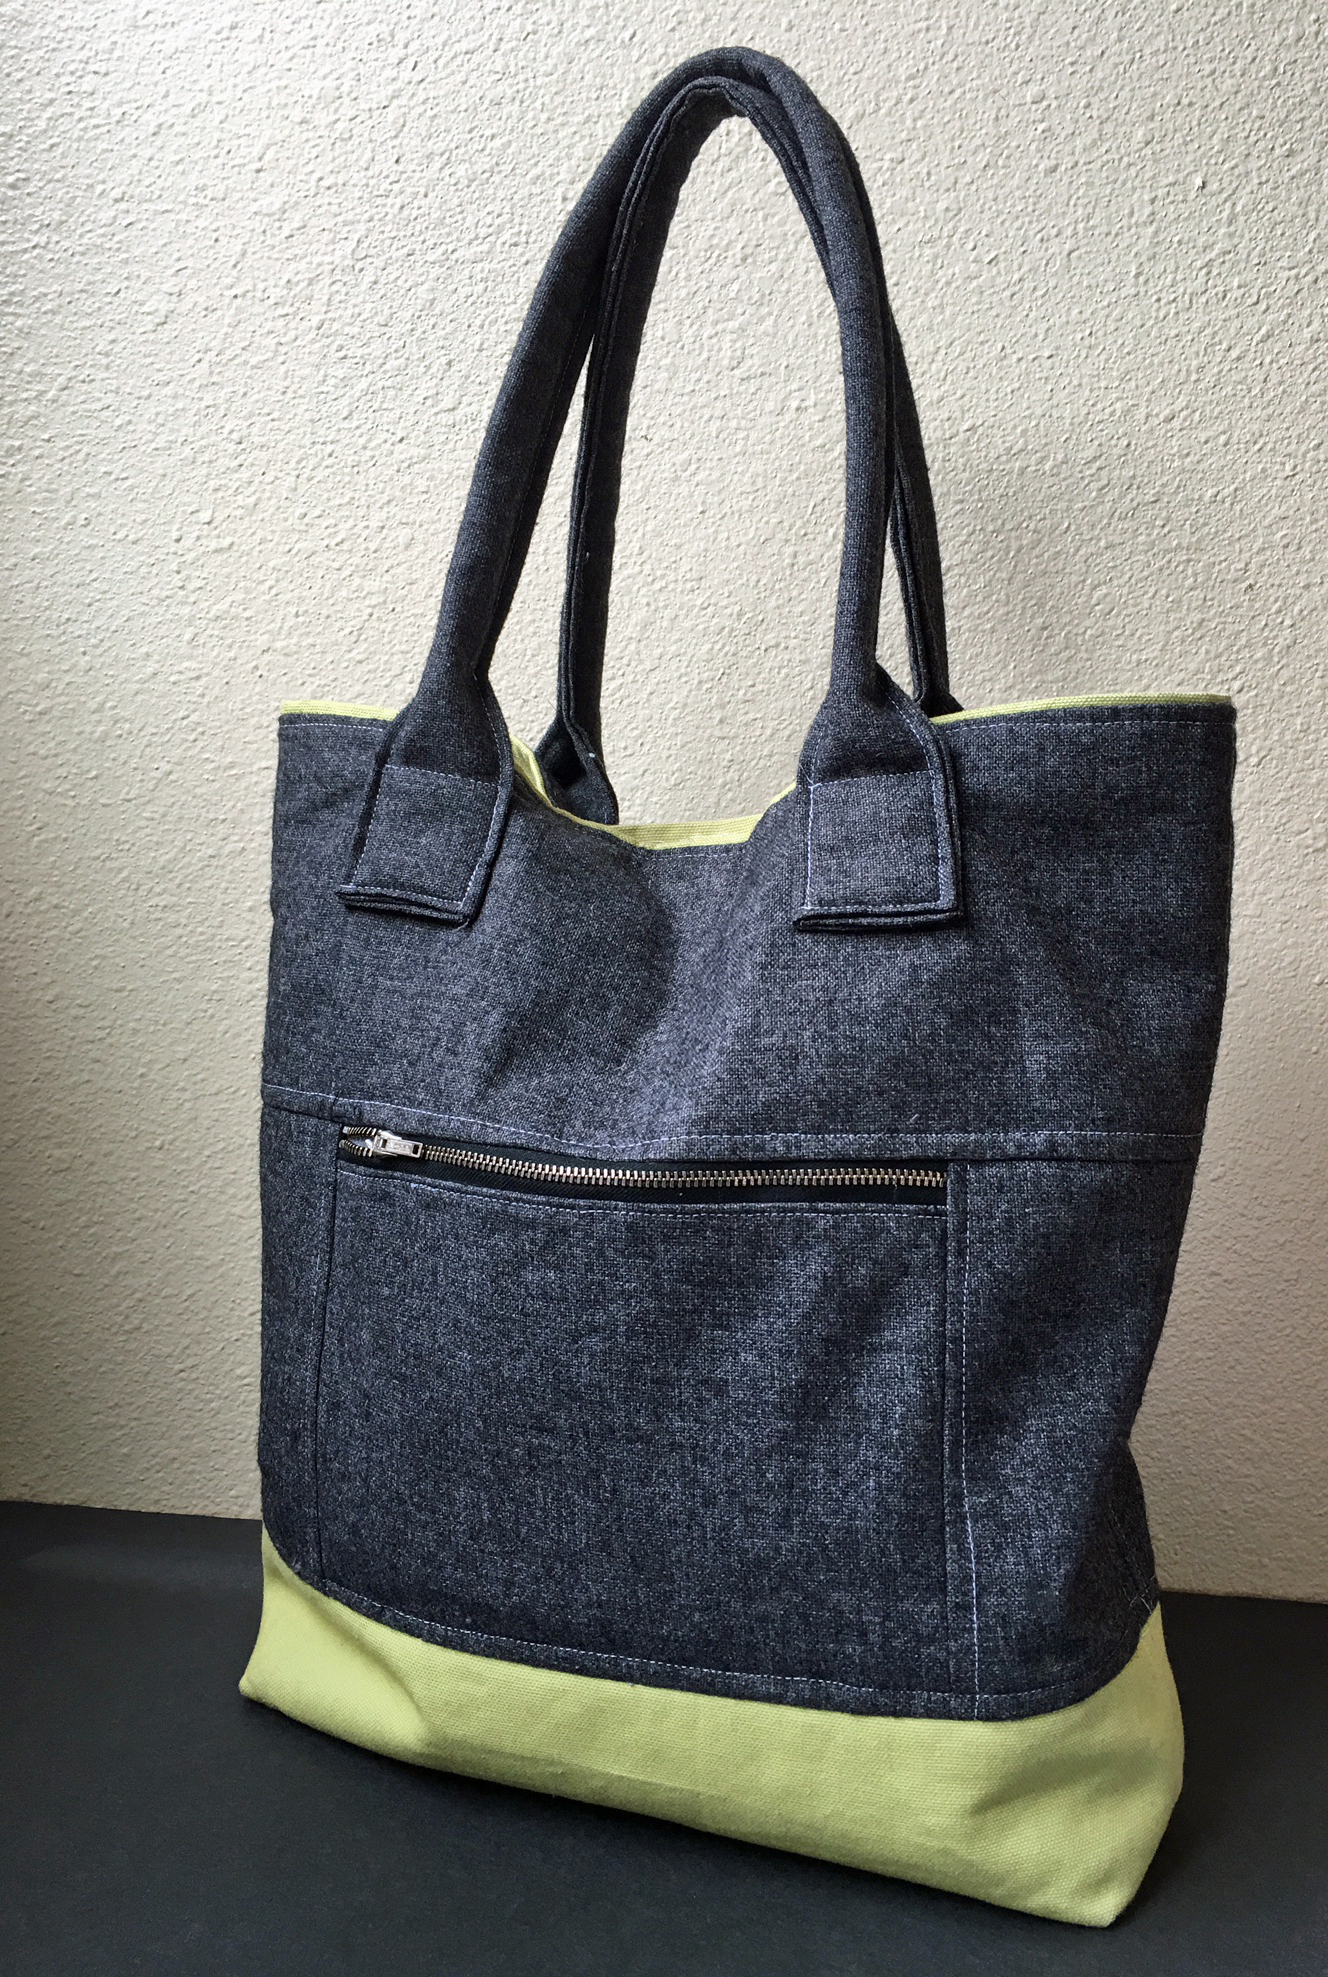
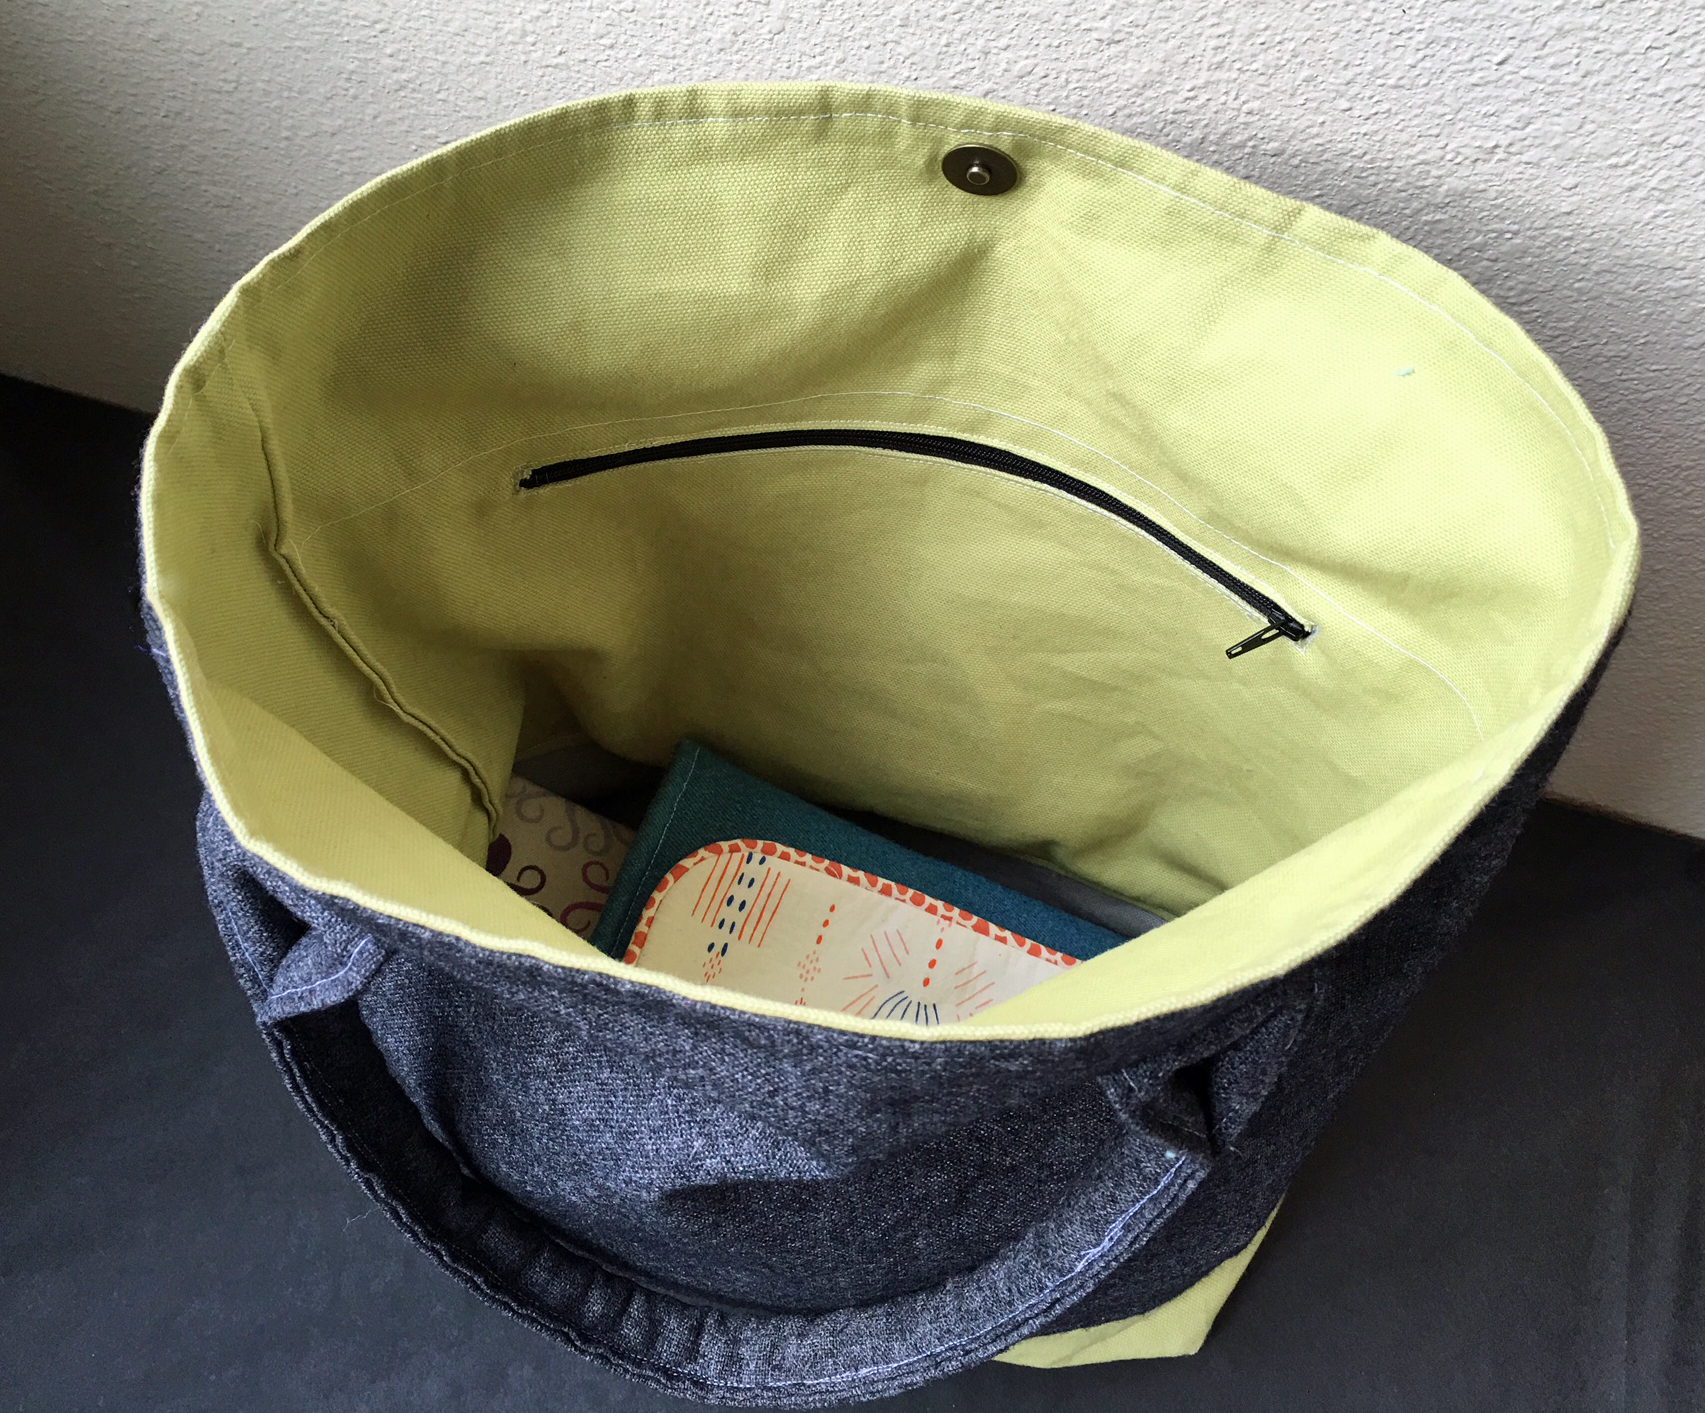 For this tote, I added a zipper pocket to the interior using this technique which is nice for those things you don’t want just floating around in the bottom of your bag! The fabrics used are a black wool suiting for the exterior and a lime green duck cloth for the base and lining.
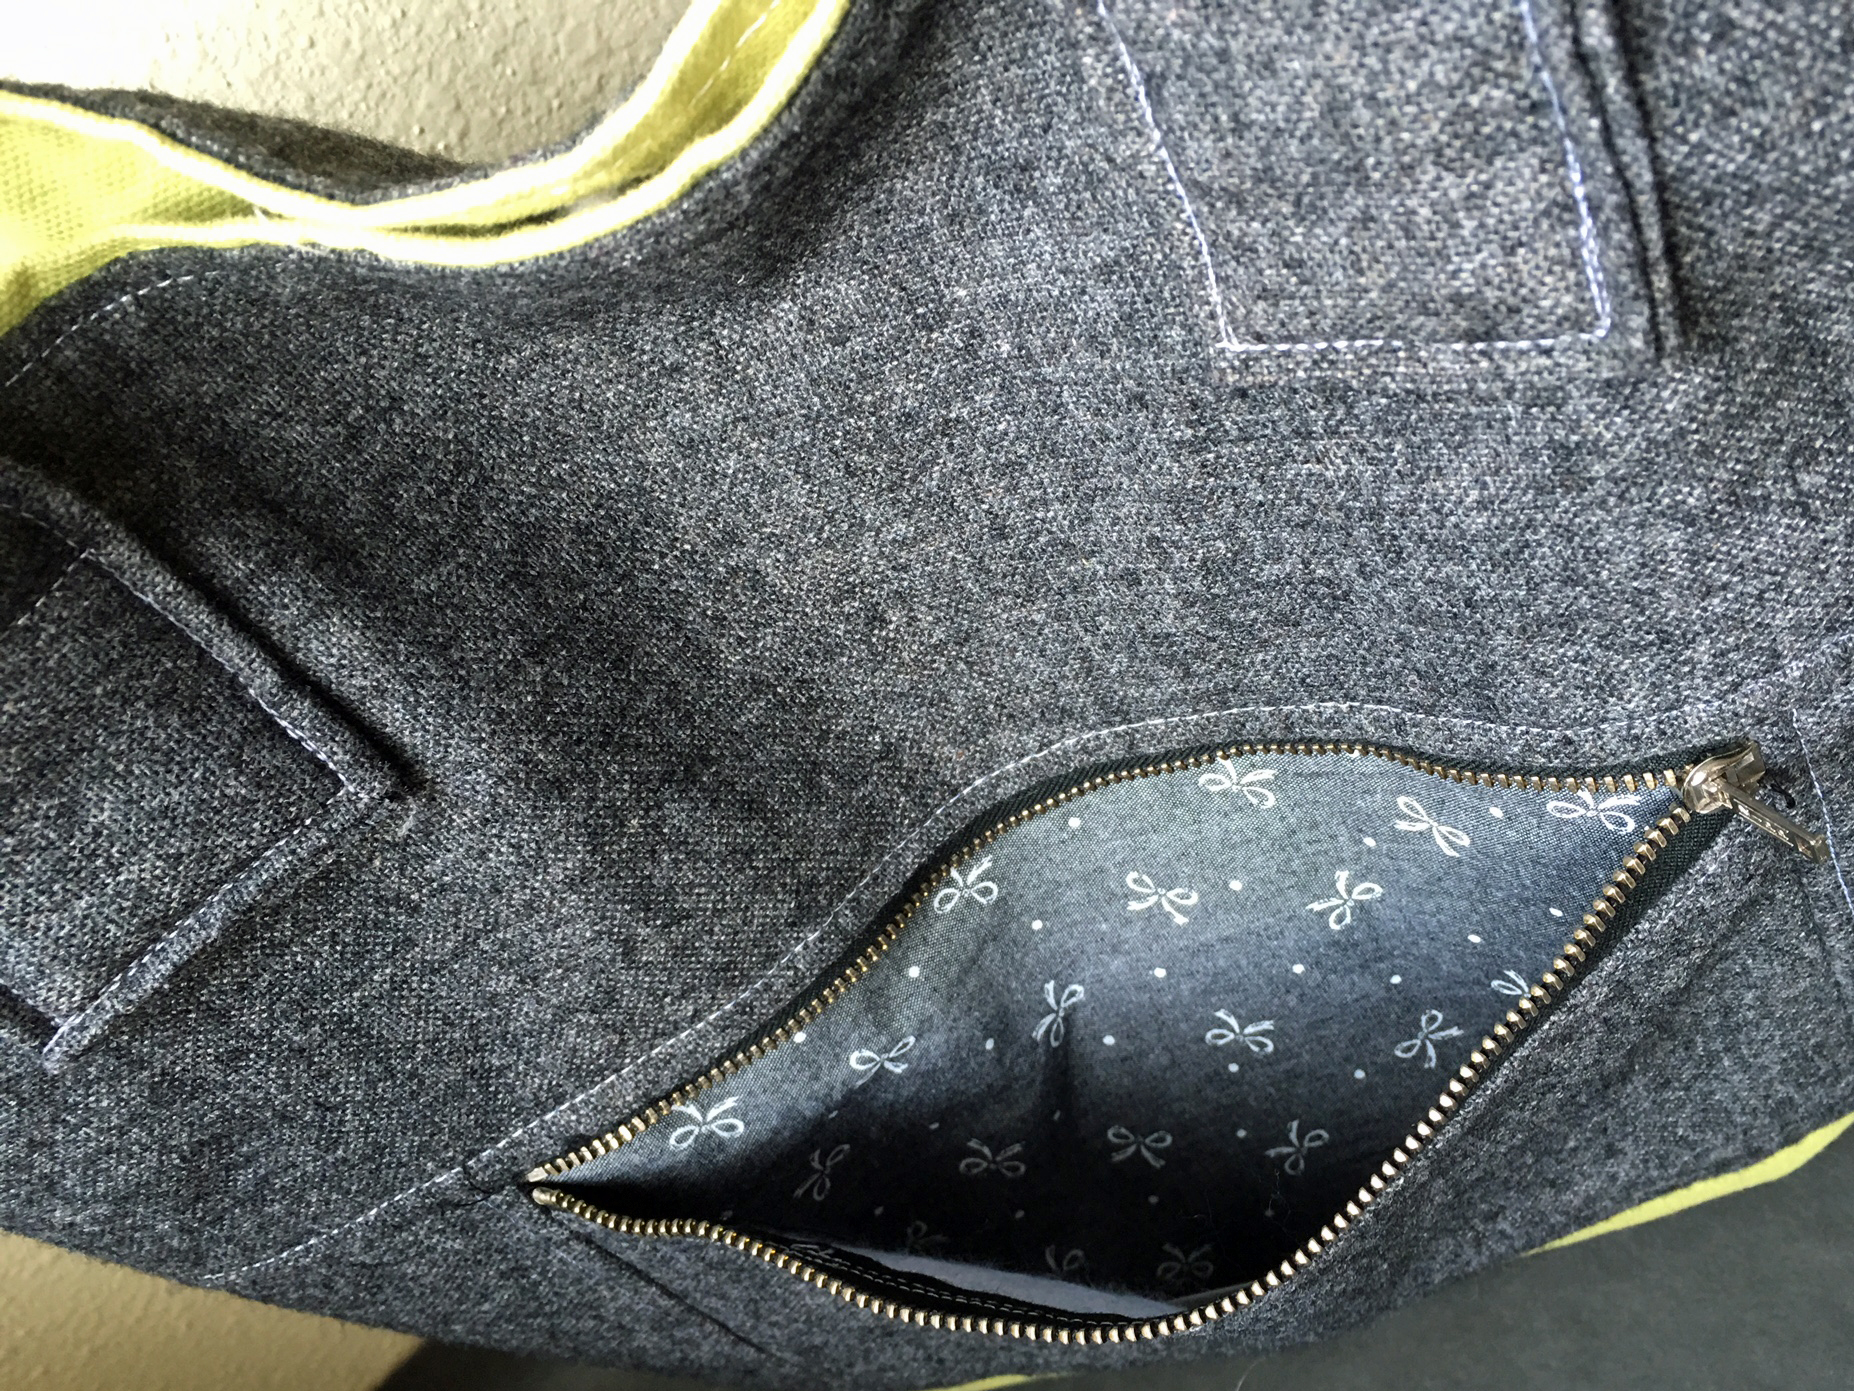 For the front zipper pocket, I used this cute fabric for the lining. I always love picking out lining fabric for pockets like this- it’s like a little surprise everytime your open it up! It is from Joanns.
This tote is made by using the pattern pieces for the large backpack. You omit the drawstring casing and the flap (obviously!). Also, you do not add the back top exterior piece. To make up for not adding that piece to the back exterior, you make the front top exterior 16” x 6” instead of 16” x 7.25”.
These handles were really fun to make and I can add a special tutorial for them if you are interested! Please let me know here with a comment. Thanks for the comments! Tutorial below~
Want to try one yourself? The day off backpack is pattern is VERY versatile. In honor of my newest tote, let’s have a 25% off sale on this pattern! Use the code TOTEVERSION when you purchase the pattern in the shop. This makes the pattern only $8.00. Enjoy!
To make the handles, begin by cutting 2 pieces of quilting weight fabric 3.5” x 24”. Fuse interfacing to the wrong side of each piece. I use Pellon 931TD. If you use canvas or some other thicker fabric, omit the interfacing or perhaps only fuse to half of the handle.
Working with one of the the pieces, fold in half lengthwise, right sides together. With a 1/4” seam allowance, sew up one short side and toward the center. Leave a 4” opening at the center, and then sew the other side closed. See the drawing below.

Clip the corners and turn the piece right side out. Poke out the corners the press flat. Pay special attention to line up the folds of the opening. Blind stitch the opening closed (or you could use steam a seam).

Top stitch around the all four sides of the piece with coordinating thread using a 1/8” seam allowance. See drawing below.

Measure 3.5” from short edge in toward center and pinch the sides together. Pin and continue pinching and pinning until you are 3.5” from the other short edge. Top stitch the handle closed and remove the pins. See the drawing below.

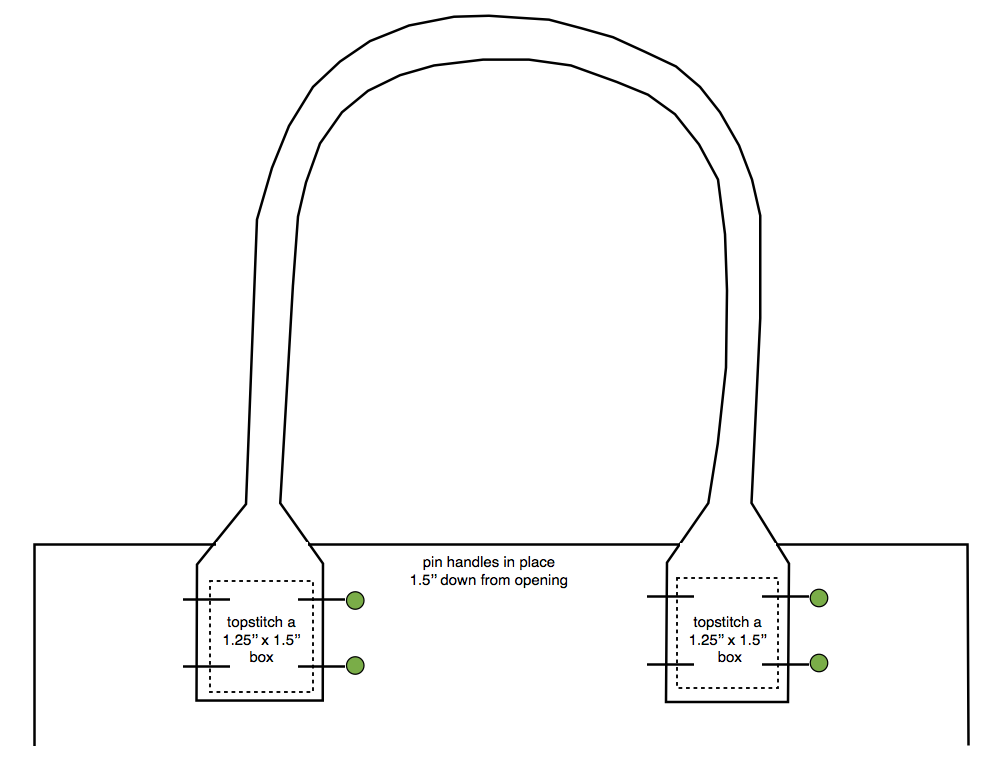
Press out the ends of the handle. Pin the flat ends 3.5” from the side seams of the exterior body piece and 1.5” down from the top raw edge. Top stitch in place by sewing a nice box that is 1.25” across by 1.5” high. Draw the box with a water soluable pin or chalk if needed to make the topstitching look tidy. See the drawing below.
 Repeat with other handle piece and attach to the other side of the exterior piece.
Finish the tote bag by attaching a magnetic snap to the lining and then sewing the lining and exterior right sides together. Simply fold the handles down out of the way.
Be sure to email me some photos, post on my facebook page or on instagram with hashtag #gingercakepatterns and #dayoffbackpack! Thank you!