About a year ago my mother in law, Trish, gave me a box of fabrics and other sewing odds and ends. Among the goodies was this hand drawn paper oven mitt pattern. It looked so easy! I was excited to share it here on the blog and this week I finally sat down to make it. It literally takes about 1/2 an hour. I suppose you could fancy it up with patchwork and more elaborate quilting and let it take you a whole hour if you would like!
Begin by printing out the pattern pieces, cutting them out and taping the 2 halves together.
Download Oven Mitt Pattern Piece
Follow instructions on the pattern piece to cut out your fabric and batting pieces on the fold. Make sure you cut the interior fabric 1" longer than the others to make the hem in the last step.

Follow the instructions on the pictures. Click on the horizontal pictures to make larger if needed. The vertical pictures are larger than the horizontal on the blog!


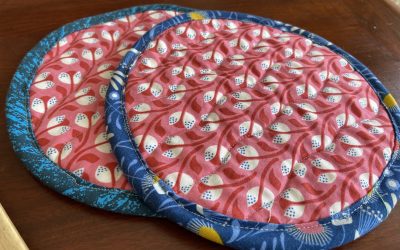
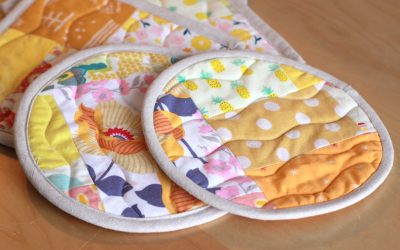
I made some pot holders to match. I was out of piping so I didn't make my piped pot holders but took the time to do the traditional binding style instead. Not bad! I make these things and promise to keep them for myself but now that the set is finished, I think my mother in law deserves the gift, don't you?

Trish does not claim creadit for making the mitt pattern and doesn't know where it came from. By default she is getting the credit! Thank you Granny T (that's what the kids call her!). Hope you find the time to make some for yourself or as presents to friends and family!