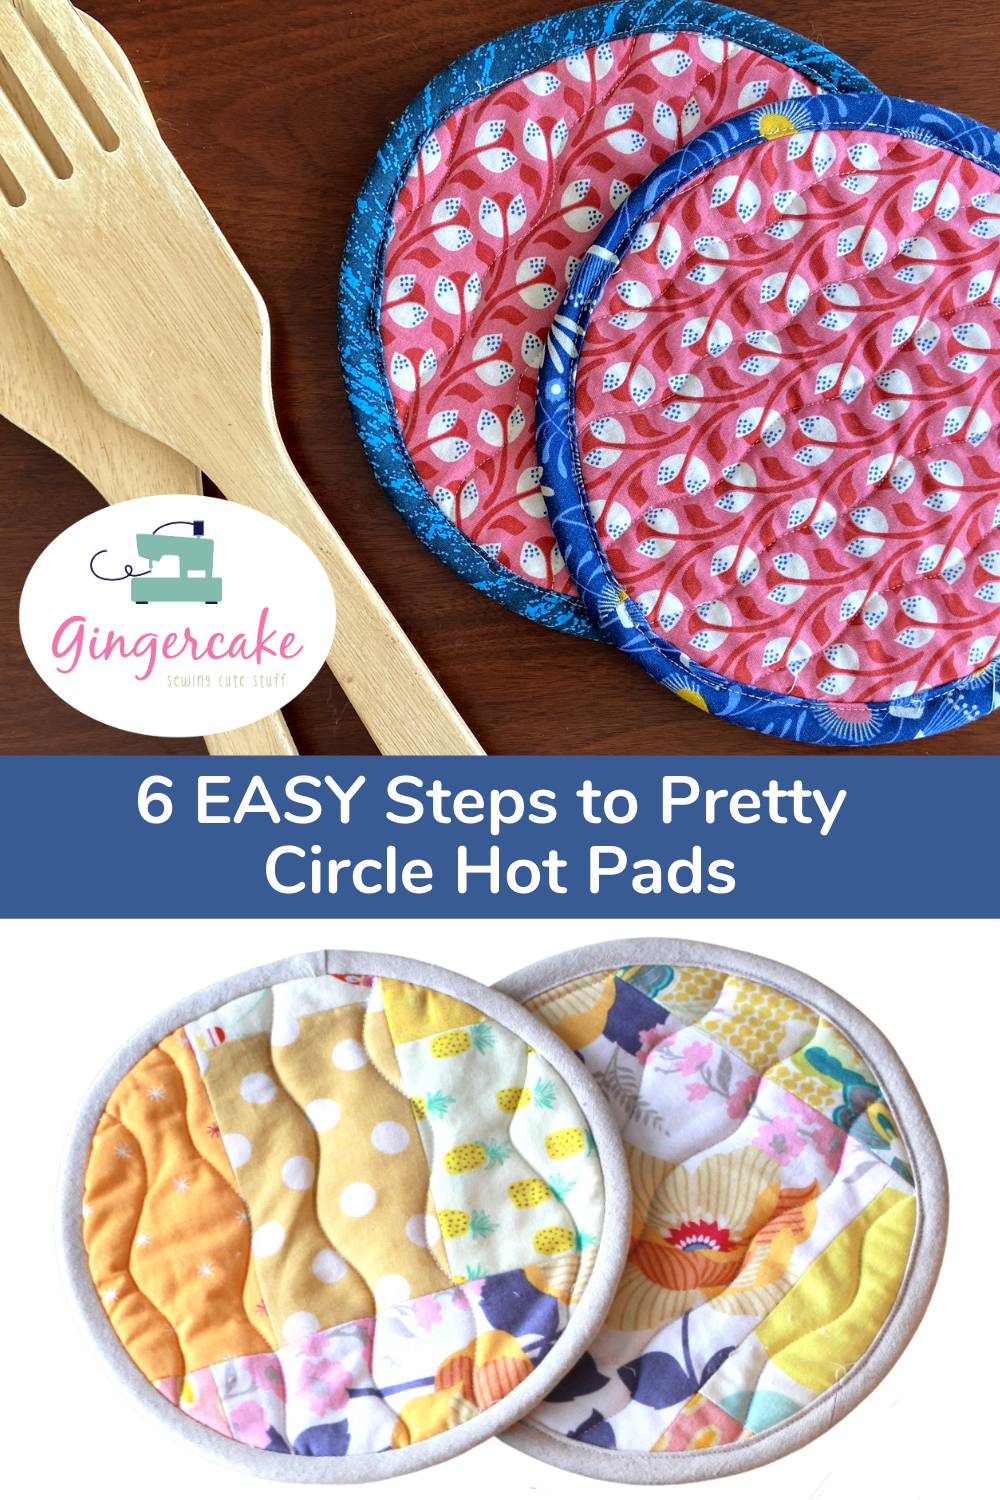
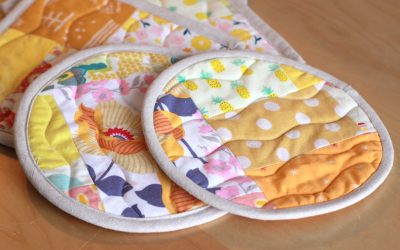
At some point in your sewing life, I’m sure you have tried to sew a hot pad/ pot holder. Something that looks so simple can be a frustrating project! Either you make it too thin and burn your hand or you try to make it too thick and it end up looking lumpy! How can this little project be such a challenge? Well the answer is that you can make a beautiful hot pad without all the problems if you follow some simple steps! Keep reading to find out more…

Want to make more like this?
I have a great pattern to take your skills to the next level!
In my newest youtube video, I break down how to sew one of these pretty circle hot pads in 6 easy steps.
1. Quilt the 5 layers together
2. Cut out the 8” circle using this template below
3. Create the 2.5” bias cut binding and sew into a 24” loop
4. Attach the binding to the back side of the circle with a 3/8” seam allowance
5. Fold binding toward the front and clip
6. Sew the binding to the front with a less than 1/8” seam allowance
You can watch the video below to see al the details…
In the video, I just make one hot pad, but you could make multiples very easily by quilting a larger piece of fabric. For example- a 9” x 18” sandwich (the cotton fabrics, cotton batting and heat resistant fleece) would make 2 and an 18” x 18” sandwich would make 4! You could also make some Gingercake oven mitts to match! That would make a really thoughtful and useful gift.
Please let me know if you make these hot pads. I would love to hear your ideas and questions in the comments section below :). What is your favorite hot pad tutorial? Do you prefer square over circle? Let me know what you think…


