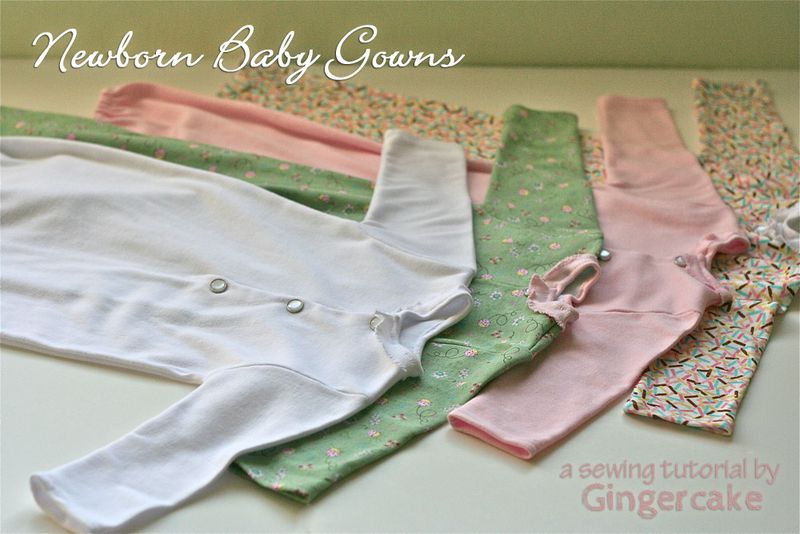
Newborn Baby Gowns Sewing Tutorial
I have been searching stores for baby gowns and not loving the selection. I may be old fashioned (maybe it’s because I am OLDER than other women having a new baby!) but I like for babies to look like babies and not mini adults. I also want plain soft fabrics and pretty little details.
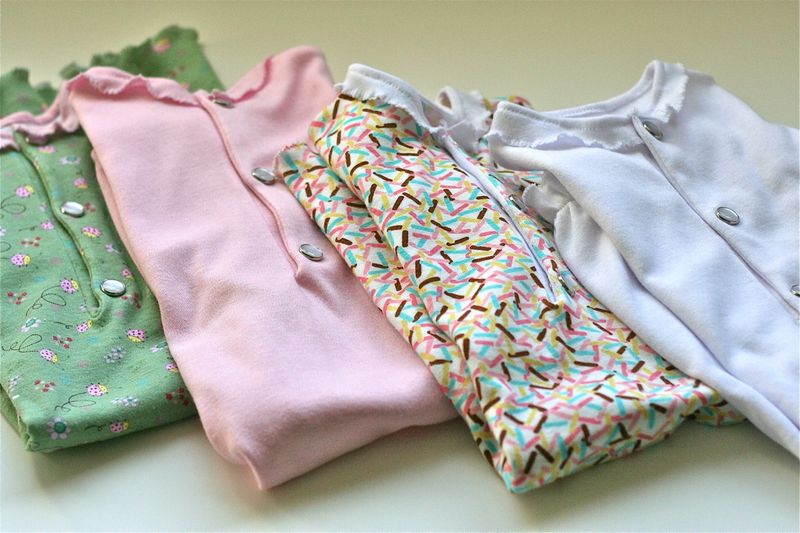
It turns out that there are baby clothes out there that I like but they are very expensive! So I chose my favorite gown from when the big girls were babies as a guide and created my own simple pattern.
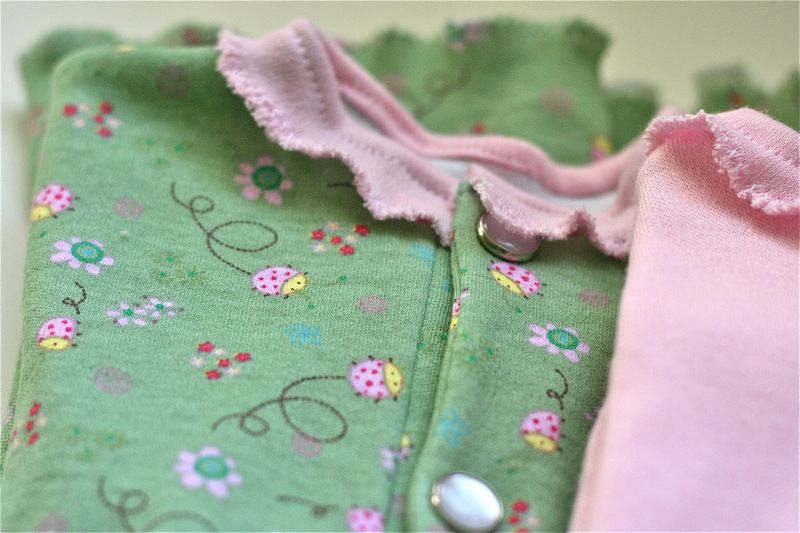
The biggest challenge to figure out was the tiny collar. I could not figure out how to get my machine to make a pretty little collar without it looking lumpy or unfinished. I finally decided to embrace the nature of knits by making these easy lettuce edge collars. I love how sweet they turned out and so EASY!
I bought 2 different knits from Joanns for this project. The solids are the sew classic knits which were 60% cotton and 40% polyester. The prints are 100% cotton knit and also from Joanns. I actually liked working with the solids better. They were softer and less stretchy. Also- when I prewashed the 100% cottons, they shrunk more than 2 inches! That made my gowns a little shorter than I originally wanted but still workable.
This is not a tutorial for true beginners. You will need to have some experience with sewing and be familiar with terms and basic concepts. I don’t go into great detail since I am assuming you have made basic sewing projects before. An experienced sewer could just follow the photos!
Let’s get our materials together. You will need …
1 yard of interlock knit fabric- go for mostly cotton blend or 100% cotton. (1 yard makes 2 gowns).
a package of pearl snaps or regular snaps- the kind you hammer on!
coordinating thread
sewing machine with zig zag foot
Ball point needle
scissors (sewing and regular)
self healing cutting mat and roatry cutter
Long ruler/ yard stick
1. Begin by printing out the pattern pieces. There are 2 pieces- the gown/ body piece and the arm piece.
Download Gingercake Newborn Gown Pattern Pieces
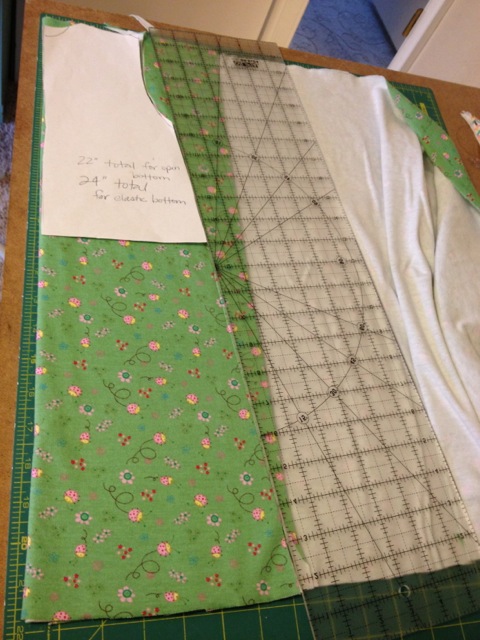
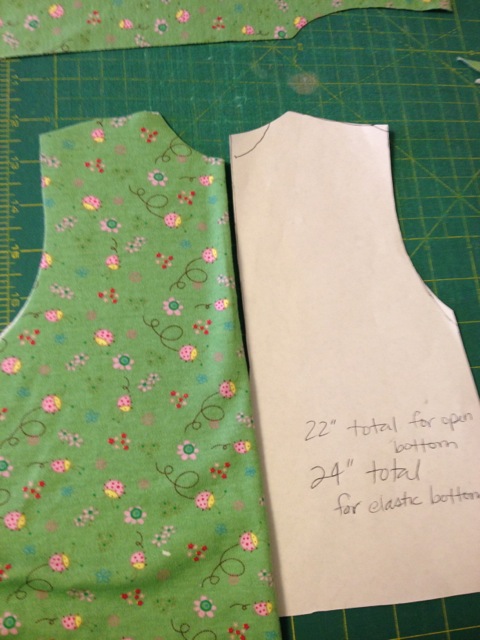
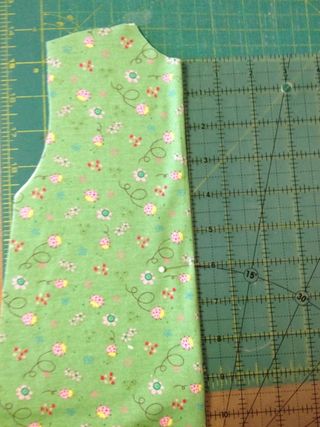
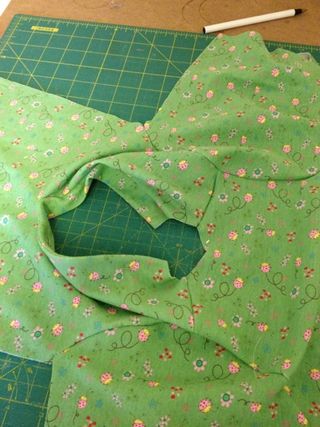
Cut out your pieces. The gown width is 14″ so you need to have a folded piece that is 7″ wide to cut with the pattern piece. You will notice that this is wider than the paper pattern piece but you are going to extend the piece to be a total of 24″ long with a long ruler (like in the photo below) or a yard stick. The pattern piece is angled to be a-lined and you will need to just follow that line to the bottom of your fabric. See the photo below.
2. Cut a second body piece to match the first. On this one, trim the neckline to match the BLUE line on your pattern piece. My photos are of my original rough draft pattern so pay attention to your nice printed pattern pieces instead! This piece is the front of your gown.
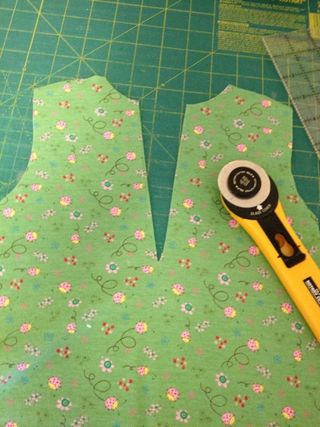
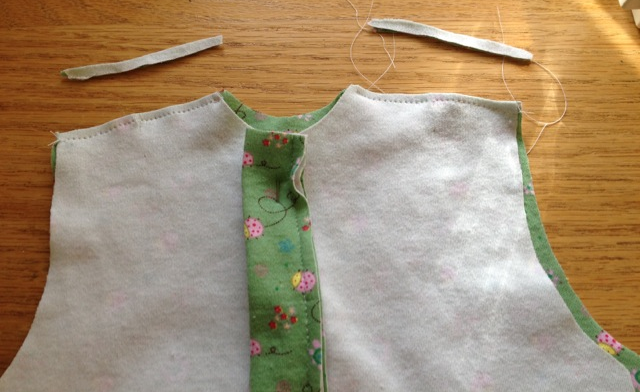
3. Next, still working with the front piece, cut a 6″ slit down the center of your neckline. See photos below. This will become your placket where the snaps will go.
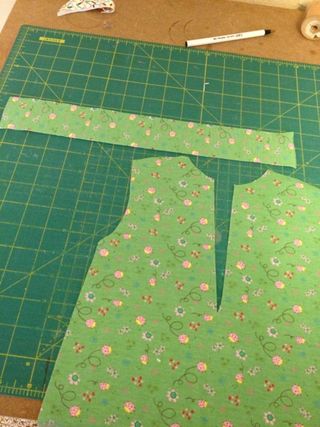
4. Cut a 13.5″ x 1.5″ strip of matching knit that goes against the stretch. This means when you give it a pull long ways it does not strech out. Fold it in half (iron if you would like) longways and pin this strip to the right side of your front gown piece along both edges of that 6″ slit. The strip should be a little longer than the 6″ slit. See photos below.
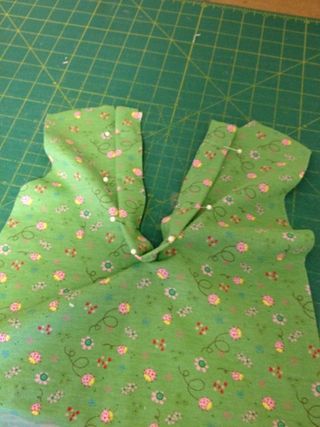
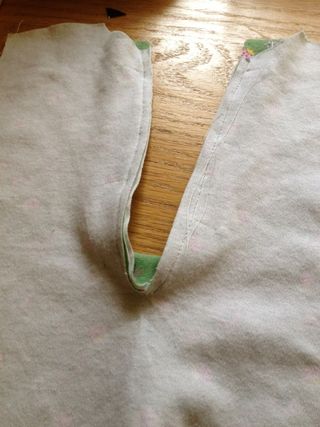
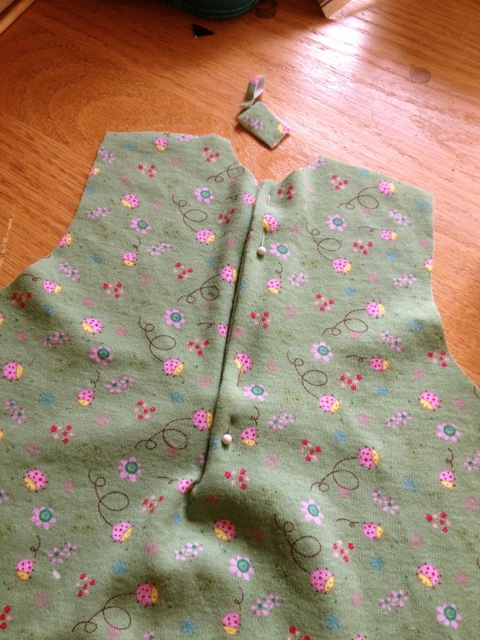
5. Now using the ball point needle on your sewing machine, sew the strip and the front body together to create your placket with a 1/4 seam allowance. Then trim seam down to 1/8″. See photos below.
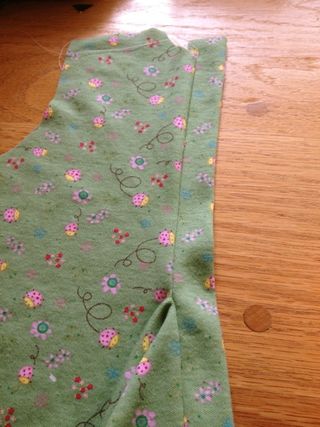
Pin the placket closed and trim off the excess so your neckline is back looking like it’s original shape. The top side of the placket should fold under and the bottom should extend. Imagine a button down/ polo shirt to give you and idea of how it is configured. See photo below.
6. Pin the shoulder seams together of your front and back body pieces. Sew together with a 1/4″ seam allowance and trim down to 1/8″. See photo below.
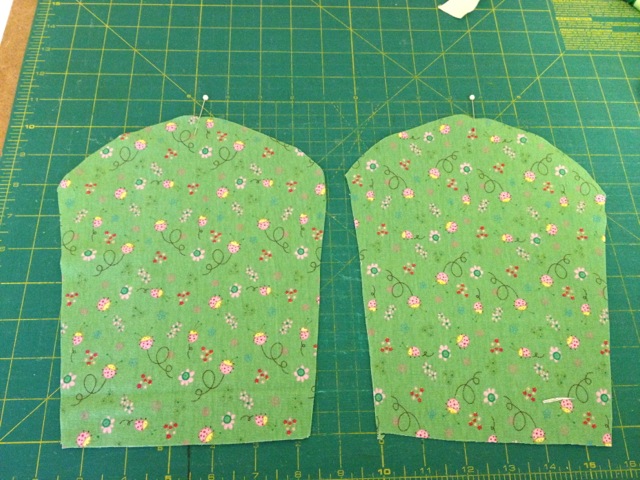
7. Now cut out your 2 sleeve pieces from the paper patterns. Pay attention to the direction of the stretch. Mark the top center of your sleeves with a pin. See the photo below.
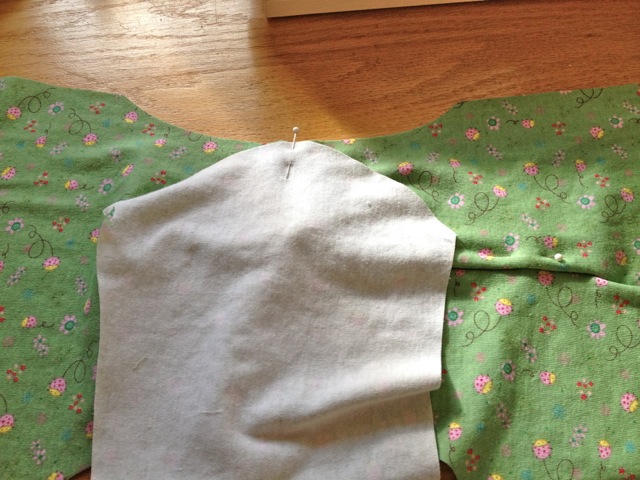
Open up your body pieces and lay them open, right sides up. Pin the sleeve to the seam you sewed in the last step. See the photo below.
8. Now you can either pin the sleeve to the body pieces or just starting in the middle, sew a little, adjust, sew a little and adjust to attach your sleeves to the body piece. Then starting in the middle again, do the other side of the sleeves. I like this method since pinning with knits is kinda a pain! But either way works fine. Now repeat on the other sleeve. Trim your seams down to 1/8″. See the photos below.
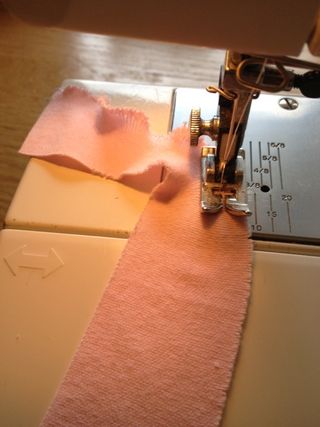
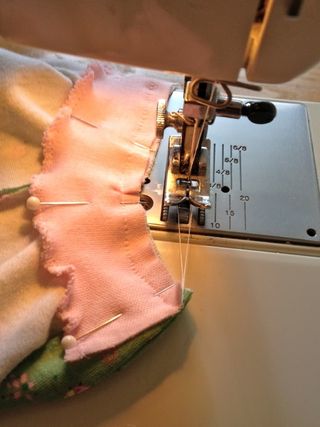
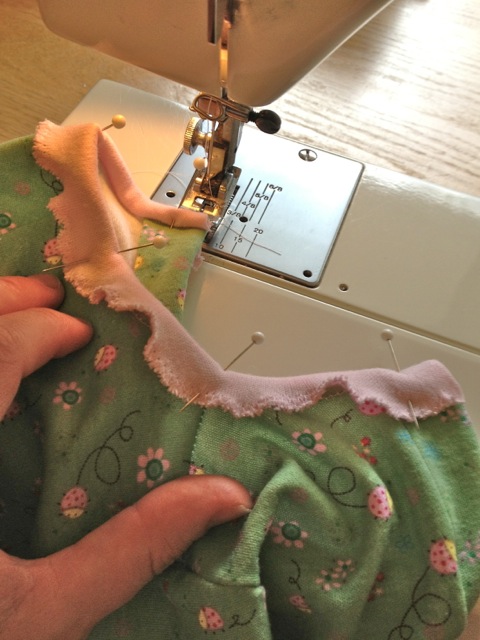
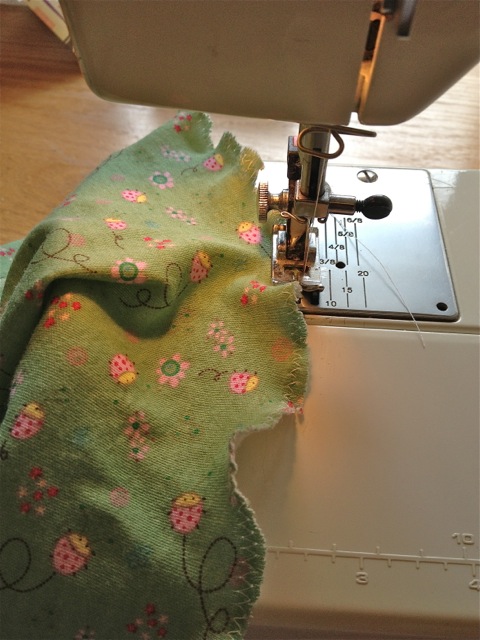
9. Next is the collar. Cut a strip of knit fabric that is 12″ x 1.25″ – this time the length is with the stretch. Switch your machine over to zig zag stitch and while gently pulling your strip of fabric, zig zag along the edge. This should give you a cute lettuce edge. See left picture below. Now attach to wrong side of gown neckline by with pins. Switch back to straight stitch and sew the collar on with a 1/4″ seam allowance. Trim seam down to 1/8″. If you have extra length on the collar, just trim it off to match up with the neckline- don’t worry about fraying. See photo on right below.
10. Now turn the collar over the neckline and pin again. Stitch the collar down on the right side of the gown with a 1/8″ seam allowance. TIP- I don’t usually back stitch here- instead, i leave longer threads and double knot them together. This elimates messy backstitching in such a visual spot if you have an older and less precise machine like I do! See photo below.
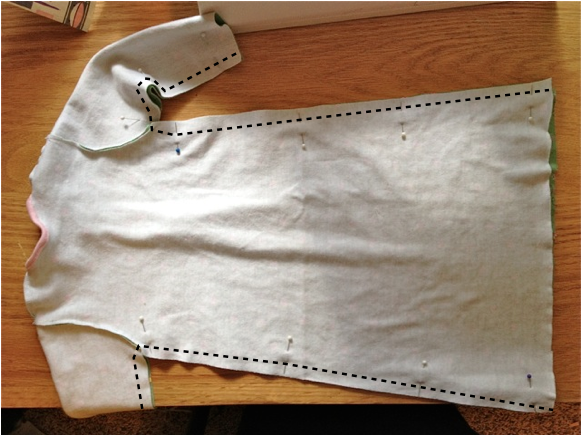
11. Now that the collar is finished, you can sew up the sides of your gown! Lay your gown sides right sides together and line up the seams at the arm pit first. Pin there first and then down the sides to the bottom. Then pin down the sleeves. I start at the bottom and sew up the side to the arm, then lift up my foot to turn and go down the sleeve. This usually means the seam at the arm folds out toward the sleeve. It doesn’t matter that much since it is trimmed down to 1/8″ but it’s a good habit! Repeat on the other side. See photo below. Trim seams down to 1/8″.
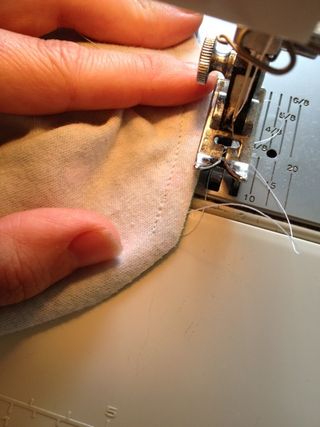
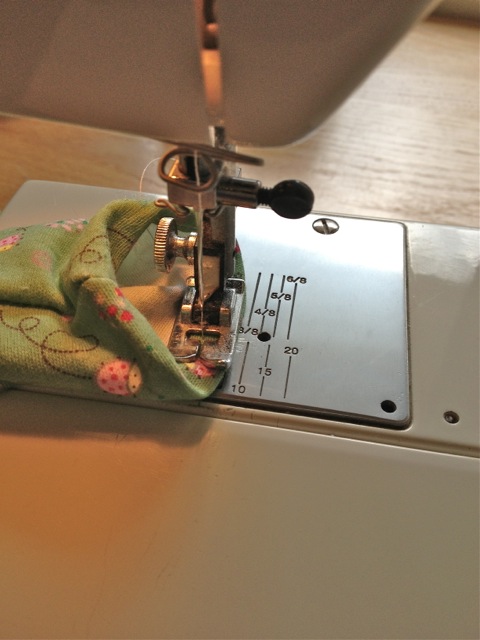
12. Turn your gown right sides out. Doesn’t it look cute? Turn under your little sleeve opening about 3/8″. Iron flat if you would like. Sew down with a 1/4″ seam allowance. I do this from the inside and just slowly make my way around. See photo below on the left. Another option is to lettuce edge the sleeve which would be cute too.
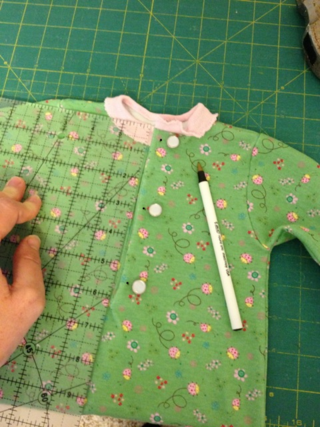
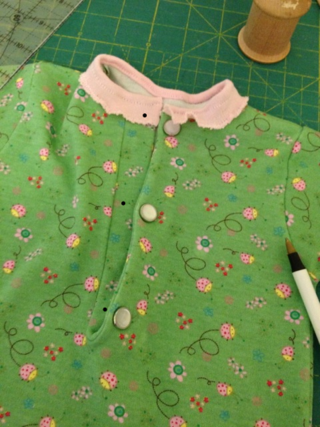
13. Follow the directions on the snaps- you get to use a hammer! Use your ruler to lightly mark where you will install the snaps. The first should be 1/2″ (or a little more if needed) from the top of the neckline, the next down 3″ and the final snap 5.5″ down from neckline. That first snap goes under your collar. See photo on left below. Next, make the same marks on the inside of the placket. See photo below on right. Attach snaps again according to directions on snap packet. Snaps in place!
14. The bottom can be finished in several different ways. Like I mentioned in the beginning, the 100% cotton print that I pictured for the tutorial shrunk 2 inches in the prewashing so it is only 22″ instead of the 24″ I would have preferred. I should have bought the full yard! Instead of losing more length by making an elastic casing, I just did another pretty lettuce edge on the bottom. See photo below.
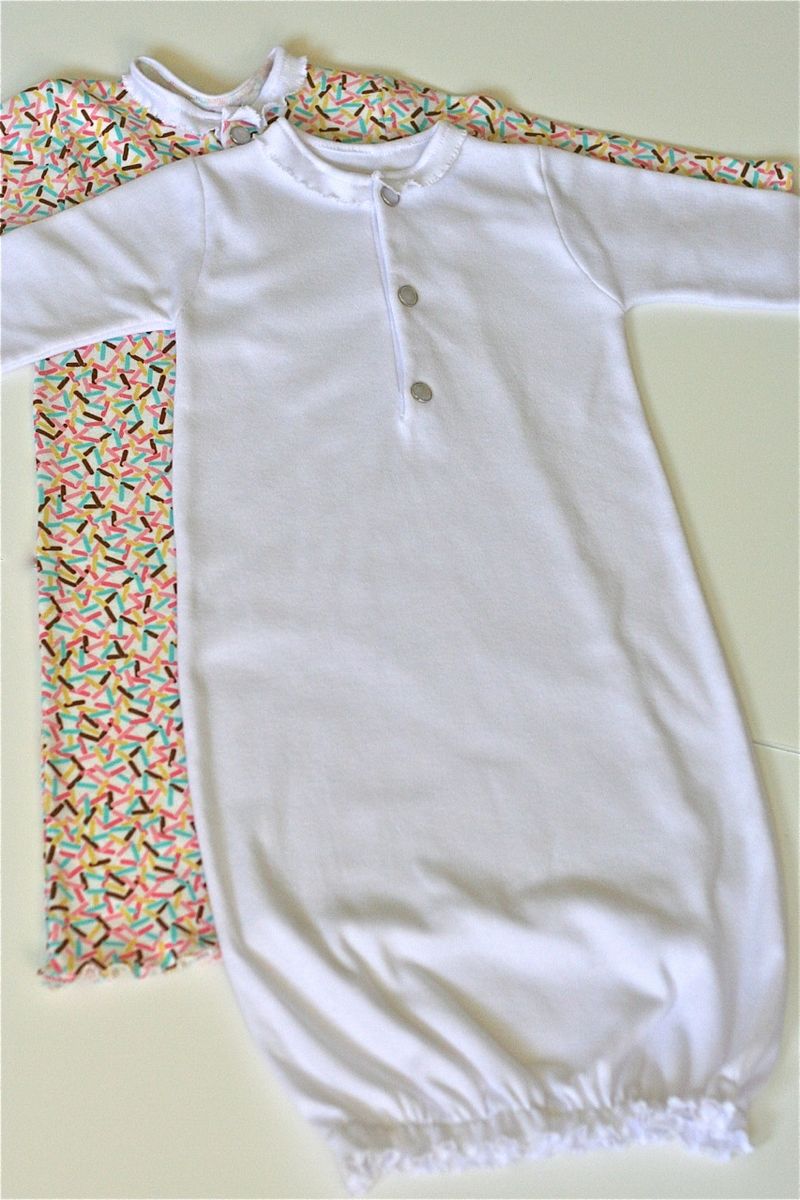
For me, with my other babies, I found an gown with an elastic casing on the bottom to be a little more practical. I was able to do this with the pink and white solid gowns I made. Do this by folding uder your bottom hem about 1/2″ and sew closed around the hem, but leave an openning of about 1″. Then cut a 14″ length of 1/4″ elastic and attach a safety pin to the end. Insert into the 1″ opening and using the safety pin work your elastic around the hem. When you have it all the way around, sew the elastic ends together with your machine and then sew the hem opening closed.
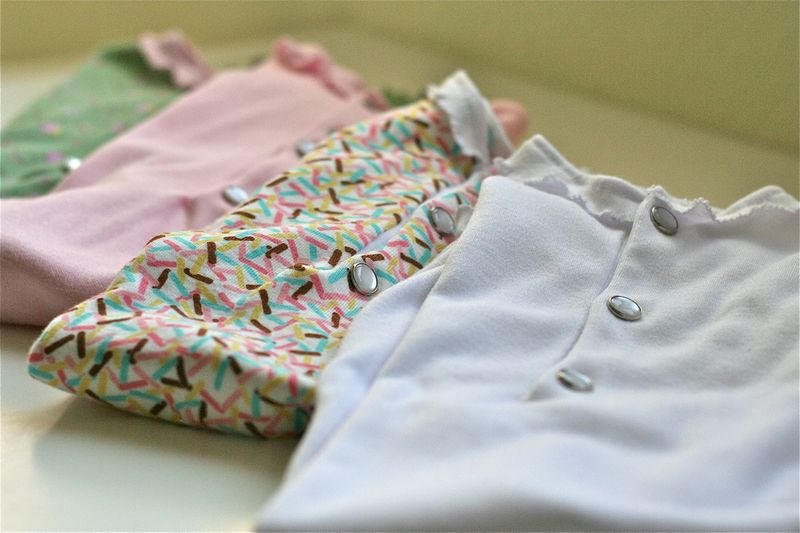
Finished! I hope you were able to follow this tutorial successfully and will have a pretty gown for the newborn in your life. I can’t wait to try the gowns on our baby coming in just a few weeks (or days? hopefully not!) Although this tutorial seemed like a bear for me to write (mostly becasue sitting in front of my computer at 38 and 1/2 weeks PG is getting uncomfortable!), making the gowns is pretty easy so I hope you will try it out. Using nice soft interlock knits is key! I tried making some with thrifted “mystery” knit and it didn’t work out so well. Make sure you read the label for the cotton count if you try out thrifted shirts!
As always, you are welcome to make as many of these for gifts and for yourself as you would like. Please do not make for sale or claim this tutorial as your own. Thank you! I would love to see your gowns in my gingercake tutorial flickr group!
Check out my pattern shop and free tutorials for more fun sewing ideas!

