The Art Caddy tote is one of my most popular patterns. I created the tote to solve a problem in my house when the art supplies started getting out of hand and I was tired of picking them up all over the house. I thought, how about a bag that the kids can haul around from room to room (since no one ever seemed to want to color in the same place twice) and they can store all their supplies in?
I wanted it to stand up on it’s own and be nice and sturdy- functionally speaking, a floppy bag just wasn’t going to work with all the paper and art supplies in it. So, I used a special very stiff pelon interfacing and it worked to give me the bag I was looking to create. Very sturdy!
But the original interfacing is not as easy to come by nowadays. And, it is expensive and has changed to only be fusible on one side. It still makes a really great bag is is certainly worth the effort, but I needed to make a new one of these for my 3 year old and I wanted to see if I could come up with a more simple option.
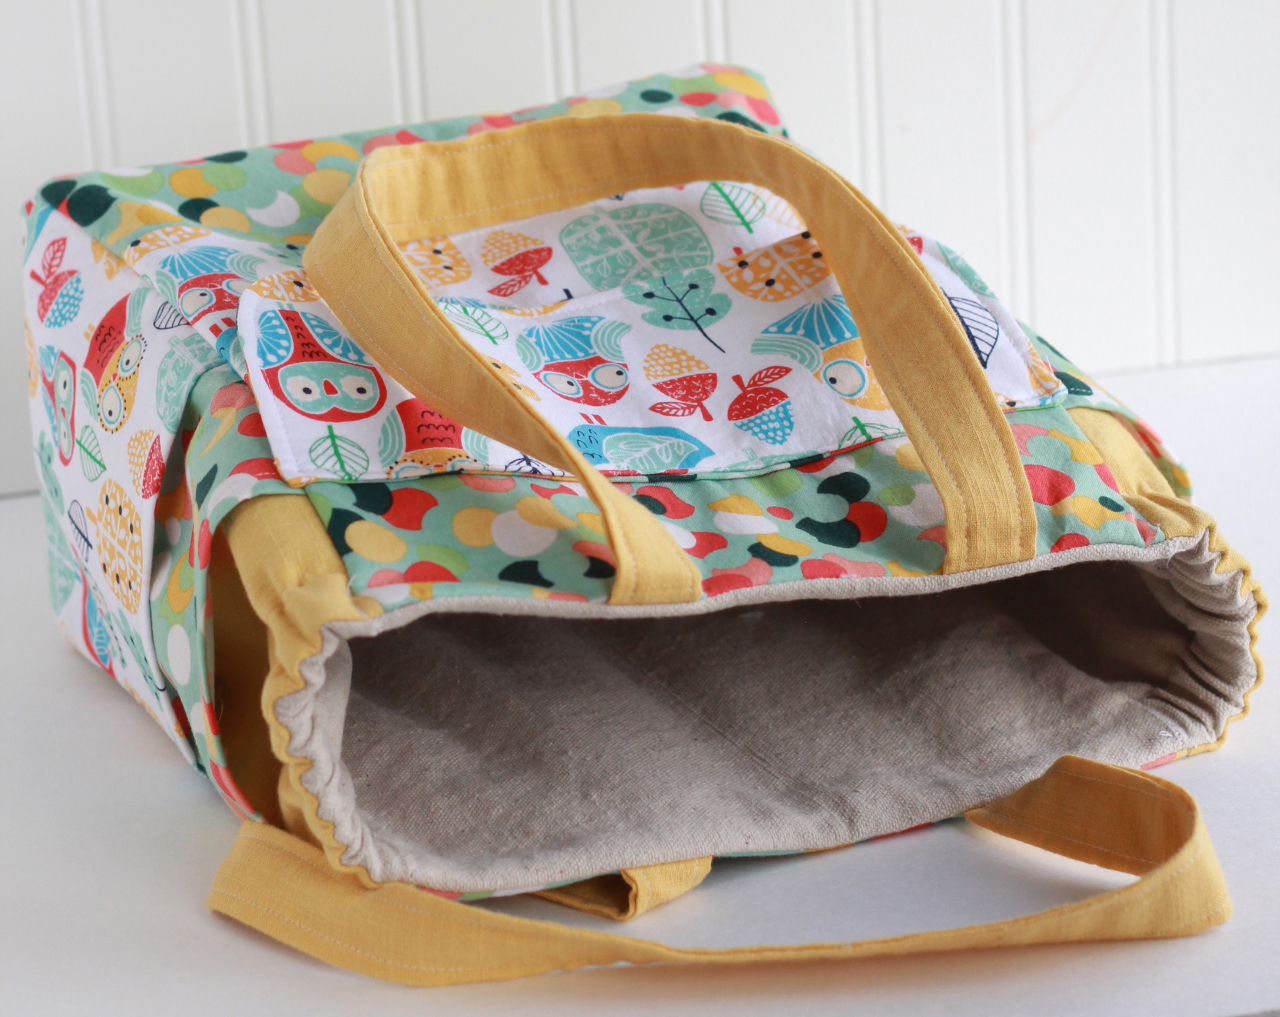
 This art caddy tote is made with only one layer of fusible interfacing on all the exterior pieces. The lining is made with cotton canvas and there is an extra layer of duck cloth between the lining and the exterior that I used instead of interfacing the lining.
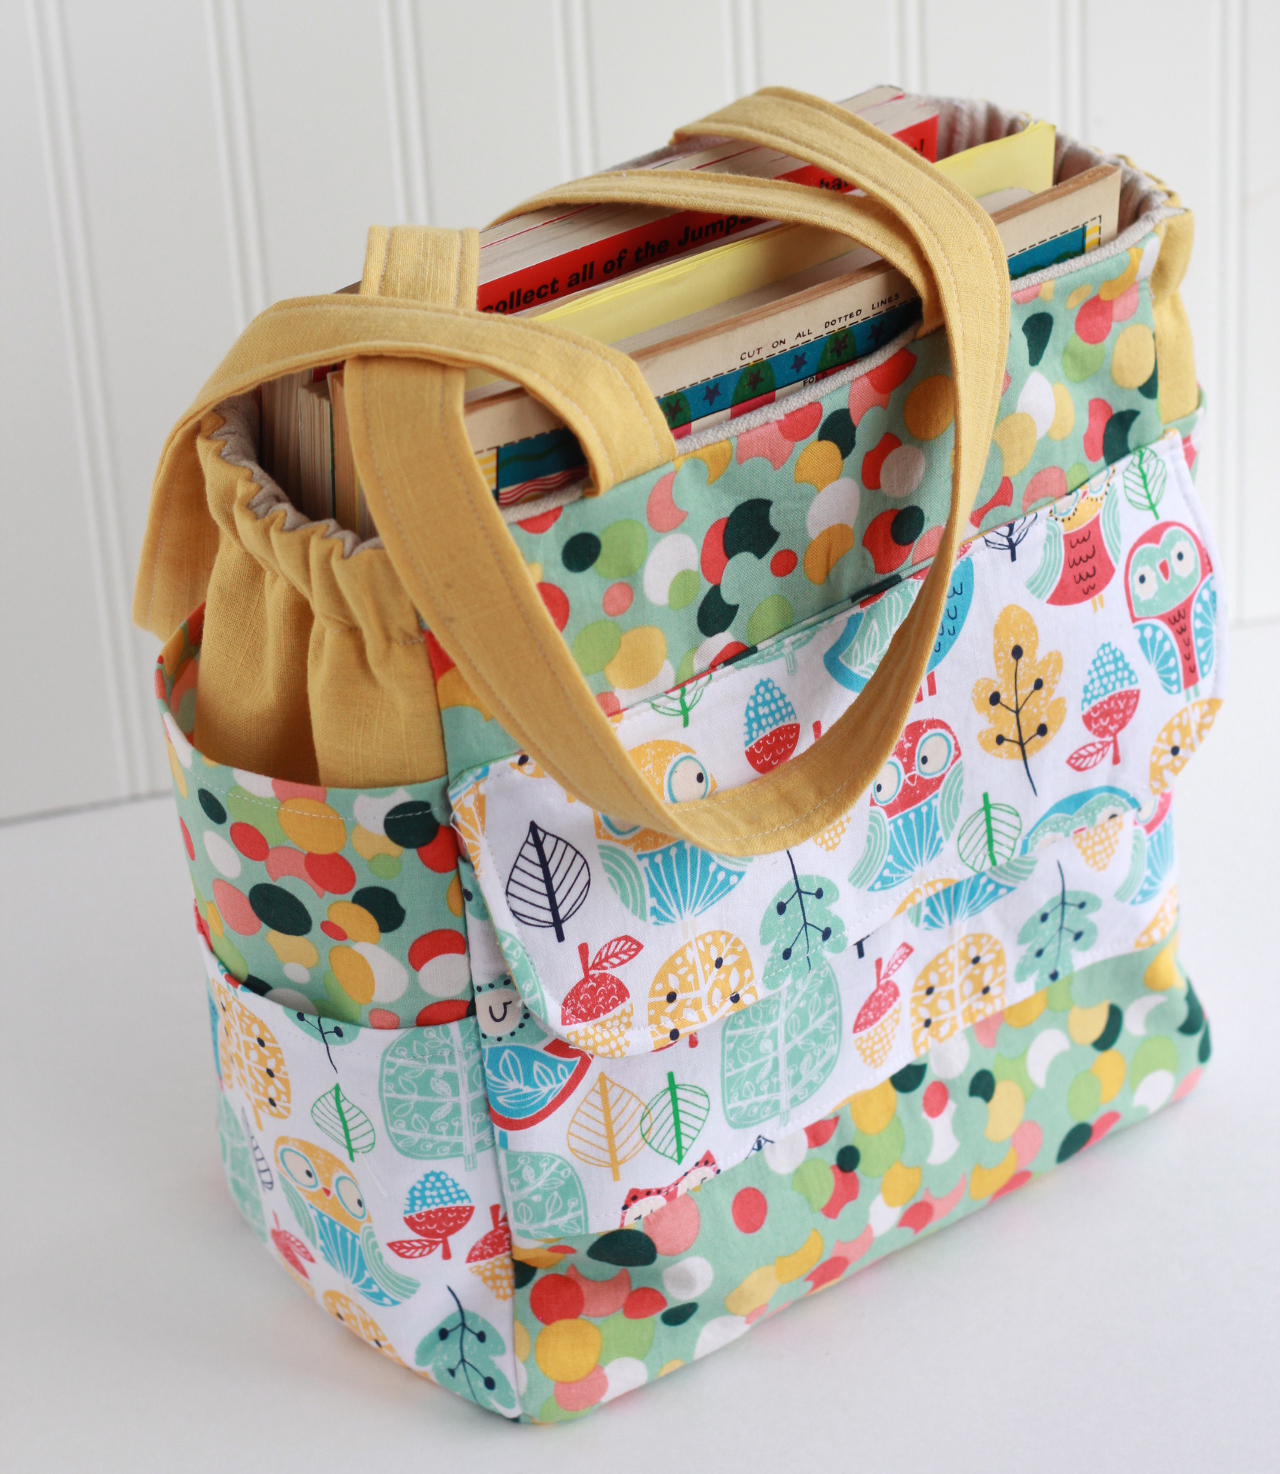 I also made a cute “lid” to the backside pocket that you can see in the photo above. This way, it holds pencils and different items that don’t fit in the side. To solve the solution of the gaping sides (a problem that I didn’t like the look of in the first version and fixed with the thick interfacing), I simply made a casing for some extra .75” elastic and threaded the elastic through just the sides.
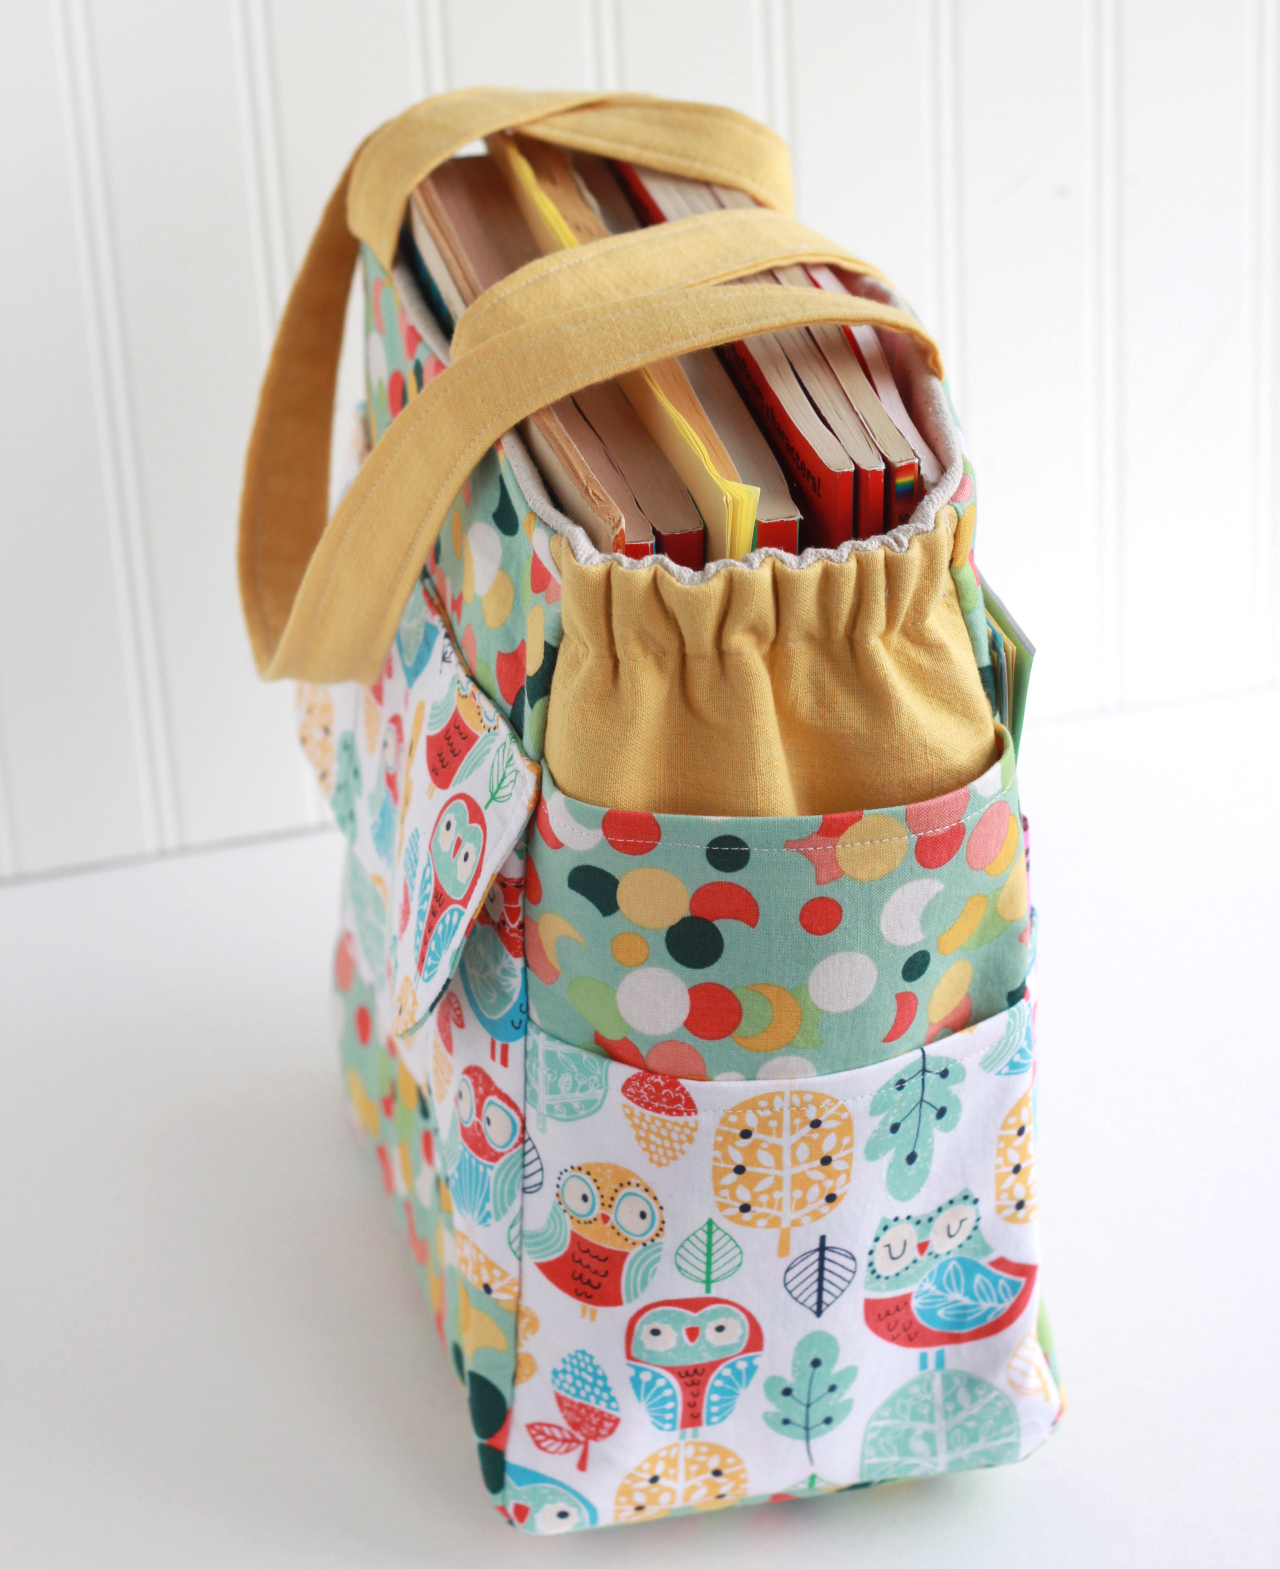 This version only took me an afternoon. I will admit that the original version is sturdier and really gives you the feel of a box, but this version is much quicker and I like the gathered sides- they give it a cute, stylish look and it is still very sturdy.
To make your own softer version of the art caddy, here are the changes you need to make~
Omit the extra stiff layer of interfacing but follow instructions to create the exterior the same way as the pattern.
Lengthen the handles- I used the WOF x 4” and pressed the fabric in half lengthwise, opened it up and then pressed the raw edges in toward the center. Then folded it back up. Finally, I topstitched down both sides. I then cut the long strap in half to make two handles.
When you cut out the lining pieces, cut additional heavy weight fabric (like a sturdy duck cloth) and use this extra layer as backing for the lining to give the whole piece extra weight.
Add a layer of cotton batting to the base.
Turn the exterior right side out and insert it into the lining so that right sides are facing. Leave an opening in one of the side seams of the lining. Sew all the way around the top edge of the piece. Turn it right side out through the opening in the lining.
Finally, make 1”openings with your seam ripper in the lining at all 4 side seams up at the top. Thread 3” pieces (or smaller) of .75” elastic through the openings. I use a safety pin to pull them through and a pin to hold the ends in place. Sew them down to secure. Then close the opening with a small ladder stitch by hand.
Questions? Let me know! You must own the pattern to make sense of some of the above instructions though so don’t let confusion get you down 🙂 It is just $8 fom my shop.