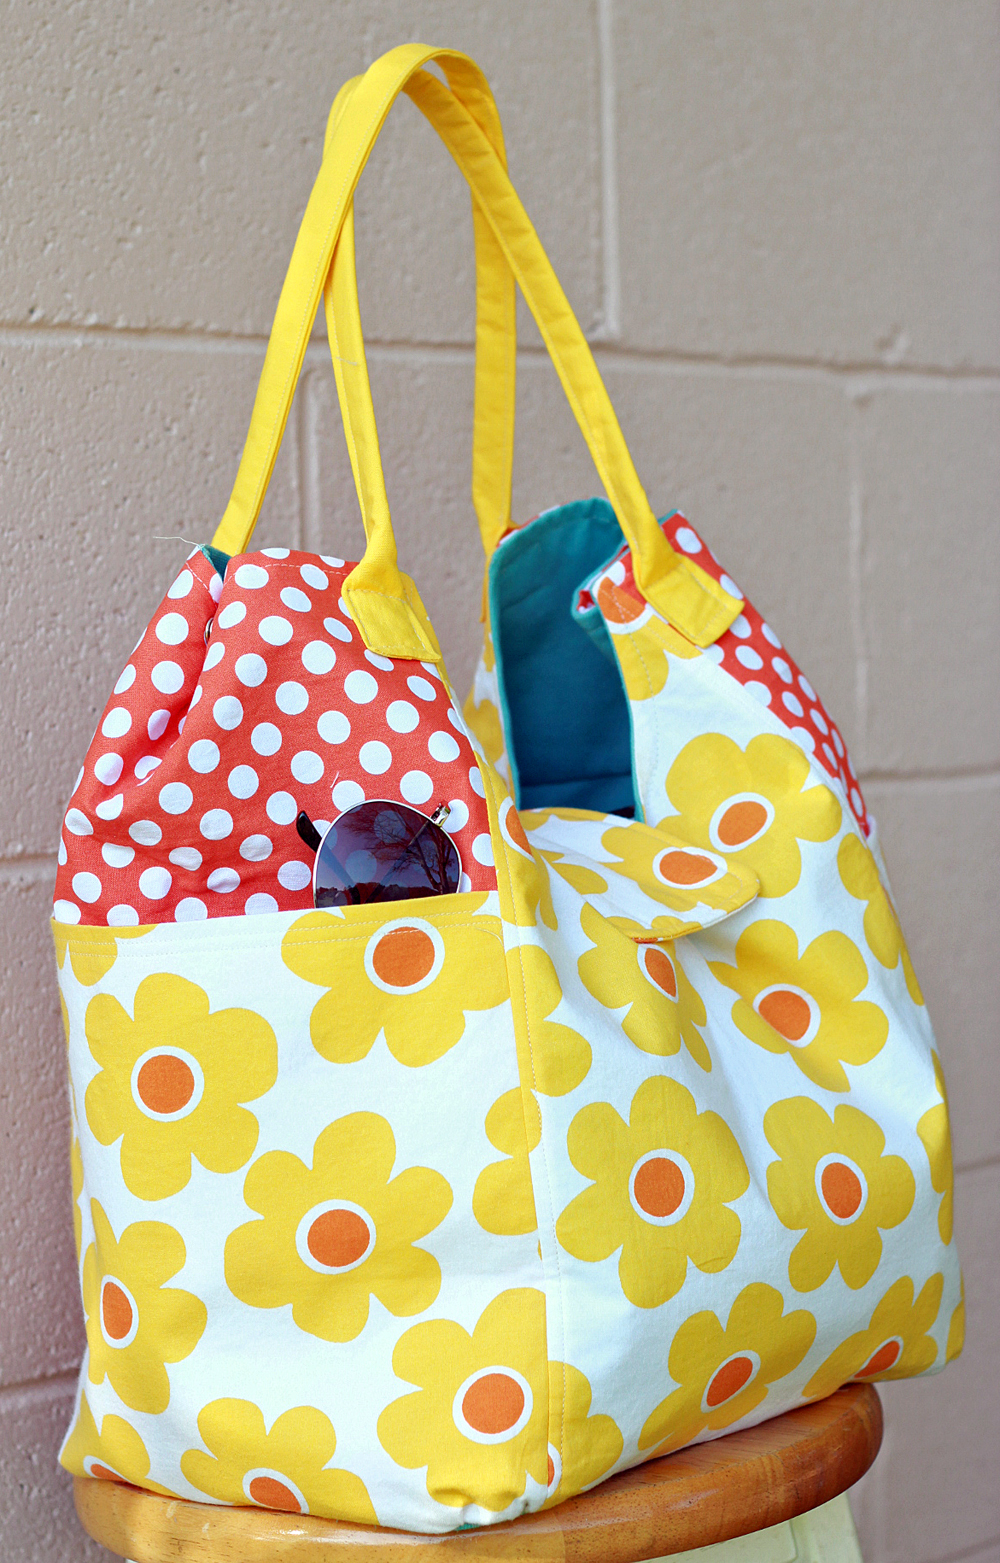
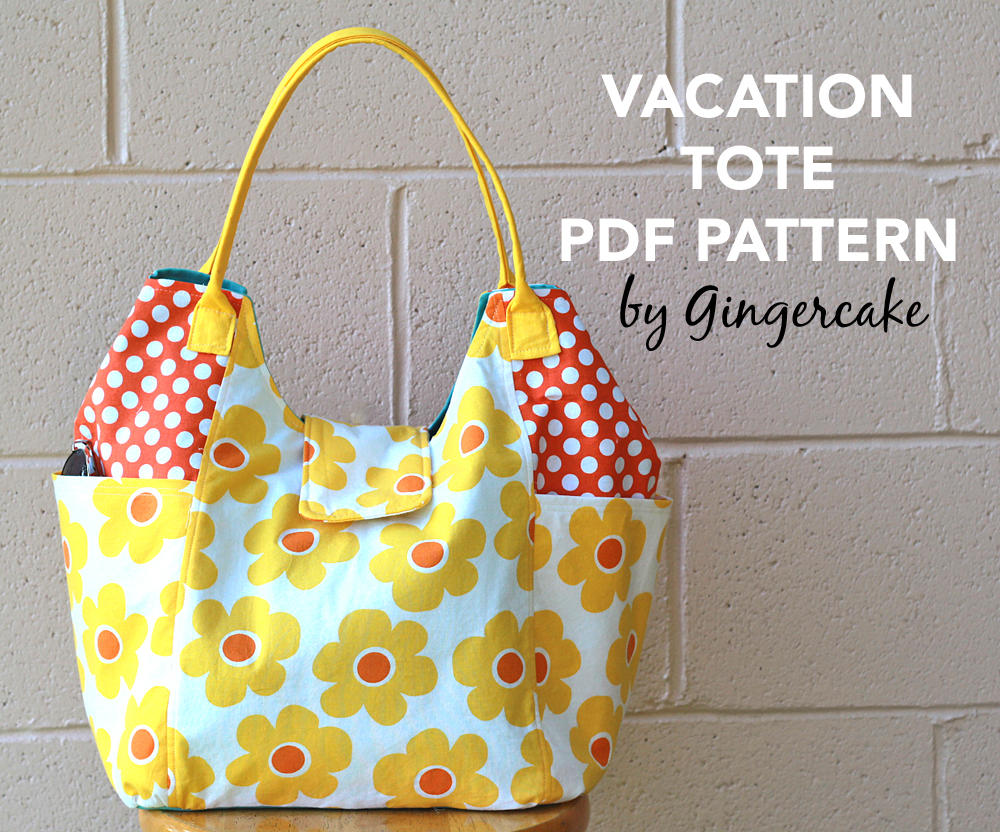
 At the end of this month I am sewing a couple of bags for one of my favorite fabric designers, Kelle Boyd of AnnKelle. YAY! She sent me 1 yard of this 108” wide remix yellow daisies which was WAY more than needed to make the bag she requested. I thought it would be perfect to sew up a cute and summery vacation tote!
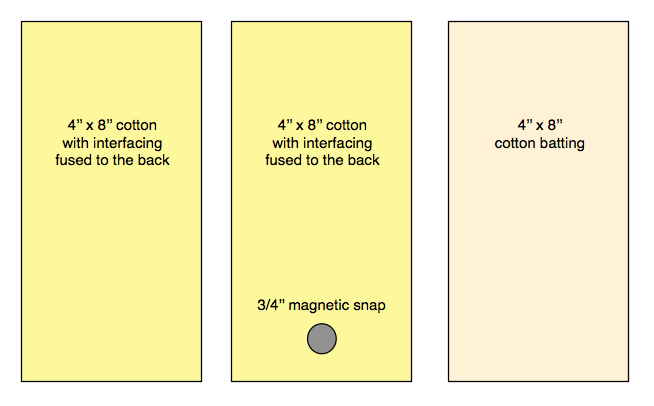
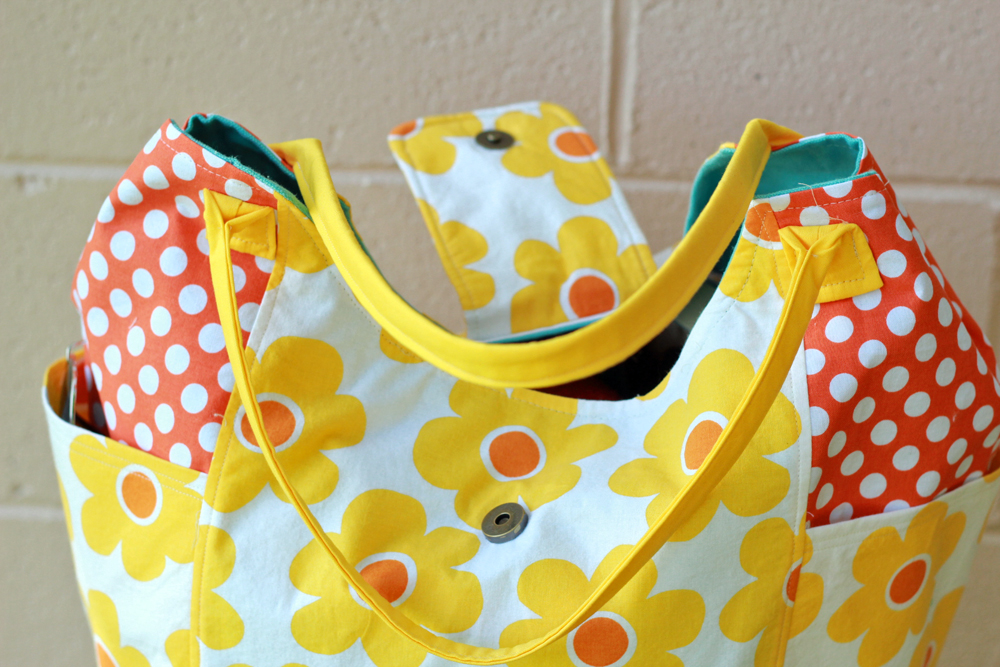 This version has a twists I wanted to share. I made the bag just like in the pattern describes but added a flap and magnetic snap closure. I cut 2 pieces of fabric that were 4” x 8” and fused interfacing to the backs of each. Then I cut a matching 4” x 8” piece of cotton batting. I then added one half of a magnetic snap to one fabric side. See the drawing below~
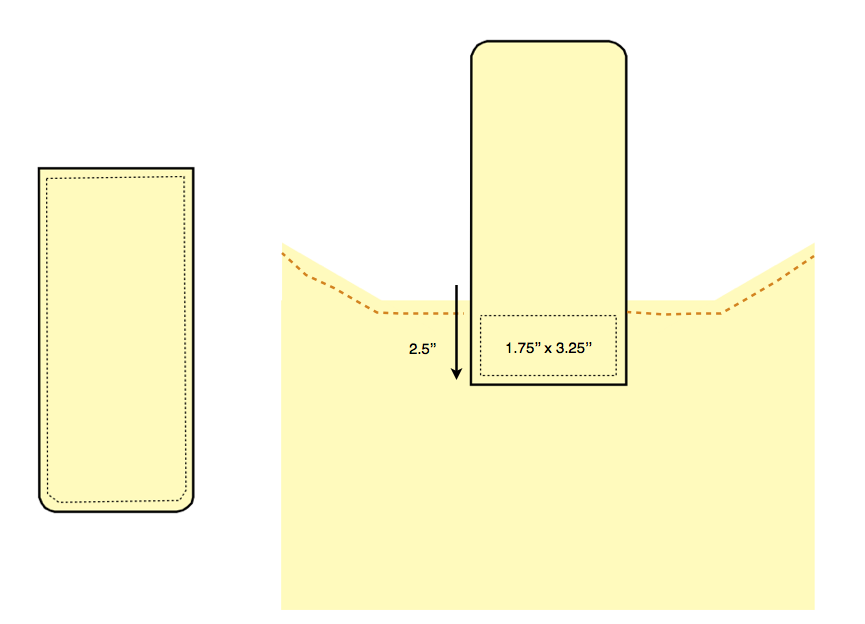
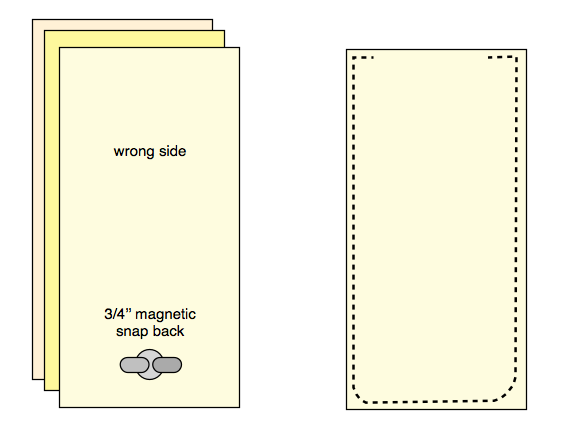
 Next, layer the pieces together in this order, cotton batting, 4” x 8” piece right side up, 4” x 8” right side down. See drawing on the left. Then, sew them together with a 2.5” opening on one 4” end. Curve the corners at the other 4” end (the one where the magneic snap is attached. See the drawing on the right.
 Turn the flap right side out through the opening, poke out the corners, and press flat. Then top stitch around the entire piece 1/8” toward the edge. See the dawing below on the left. Then center the flap on the top edge of the bag- the opposite side of the bag that you want to be the front (both sides are identical in the pattern but maybe you like something better on one side of the bag that the other!). Pin the flap 2.5” from the top edge and stitch on with a box that measures about 1.75” x 3.25” you can draw this with water soluable ink or chalk if desired. See the drawing on the right below.
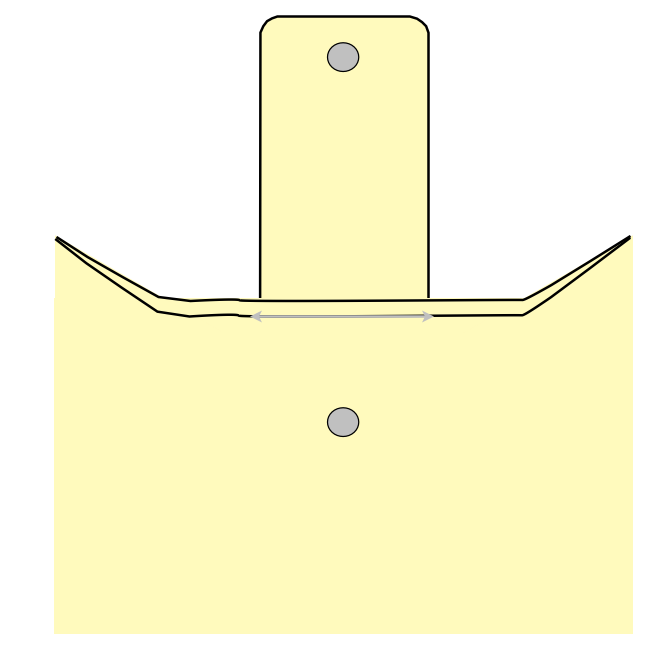
If you are adding the flap on AFTER making the bag (like I did), you will have the problem of inserting the other half of the magnetic snap to the front side exterior. Simply use your seam ripper to gently take out about 3” of the top stitching and then open the seam between the lining and exterior up. Measure down 2.75” from the tope edge, centered, and make a mark with chalk or water soluable pen. Use this mark as your placement for the other half of the magnetic snap. See the drawing below.
I used steam a seam to close the opening back up but you could also use a blind stitch or simply just use the top stitch to close the opening back up. Be careul though in such a visible area of your bag! See the gray arrow line above for where the opening would be. Once you have it close backup, top stitch so the opening blends with the previous stitches.
Now you have have vacation tote with a flap! YAY! The flap is nice for a little more security and really accent the curved body shape. Comment here or email me if you have any questions about this method.
you can purchase some of this adorable fabric here. You can get this pattern over in my pattern shop!

