About a month ago my nieces came over for a visit. The weather was cold so we stayed inside and Anne and I showed them how we make our clothespin dolls. Clothespin dolls have been around forever so it's fun to show the girls these toys and think about people making them long ago too. My sister in law, who is an awesome photographer, took pictures of the event.
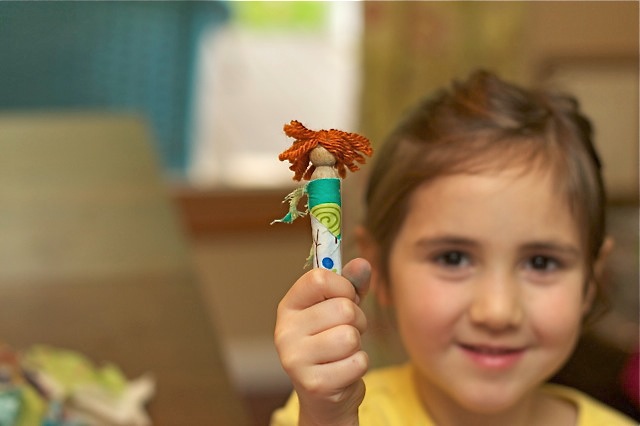
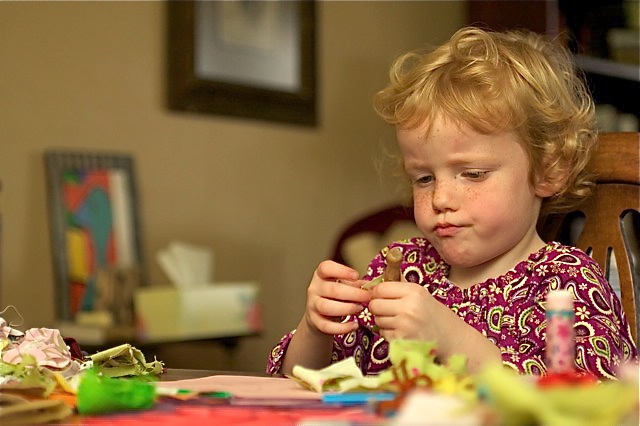
We are going to make some more as gifts for girlfriends and other cousins over Christmas break. These turn out really cute with fun fabric scraps and yarn hair.
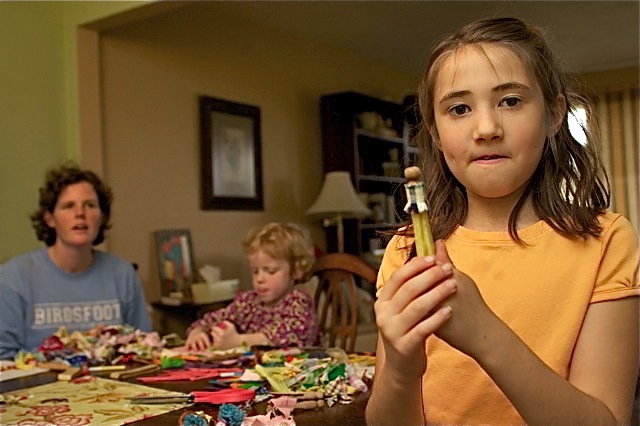
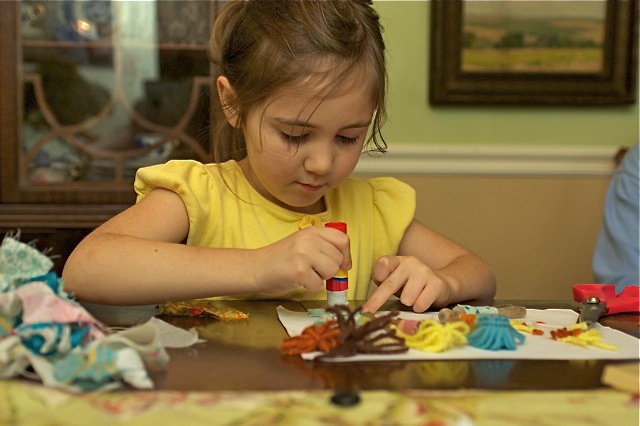
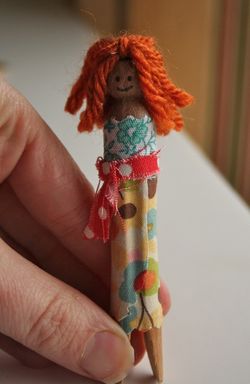
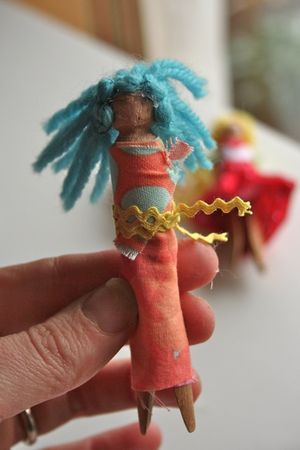
Here are a few that I made the other day. (The lovely Jenny did not take these photos below!)
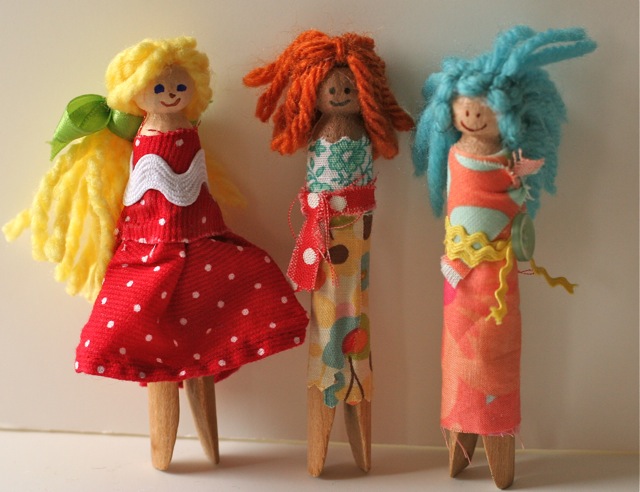
My girls said "WHERE ARE THE ARMS??" You can easily drill a small hole through the middle and stick a pipe cleaner in there to make arms. Like them? Here's how we do it~
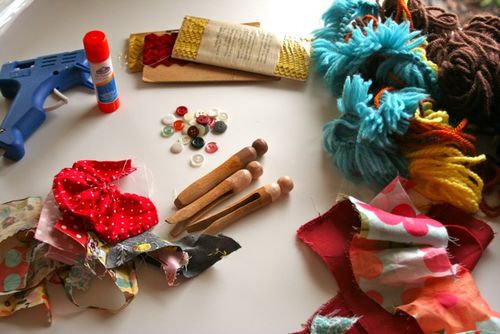
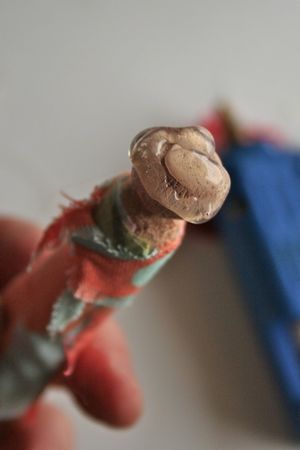
Gather your supplies. I think it's great just to use what you have around the house. The clothespins would be the only thing you may have to shop for. Whenever I see these old fashioned kind at an estate sale, I scoop them up. If you don't have any of those, you can buy new ones from Michaels. Before I started, I painted the tops "skin" color and then sprayed them with a clear shiny glaze. I didn't bother with this when I did it with the girls a few weeks ago. It looks a little nicer, But no big deal if you skip that.
Get you smallest scraps. You can even cut a bunch to size (the size is how much it take to wrap around the clothespin!) before you start with the kids to be more organized. Use glue sticks, yarn, rick rack, ribbon, tiny buttons, fringe, and whatever else you can think of. I use a glue gun to attach the hair and other bits.
Let's begin~ Cut your fabric to size and put glue all over the back of the fabric.
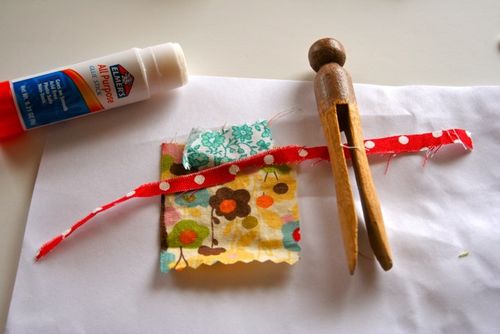
Wrap it around the doll and overlap a bit in the back. I just tied that fabric strip on for a belt.
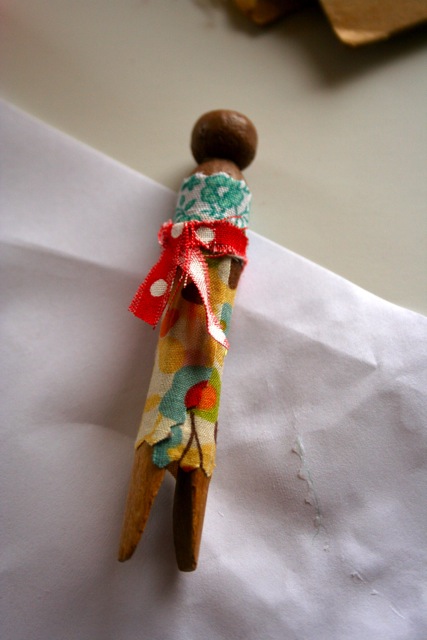
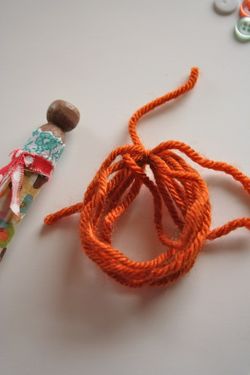
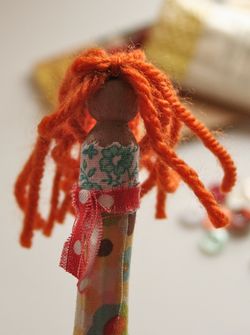
Next comes the yarn hair. Make loop on your hand, tie it in the middle with some yarn, cut it open & hot glue it to the top of her head. CUTE! Give her a hair cut if you choose. I used a sharpie to draw her face.
Here is how I did the one with the red dress. I gathered a piece of fabric on the sewing machine. Used my glue gun to put the skirt around her waist. Then, using the same fabric I made a shirt and I pasted it on with the glue stick.
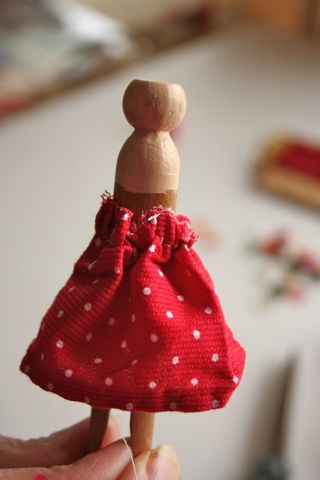
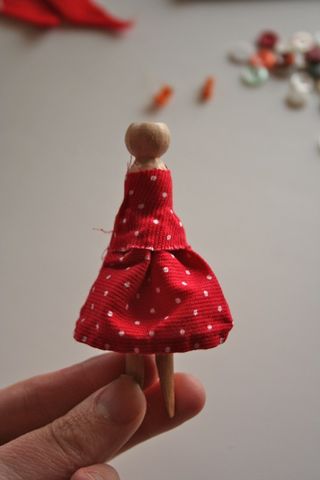
For this one, I left her hair long and then gave her a pony tail in the back.
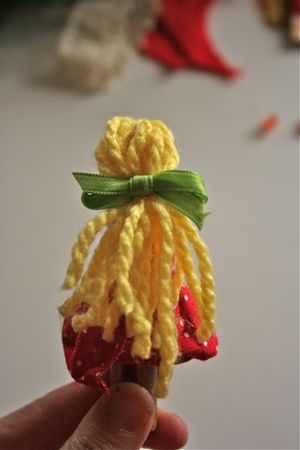
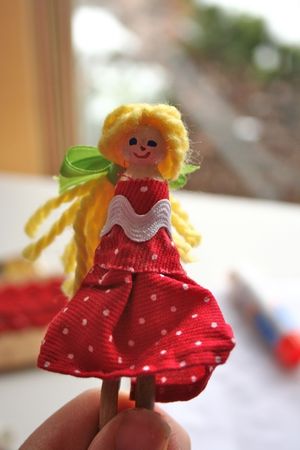
That girl was really cute until I gave her that face! The girls don't seem to notice so we'll just pretend she doesn't look like a zombie and they will never know.
Here is one last girl I took pictures of and she is pretty funky! This one is my favorite but my daughters decided this one could be for their brother which may clue you in to her popularity among the kids. I'll have to just keep her for myself and make her into a magnet for the fridge…
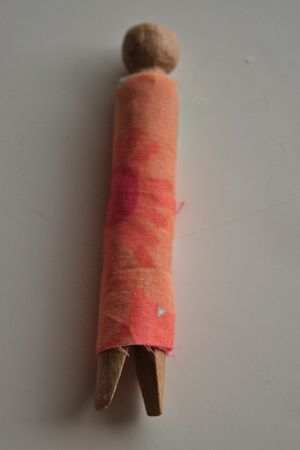
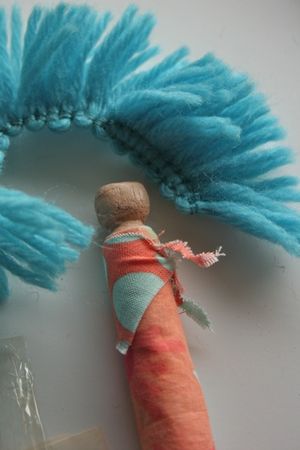 I I really had to glob on the hot glue to make sure the fringe stayed on.
And finally ( after a whole 5 minutes of work) my funky girl is complete.
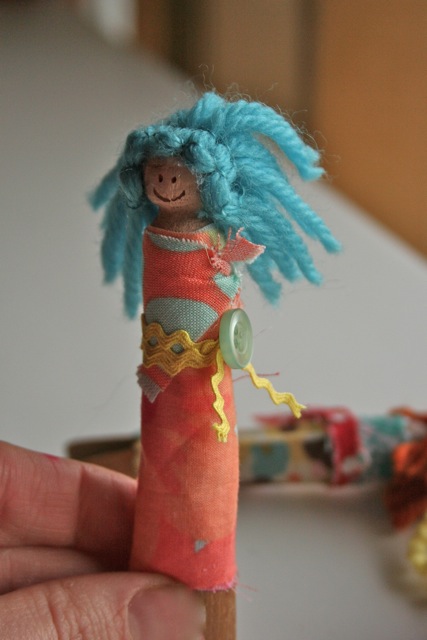
Hope you are feeling inspired! MANY people do beautiful and fancy clothespin dolls but these are fun and quick. The girls use them in their doll houses & sometimes we tie them on gifts as part of the gift wrap. I first made these when I saw Amy Karol of Angry Chicken do it a few years ago. Her's look so pretty.
What do you think? Let me know your ideas about these girls and what fun you can think of with them. Crafty birthday party activity? Make a shoebox doll house for them to live in? My girls get a big kick out of designing their outfits and I'm sure yours would too!
If you make some of these, I would love to see them! You can post them in my gingercake flickr group.
