My mom bought me a serger for my birthday!! I am so excited to use it but first I wanted to organize and clean up my sewing room. After the 3 bags of garbage (one tall kitchen and 2 small so it wasn't THAT bad) and a BIG garbage bag of fabrics to donate along with craft items that I haven't used in the last 2 years, my room started looking pretty good. I hung up most of my fabric hoops, I recovered the seat of sewing room chair, I brought in yet another set of shelves, and then I wanted to do one last project. I have a plain lamp shade in there that was calling my name…
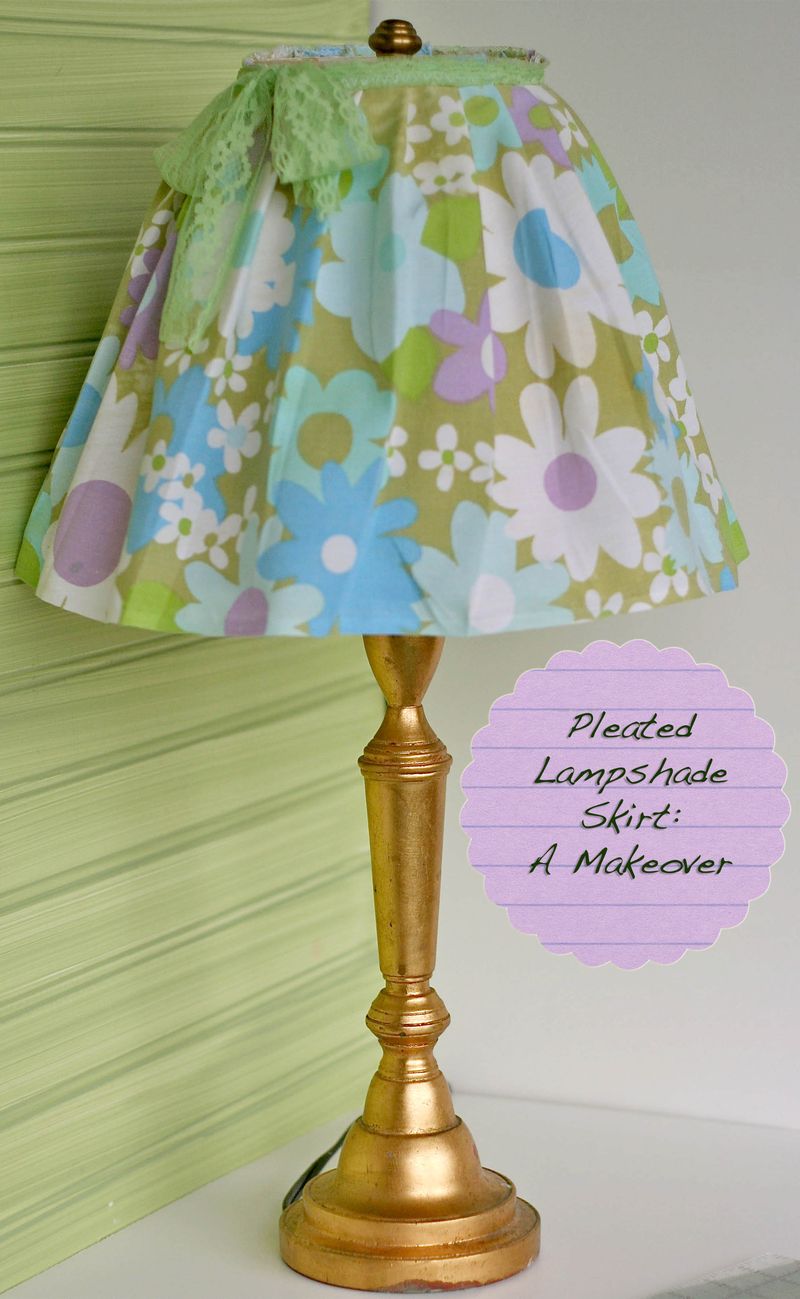
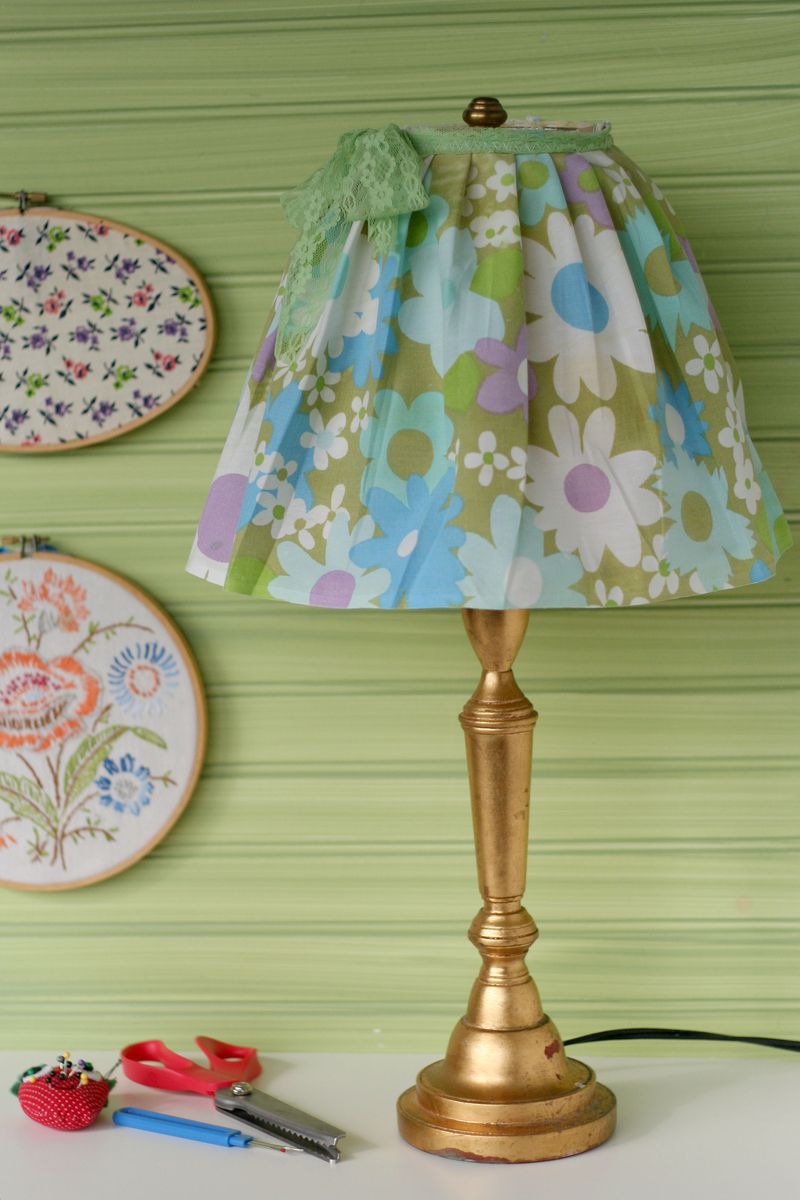
Since this lamp is just for me in MY sewing room, I decided it could be as girly, vintage and funky as I wanted! Perfect for a craft room- except the girls are now crazy to have "skirts" made for their lamps too. This is actually a skirt- it just fits over the plain shade. So no glue guns or special items needed!
You want to make one? It is so easy and fun. Use a lightweight fabric that will have a nice drape for best results. Measure the rim of your lamp shade and multiply it by 2.5. Measure the height if your lamp and add .5" to add a little rolled hem to the bottom. It worked out that I could just use the selvedge of this piece of vintage sheet as my hem, but most materials would need a hem added.
Make your hem by ironing the fabric under .25" and then again.25". Sew the hem down with a straight stitch. On the other long edge, sew your widest zig zag stitch close to the edge and across the entire length to keep the fabric from fraying.
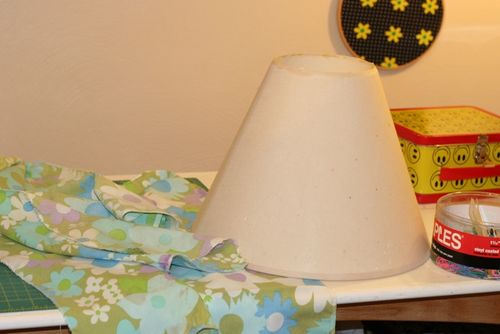
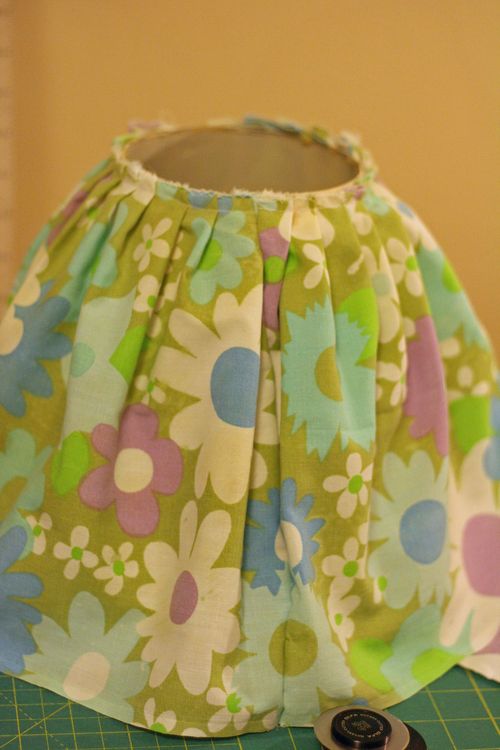
Now bring the fabric up to the lampshade and using paper clips begin making even pleats with the fabric all around the top of the shade. You do this by folding the fabric over about .5" and clipping, then repeat.
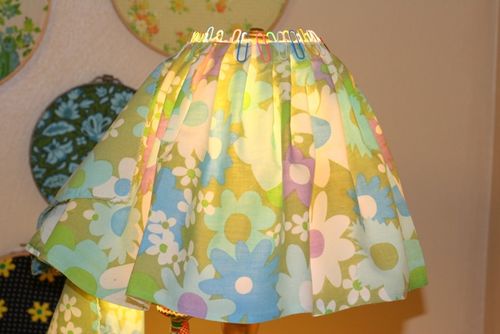
Next switch out paper clips for pins but keep the fabric in the same place.
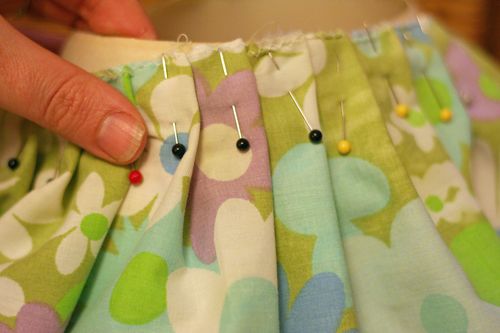
Now over to your sewing machine to sew dow the pleats. Be careful not to let the fabric fold under while you are sewing down the pleats- just go a little slower and it should be fine.
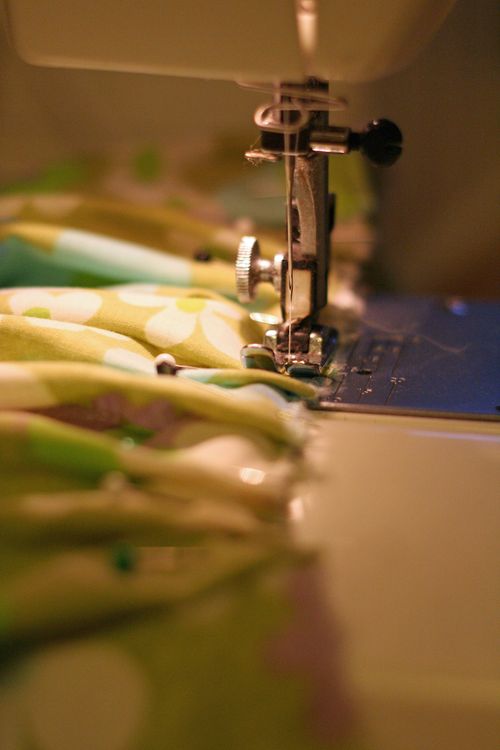
Mine got longer when I sewed the pleats down and this may happen to you too! Take it back over to your lamp shade and paper clip so it fits just right.
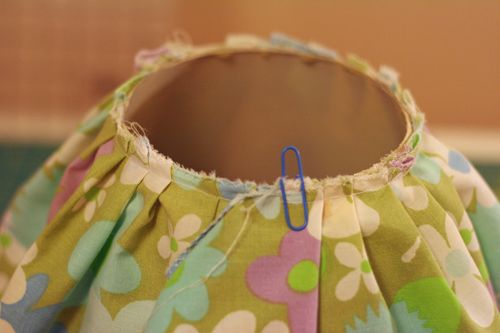
Take out the paper clip and use your fingers to keep the fabric in place. Pin, right sides together, down the height of the "skirt" and sew a seam. Angle this out slightly but it doesn't have to be perfect since it won't show and there is plenty of room for it to sit over the lampshade.
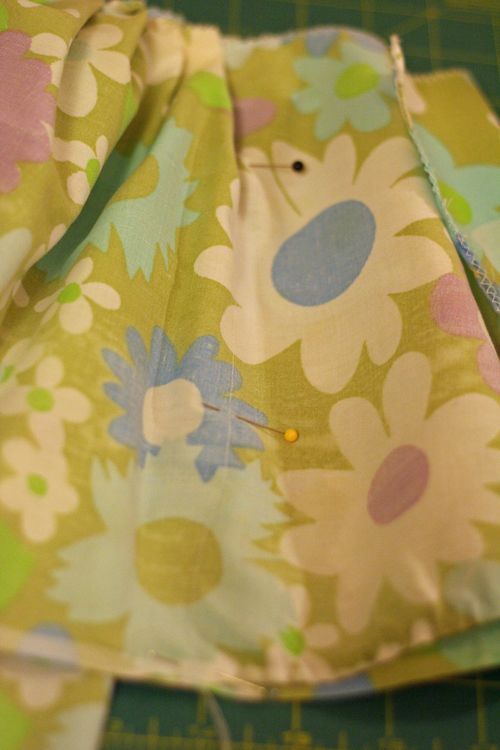
You can see from my picture above that I had some extra fabric and at this point, I just trimmed it off and ironed out the seam. Try it on your shade to make sure the fit is good. Try to elimate any sagging by going back and making the seam smaller if you need to.
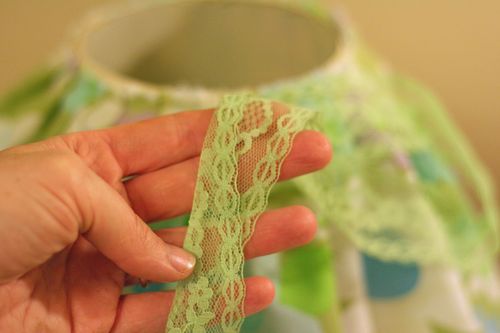
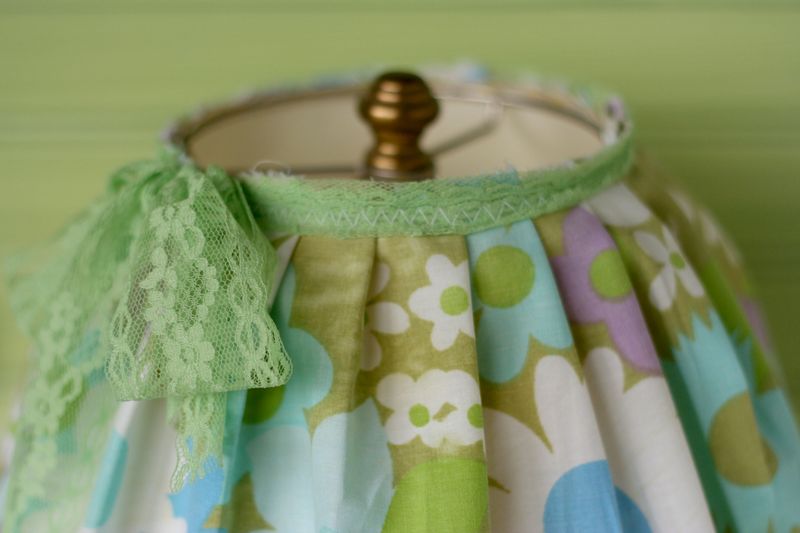
Next, find a piece of trim, double fold bias tape, ribbon, pom poms, or whatever to add around the top of your shade skirt. Make sure there is plenty to fit around the shade and extra if you want to make a tie like I did. I just used some lacy seam binding that was the perfect color and folded it in half.
If you want a tie like I did on mine, start sewing the trim on about 8 to 12" from one end of your trim. I choose to fold mine in half and do a zig zag stitch on secure my trim but you may want to change that for your shade skirt to work best with your trim. Sew the trim on all around the top- flush with the top edge of the skirt and again being carful of the pleats and making sure the fabric lays flat underneath. For the tie, stop just short of the two edges meeting. Cut the other end to be as long as the first. Place on top of your shade and tie together!
I love it! And I used some of that mountain of vintage sheet fabric I have been hoarding! If you make one, I would love to pictures! You can post it in my GIngercake Tutorials Flickr Group. Now I am off to start using that serger!

