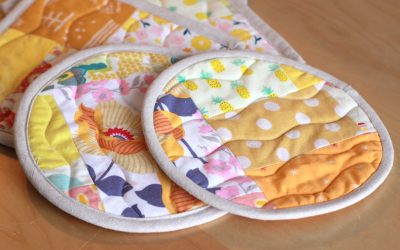
Whenever I see embroidery hoops at the thrift store, i gather them up in my basket. They are addictive! I have too many now and it is time to start using them up. I thought Valentine's day would be the perfect time to get started!
These are on our stocking nails which I thought was the perfect place. The idea began as just hearts with fun fabrics and I could practice my embroidery stitches. I then changed them into including envelopes to encourage valentine notes (more about this later).
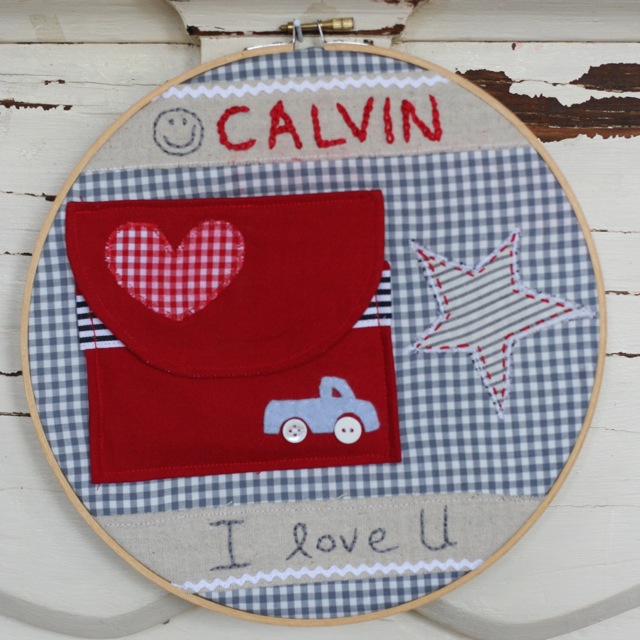
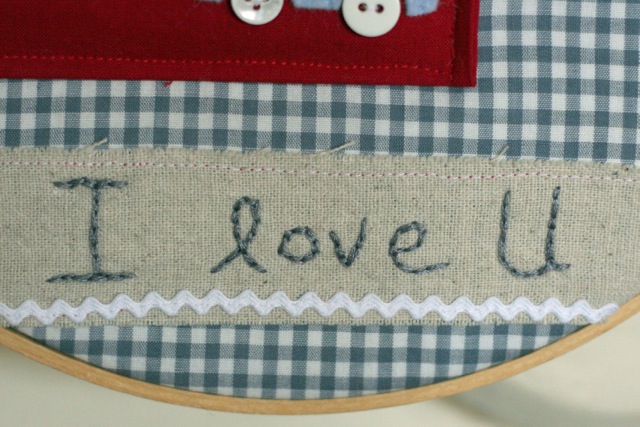
I made Cal's first. I also tried chain stitch for the first time. Remember when I made the quilt I said I was trying to flex my crafty muscles? Well this is about doing that again. The stitching is a little messy and the fabric choices are a little more country than I usually like. I was going for boyish though so this is what I got…
Not bad. He likes it- especially the truck.
Next came Elsie's valentine hoop. She is 7 and loving purple, pink & girlyness in general (You would never know she loves getting dirty in the garden and pushing kids over on the soccer field).
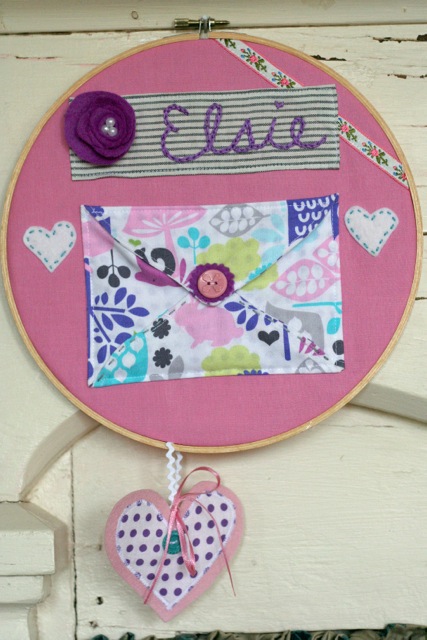
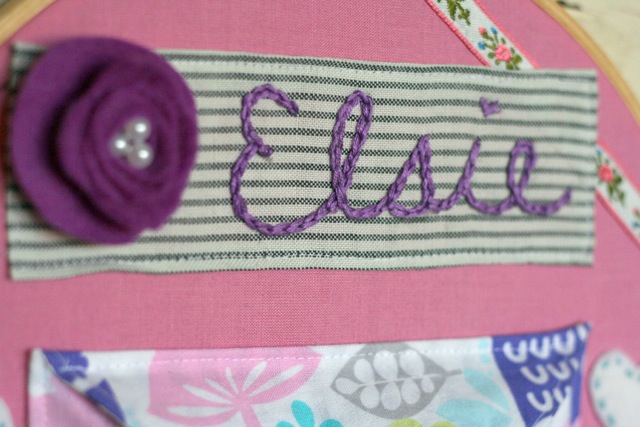
Again, I wanted to practice some new things here so I used Jessica's felt flower tutorial (fun and EASY) and worked again on the chain stitch. It turned out nicer this time! Loving the chain stitch. I also told Amy recently that I didn't know how to use trim so I stuck some trim ribbon in the corner. Hmmm? Not sure about that choice but I DID use some trim!
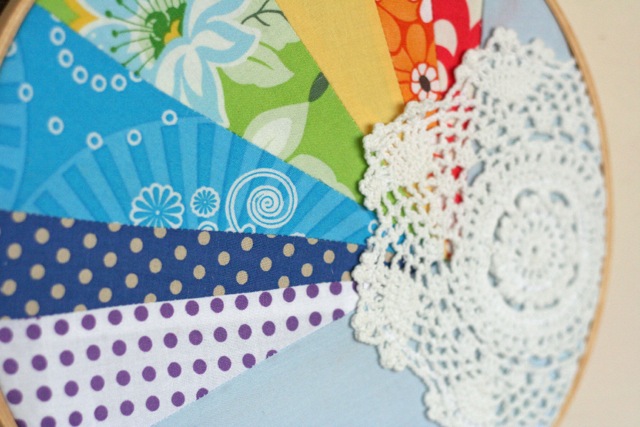
Finally came Anne's which is my favorite. She wanted (after my suggestion!) a rainbow theme. I tried all sorts of different ways to get the look I wanted and then remembered this technique that I saw on pinterest. It worked great and I loved the final look.
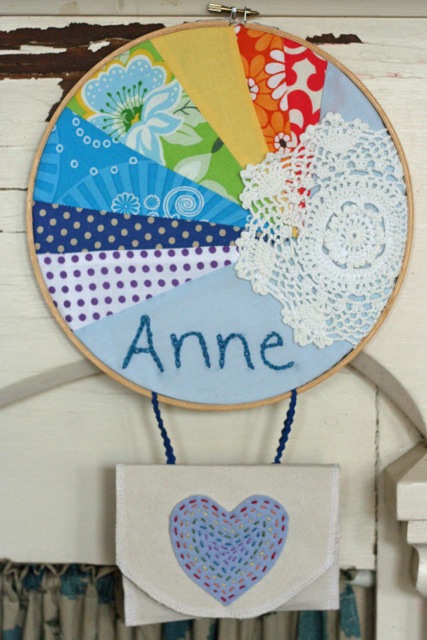
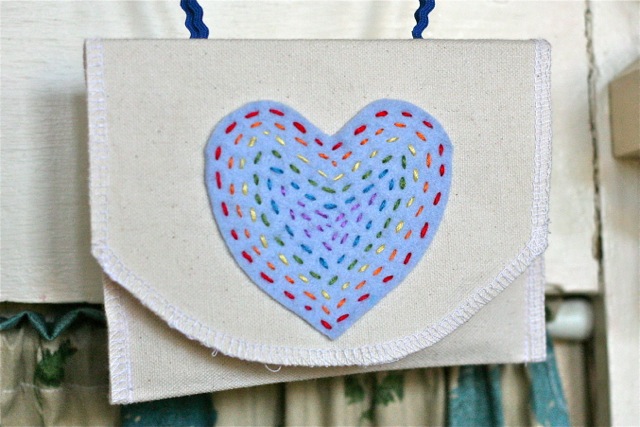
The rainbow and thrifted crochet doily took up the entire hoop so I added this simple duck cloth envelope to the bottom. The heart is made from wool felt and then I used my embroidery threads to do a simple stitch to mimic the rainbow colors. Whole lotta cuteness.
And one more shot of the rainbow. Wouldn't this make the sweetest baby quilt on a biger scale?
The kids are really excited about these. Valentine making and giving has been at an all time high.
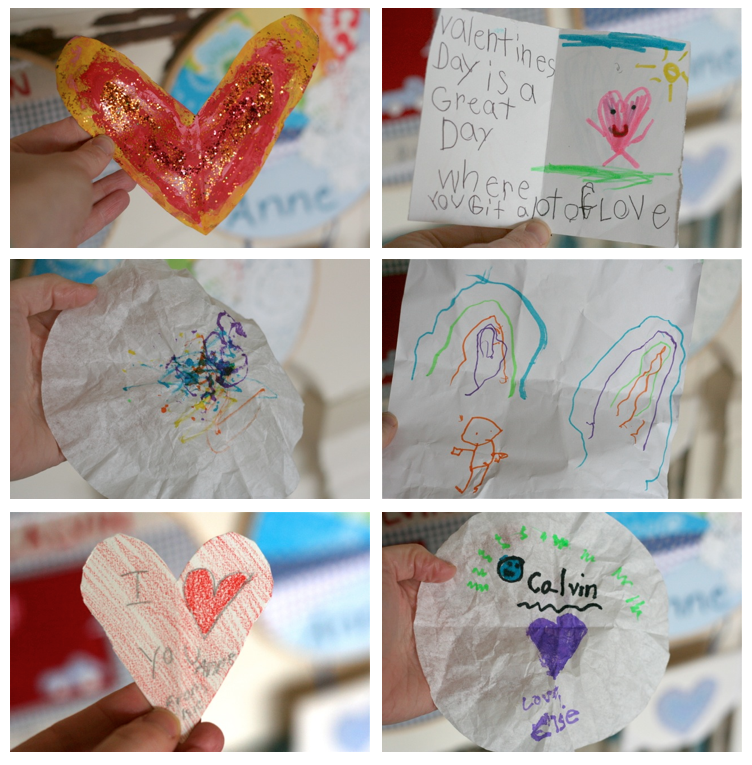
Aren't they cute? You would never know with all this love going around that I had a crazy meltdown last night after I had to clean up yet another HUGE valentine making mess. This time included glitter EVERYWHERE. I yelled at them that I was going to throw it all away and that I was done with all of this! They looked at me with shocked little faces and then we (aka Me) decided to create some valentine making boundaries- no more paint or glitter and only small pieces of paper. Of course Anne's painted and glittered one up there is so beautiful that we all know I am going to crack and open it all up again. YACK!
What do you think? I liked the idea of having the valentine giving be constant the next couple of weeks. Compliments and lovey notes are pretty fabulous really- especially in the dead of winter when we are all cooped up in the house together. The kids are asking where my hoop and their dad's hoop is. Hopefully I'll get around to that! 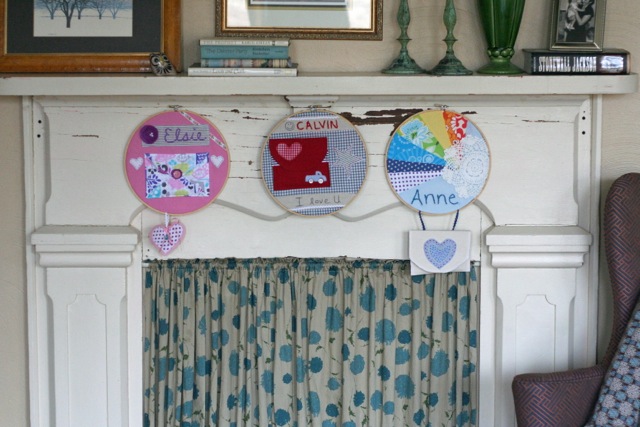
Here are some details- I used 10" hoops. I used the full embroidery thread-all 6 strands. On Cal's and Elsie's I made the top with cotton fabrics and wool felt pieces. I did not use interfacing on the envelopes although with Elsie's fabric envelope it would have been better if I had since it is a little thin. I backed Elsie and Cal's tops with 100% cotton fusible interfacing to firm them up. Anne's blue "sky" fabric was lightweight and when I used the interfacing it puckered around the name embroidery, so I just backed it with an extra layer of white cotton fabric and it worked fine too. For the back of the hoops, I ironed the fabric back and then glued it down. Easy peasy! If you have questions, feel free to leave a comment or email me and I will try to answer!
What do you have cooking for V day? Are you trying some new techiques to flex your crafty muscles? Let me know about it so I can keep up my work out!
