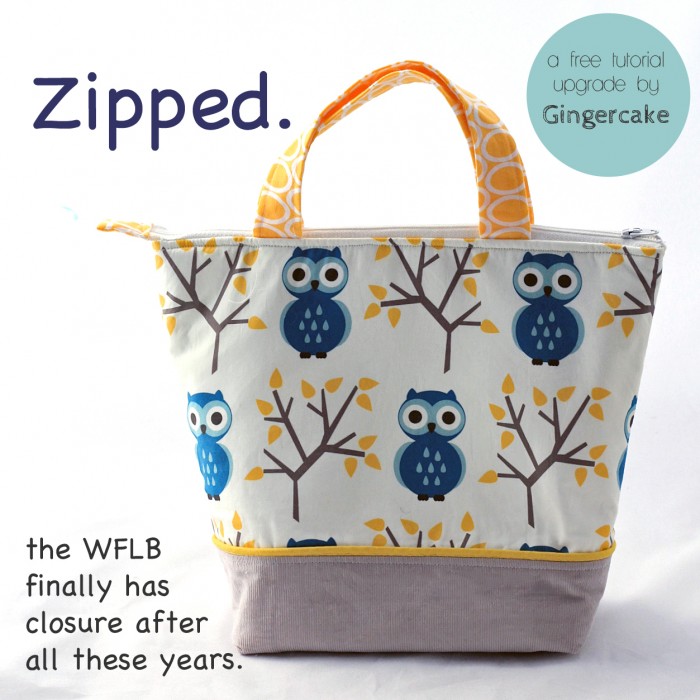
I have no idea why I never made this bag way before! Once I figured out how to add the zipper, I realized that with some practice, this can be a method that is a lot faster and creates a nicer bag (in my opinion!) than the tab closure!
The key to making this really easy is to use a nice long zipper. I buy 20” zippers at zippit.etsy.com. They are inexpensive and come in adorable colors. I wanted to be able to open the bag all the way and I remembered how Anna of Noodle head did her wide open pouches (check out that tutorial if you feel like you need extra info on doing this one). Using the same basic concepts, I was able to figure out a really simple way to add a zipper to this bag!
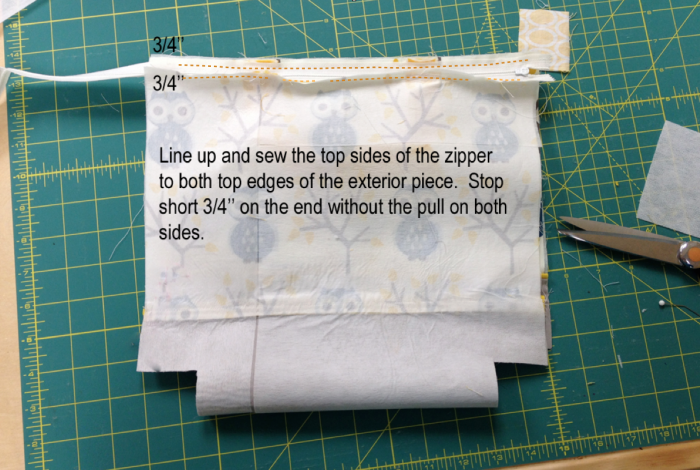
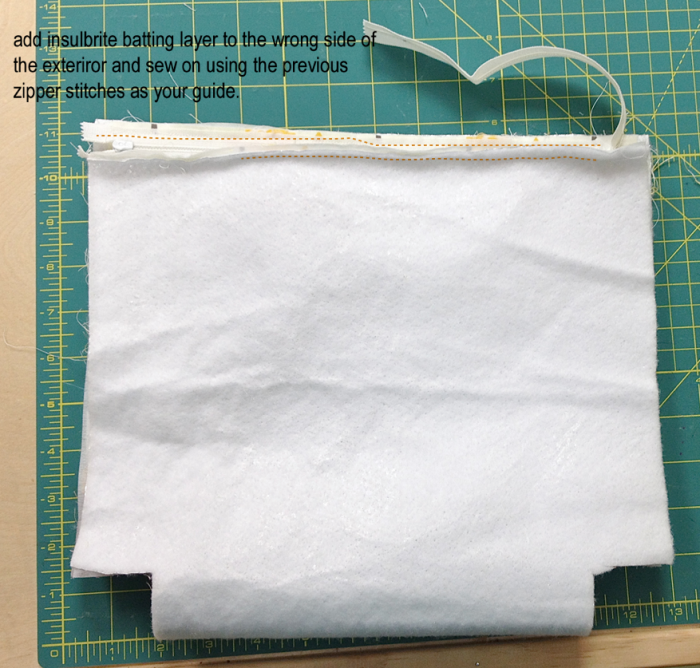
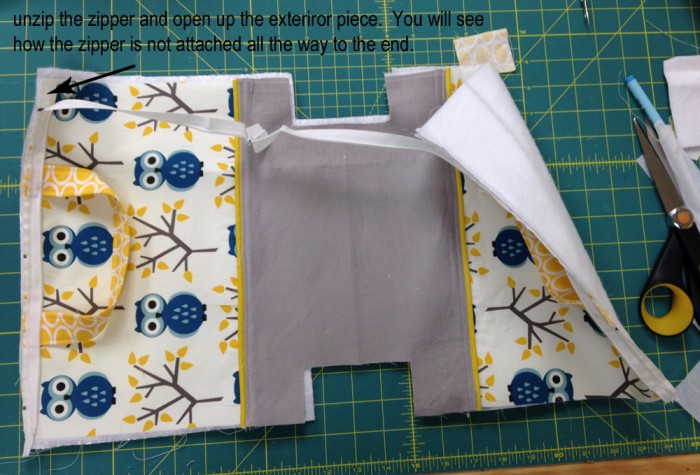
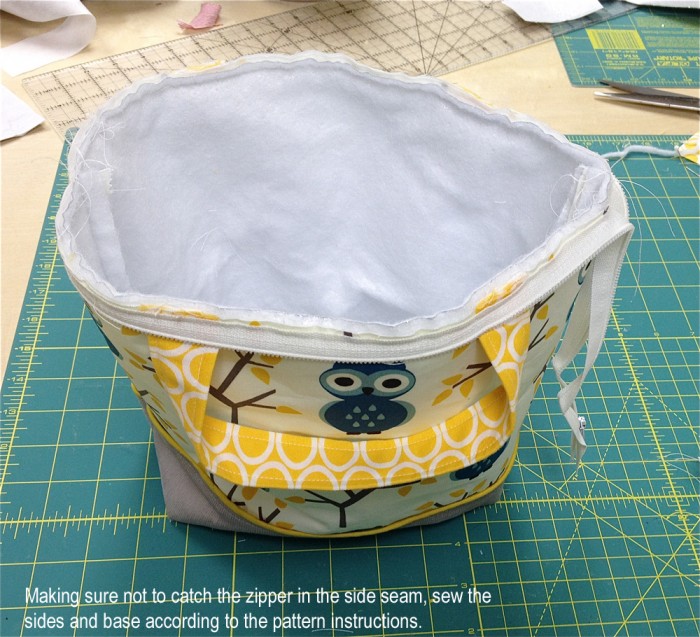
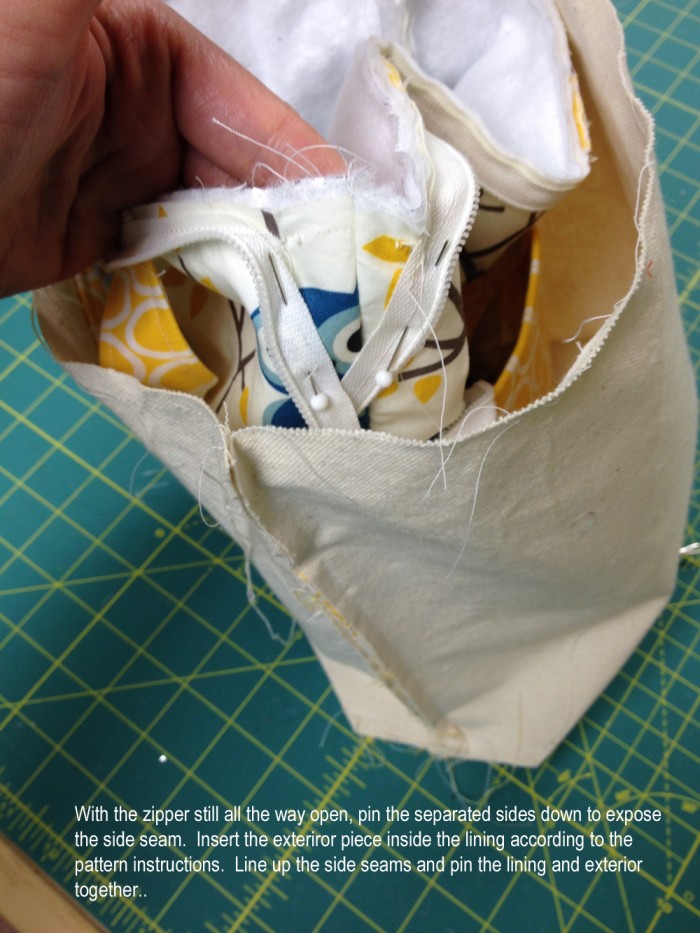
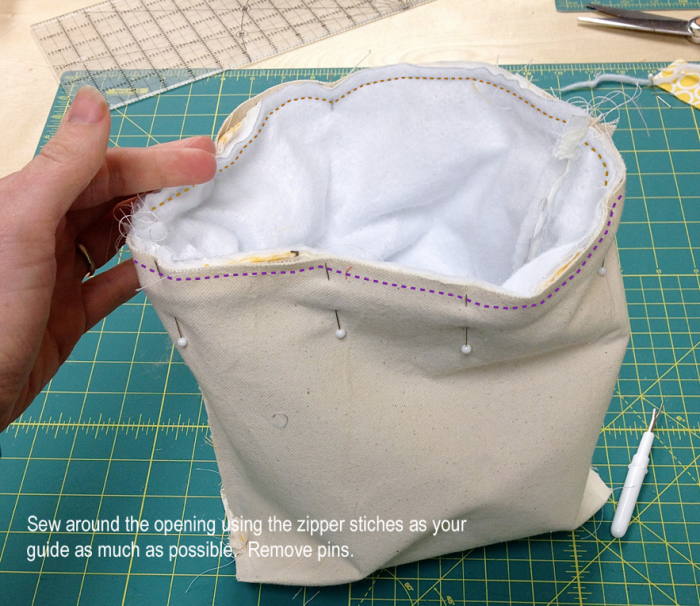
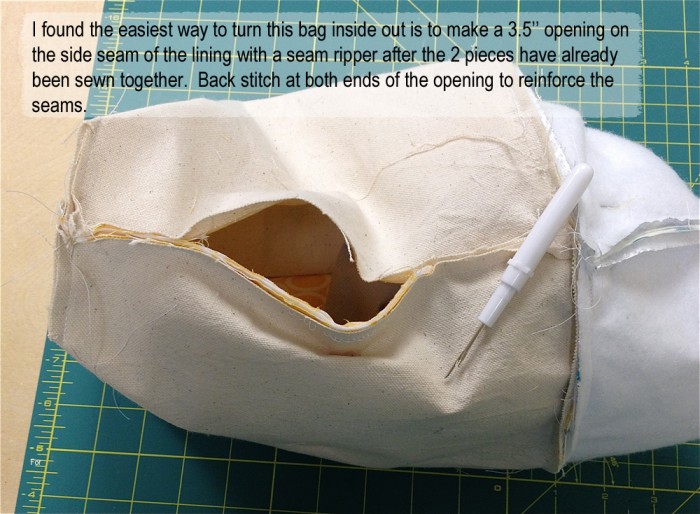
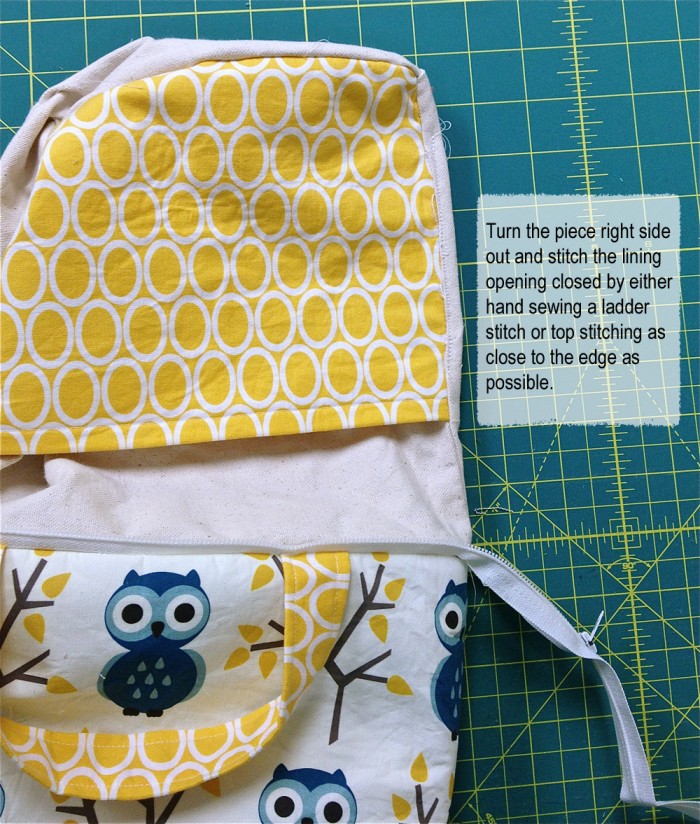
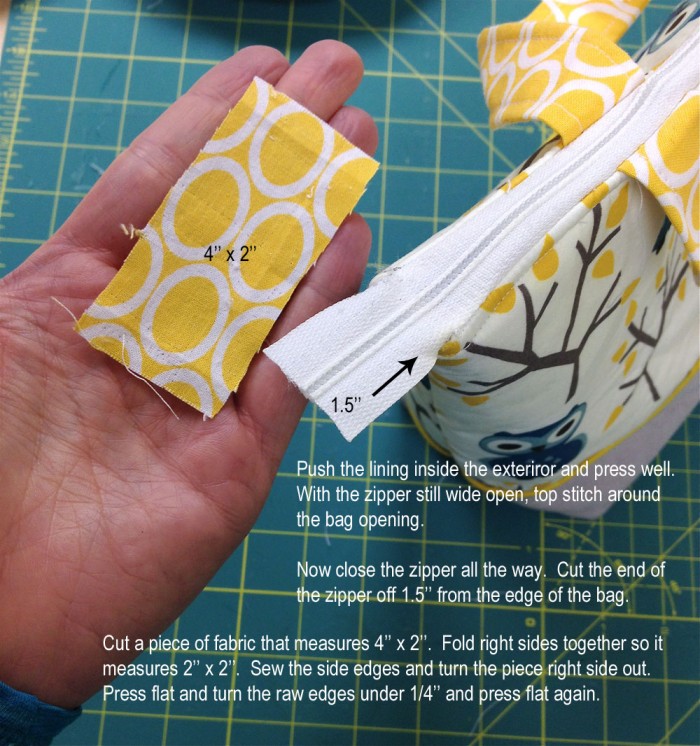
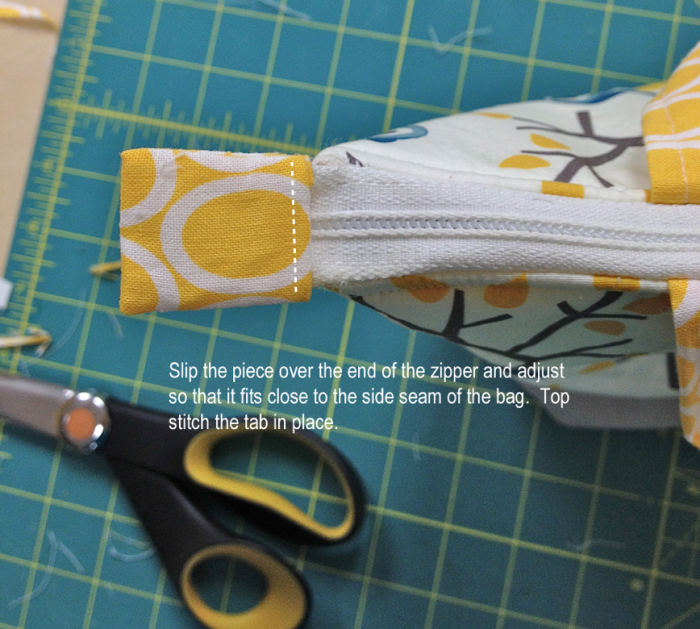
Begin by cutting everything according to the Waste Free Lunch Bag Pattern Instructions except omit the tab and the velcro. Use a 20” zipper instead. Follow this simple photo tutorial to add the zipper to your bag! This tutorial is a free upgrade to the Waste Free Lunch Bag (on sale this month for only $5!). It is meant to be used along with the pattern.
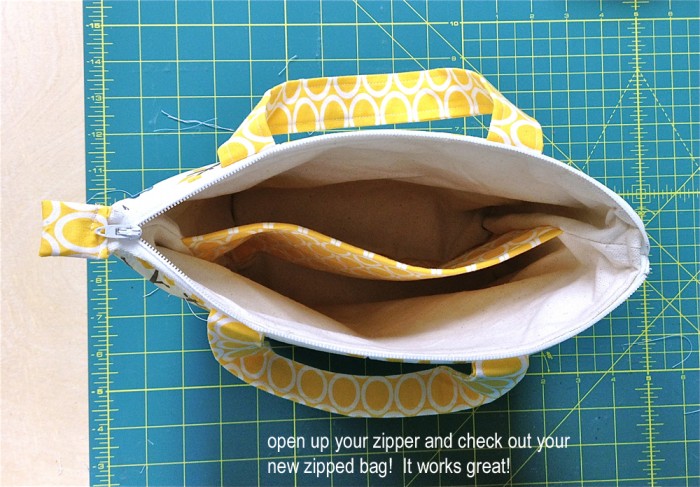 That’s it! See how simple? All lunch bag patterns are on sale until August 9th. Head over to the pattern shop to get yours!

