I am super excited to share this new pattern with you, friends! Introducing my newest sewing pattern, the Bucket Bag!
I have been using this particular Bucket Bag now since the beginning of March and it still looks great! So, what is so special about my newest sewing pattern?
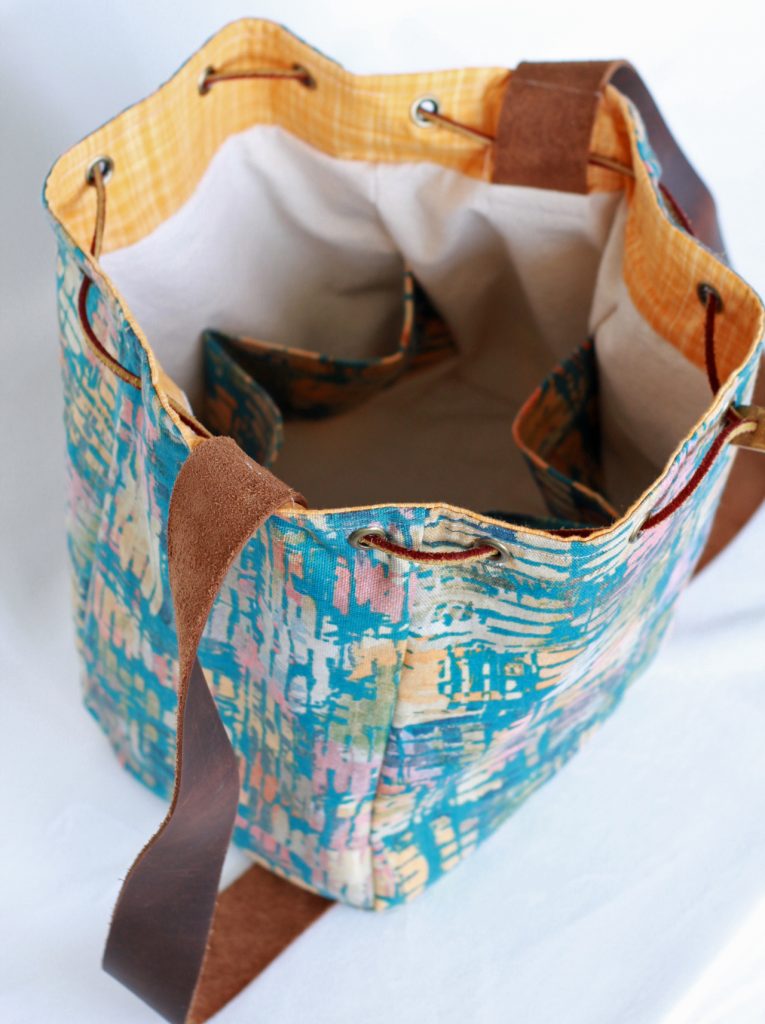
Many things! My very favorite is that this bag looks so professional but it is so simple to make. I have purchased a couple bag patterns and made them in the past and felt that they were aimed at sewists with advanced experience and deep pockets 🙂 . Meaning, nice bag patterns can be complicated and the materials very expensive! The end result is gorgeous but whenever I read a review that says “this bag really challenged me!”. I get nervous that it won’t be a project that I enjoy even if the end result looks like I bought it at a boutique store.
My testers for this bag have said “I can’t believe great it looks and how easily it came together!” and “This is only the second bag I have ever made and I am so proud of professional it looks.” (I am looking forward to sharing those tester projects with you soon!)
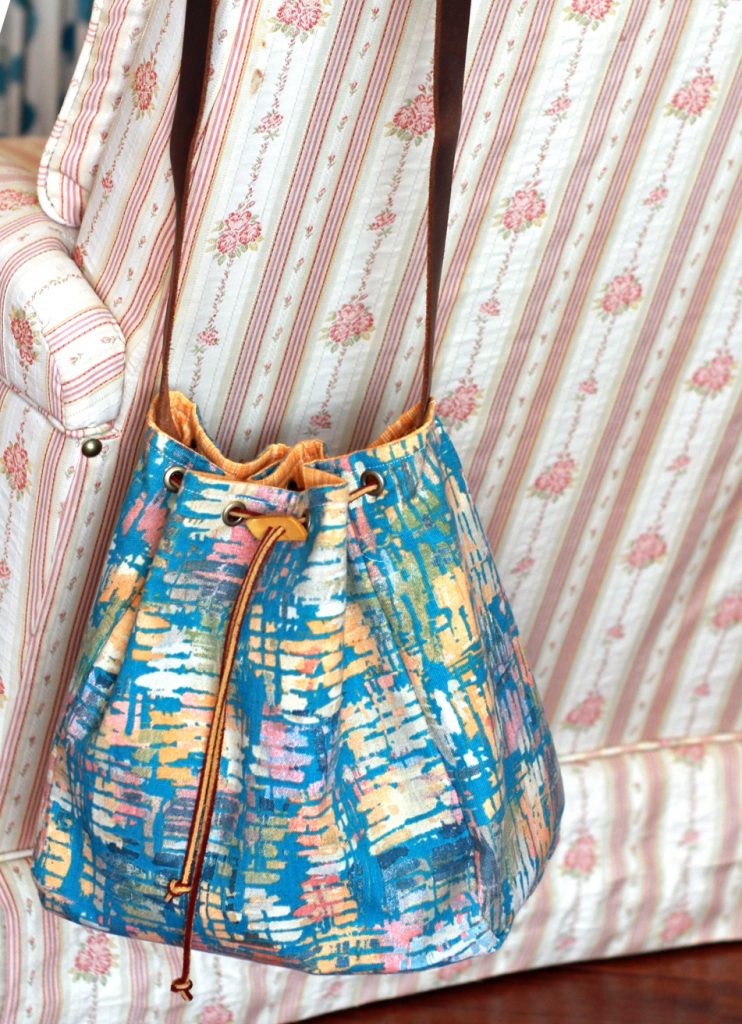
Also, I created this bag to make the most out of a 1/2 yard of fabric. I encourage you to splurge a little on that exterior fabric because there will be no waste! A nice canvas weight fabric will be worth it since your bag will look fresh longer and hold up better to everyday use 🙂
If you have never tried eyelets before, this is your chance. You are going to be so happy that you did, because a little hardware on a bag project really improves the looks of your bag. I actually got my eyelets and tools at… WALMART! For only a few dollars, you can buy the tool and eyelet kit. So, no excuses about where to find materials, friends 🙂
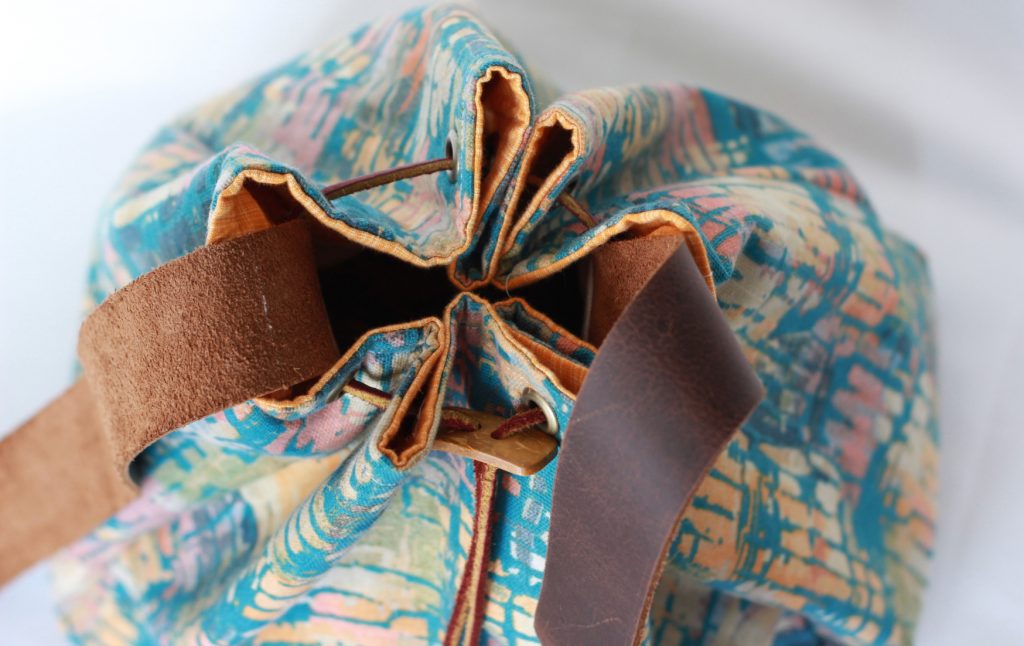
Since I knew I would be making a bunch of these bags (and I have a new obsession with grommets and eyelets!) . I purchased the big pliers for about $18. They make the process so simple! But I also tried the tool, and it works fine for just one or 2 bags 😉
Next thing I love? The addition of a 1.5” wide leather strap. Several of my testers did not use the leather strap (and their straps look amazing) but i LOVE how the leather strap looks. Don’t worry, you don’t need a leather needle or any special equipment to add this strap to the bag. I designed the bag so the strap is sandwiched between fabric and you can just sew right over it!
Also, no need to sew a strap making if you buy one! (making the strap is obviously not my favorite part of bag making) You could also visit a thrift store and find a leather belt of purchase a bag with a leather strap and re use that one if you want to be more economical. The only thing to be careful about would be the thickness of those straps might need a heavy duty needle, so be careful 🙂
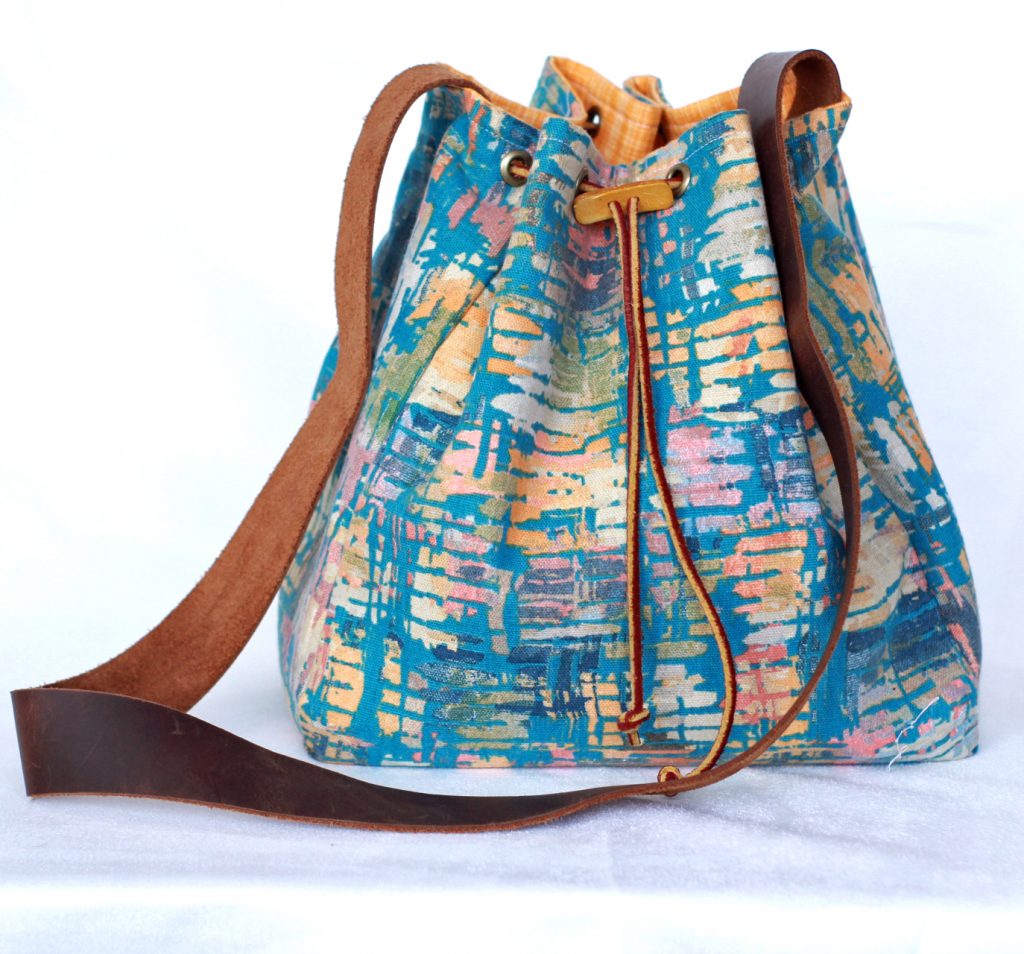
The last special feature that is actually very simple is the leather cording. I like it because it matches the strap 🙂 Again, its easy to find at stores like Micheals or Joanns, but I purchased my cording on Amazon.
Again, you may use a variety of things for the drawstring. In one of my test bags, I used a shoe string! Also, I made my own from fabric and also one from polyester cording. But I prefer the look of the leather cording in the end because it gives your bag a special professional touch.
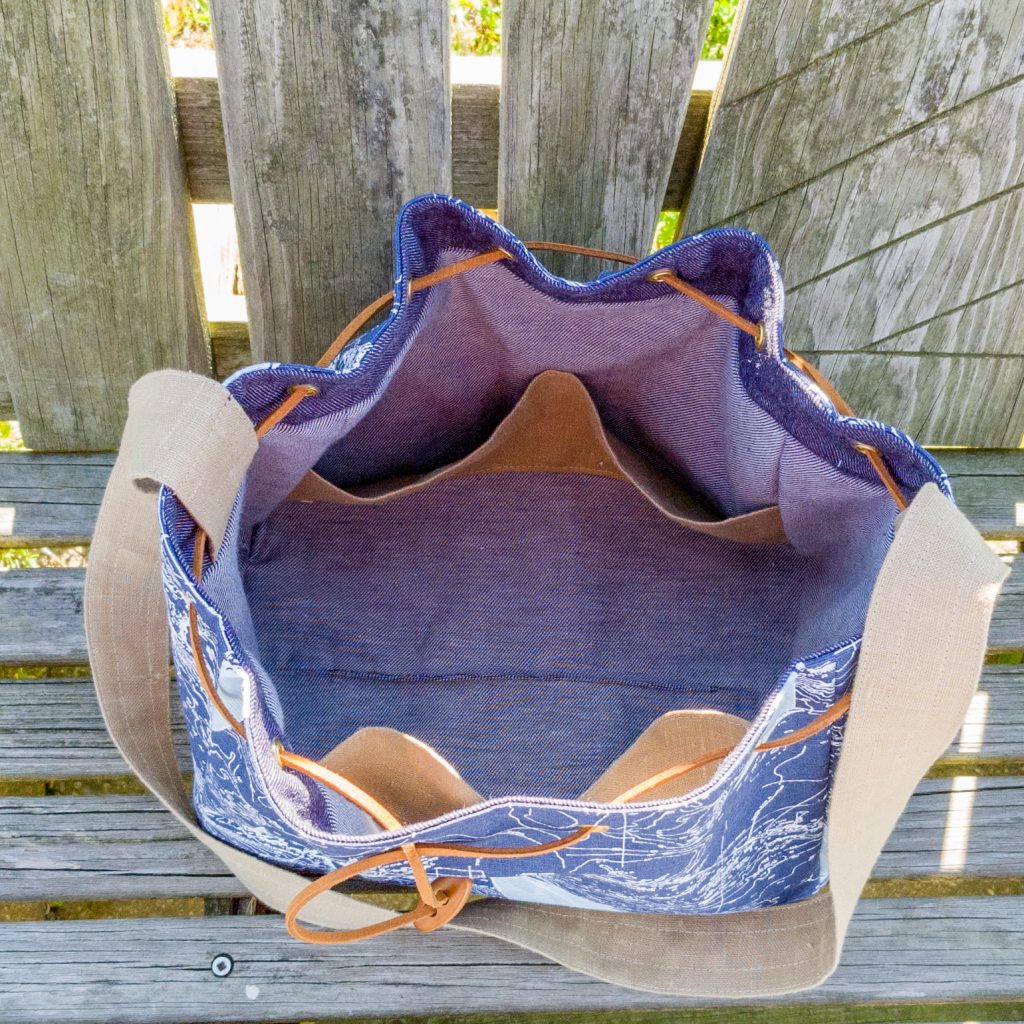
All this talk about the exterior of the bag but now we must recognize the large roomy interior pockets. Yes, Please, Thank you! Tons of space in there for all your stuff.
I hope you are as excited about making this bag as I am about sharing it with you! For this week only (May 20-27th, 2019) the Bucket Bag Pattern is just $5. YAY! Head over to my shop and I hope you get to make one soon! This week I will be sharing lots of ideas and Bucket Bag creativity so stay tuned 🙂
