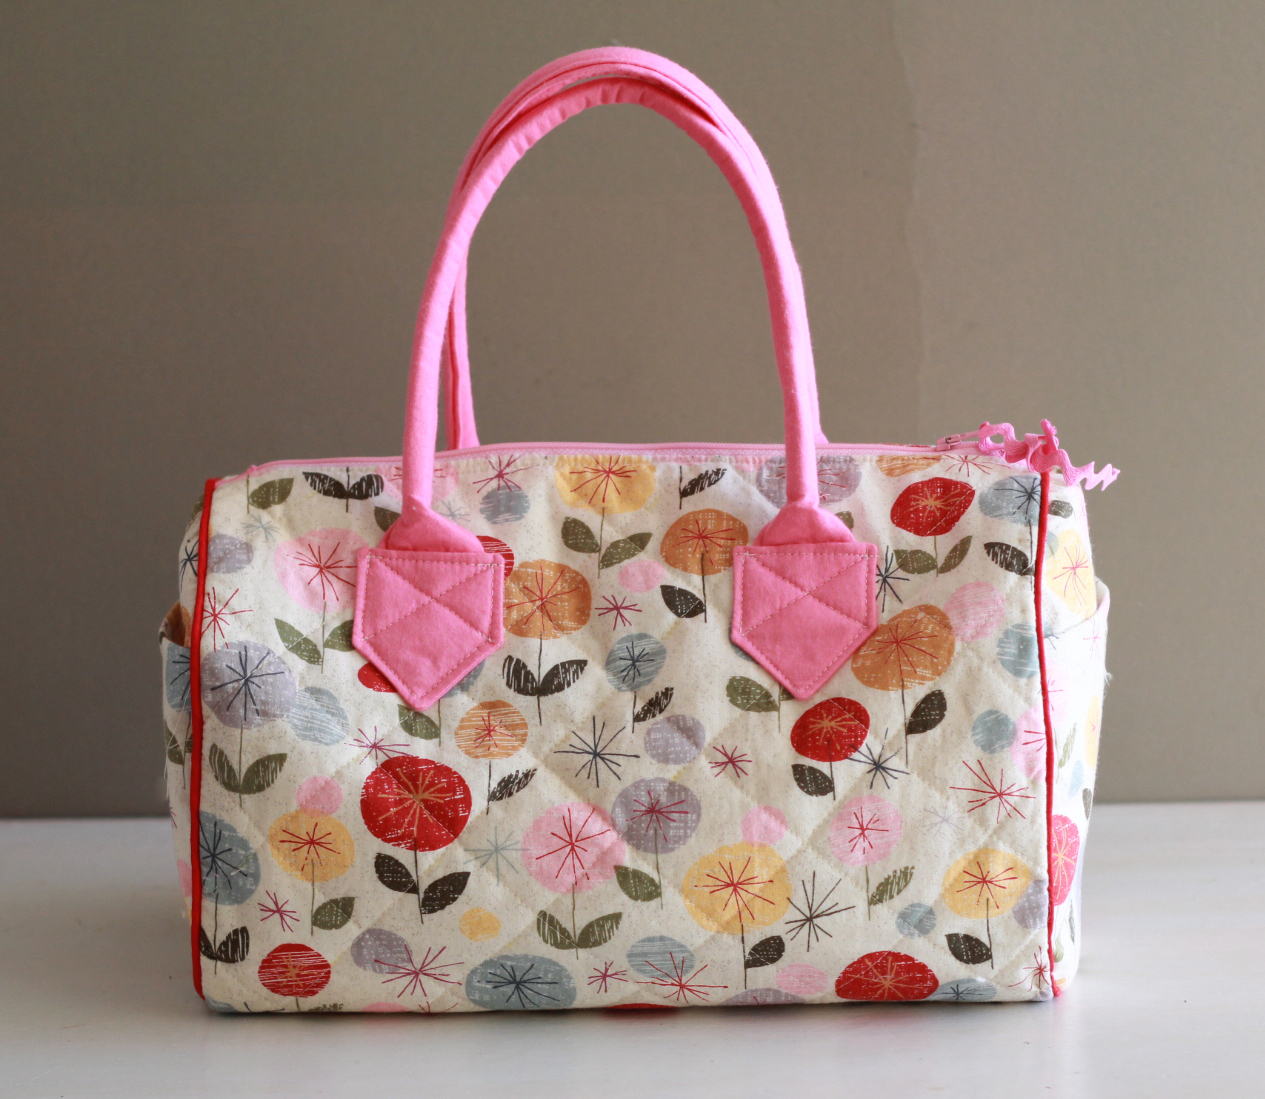
The classic bowling bag look great with pockets on the end! Here are instructions to show you how to add end pockets and make them look really nice.
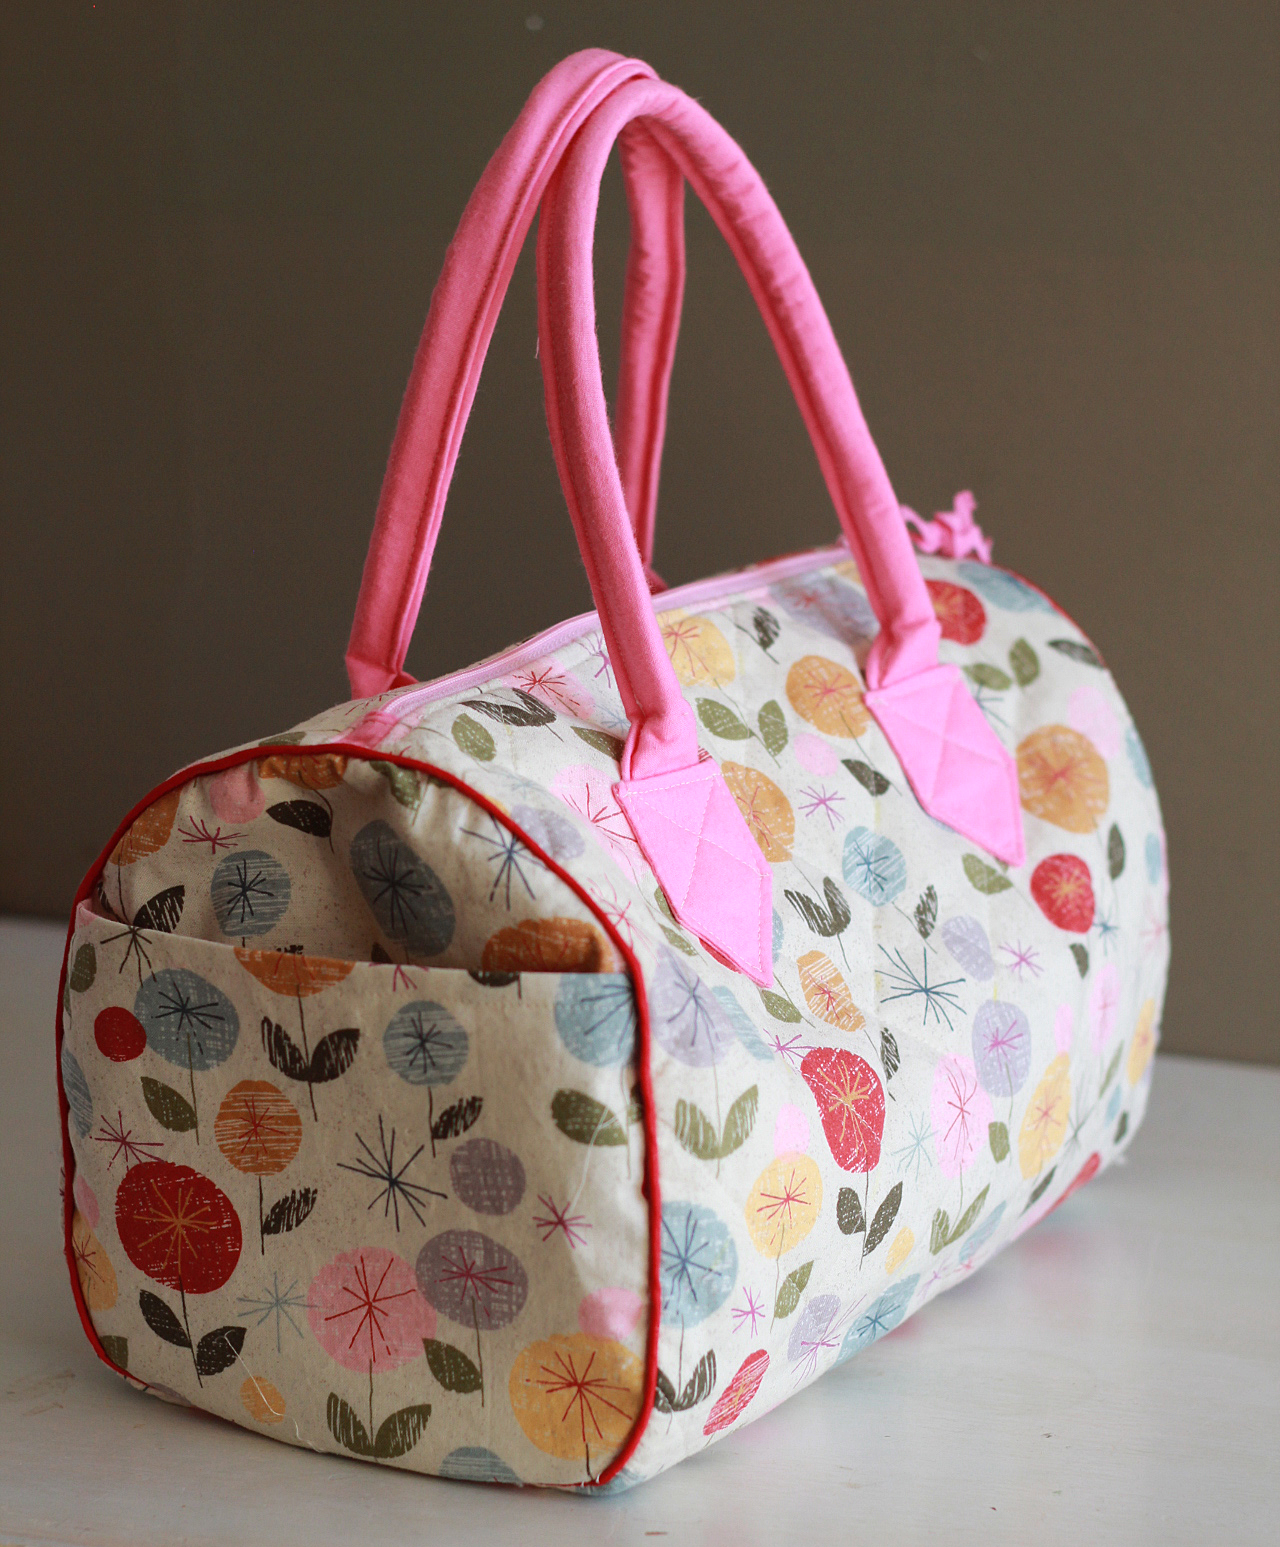 First, take a piece of fabric, in the same direction as your end piece, that measures 8” wide by 12” long. Pay attention to fabric direction.
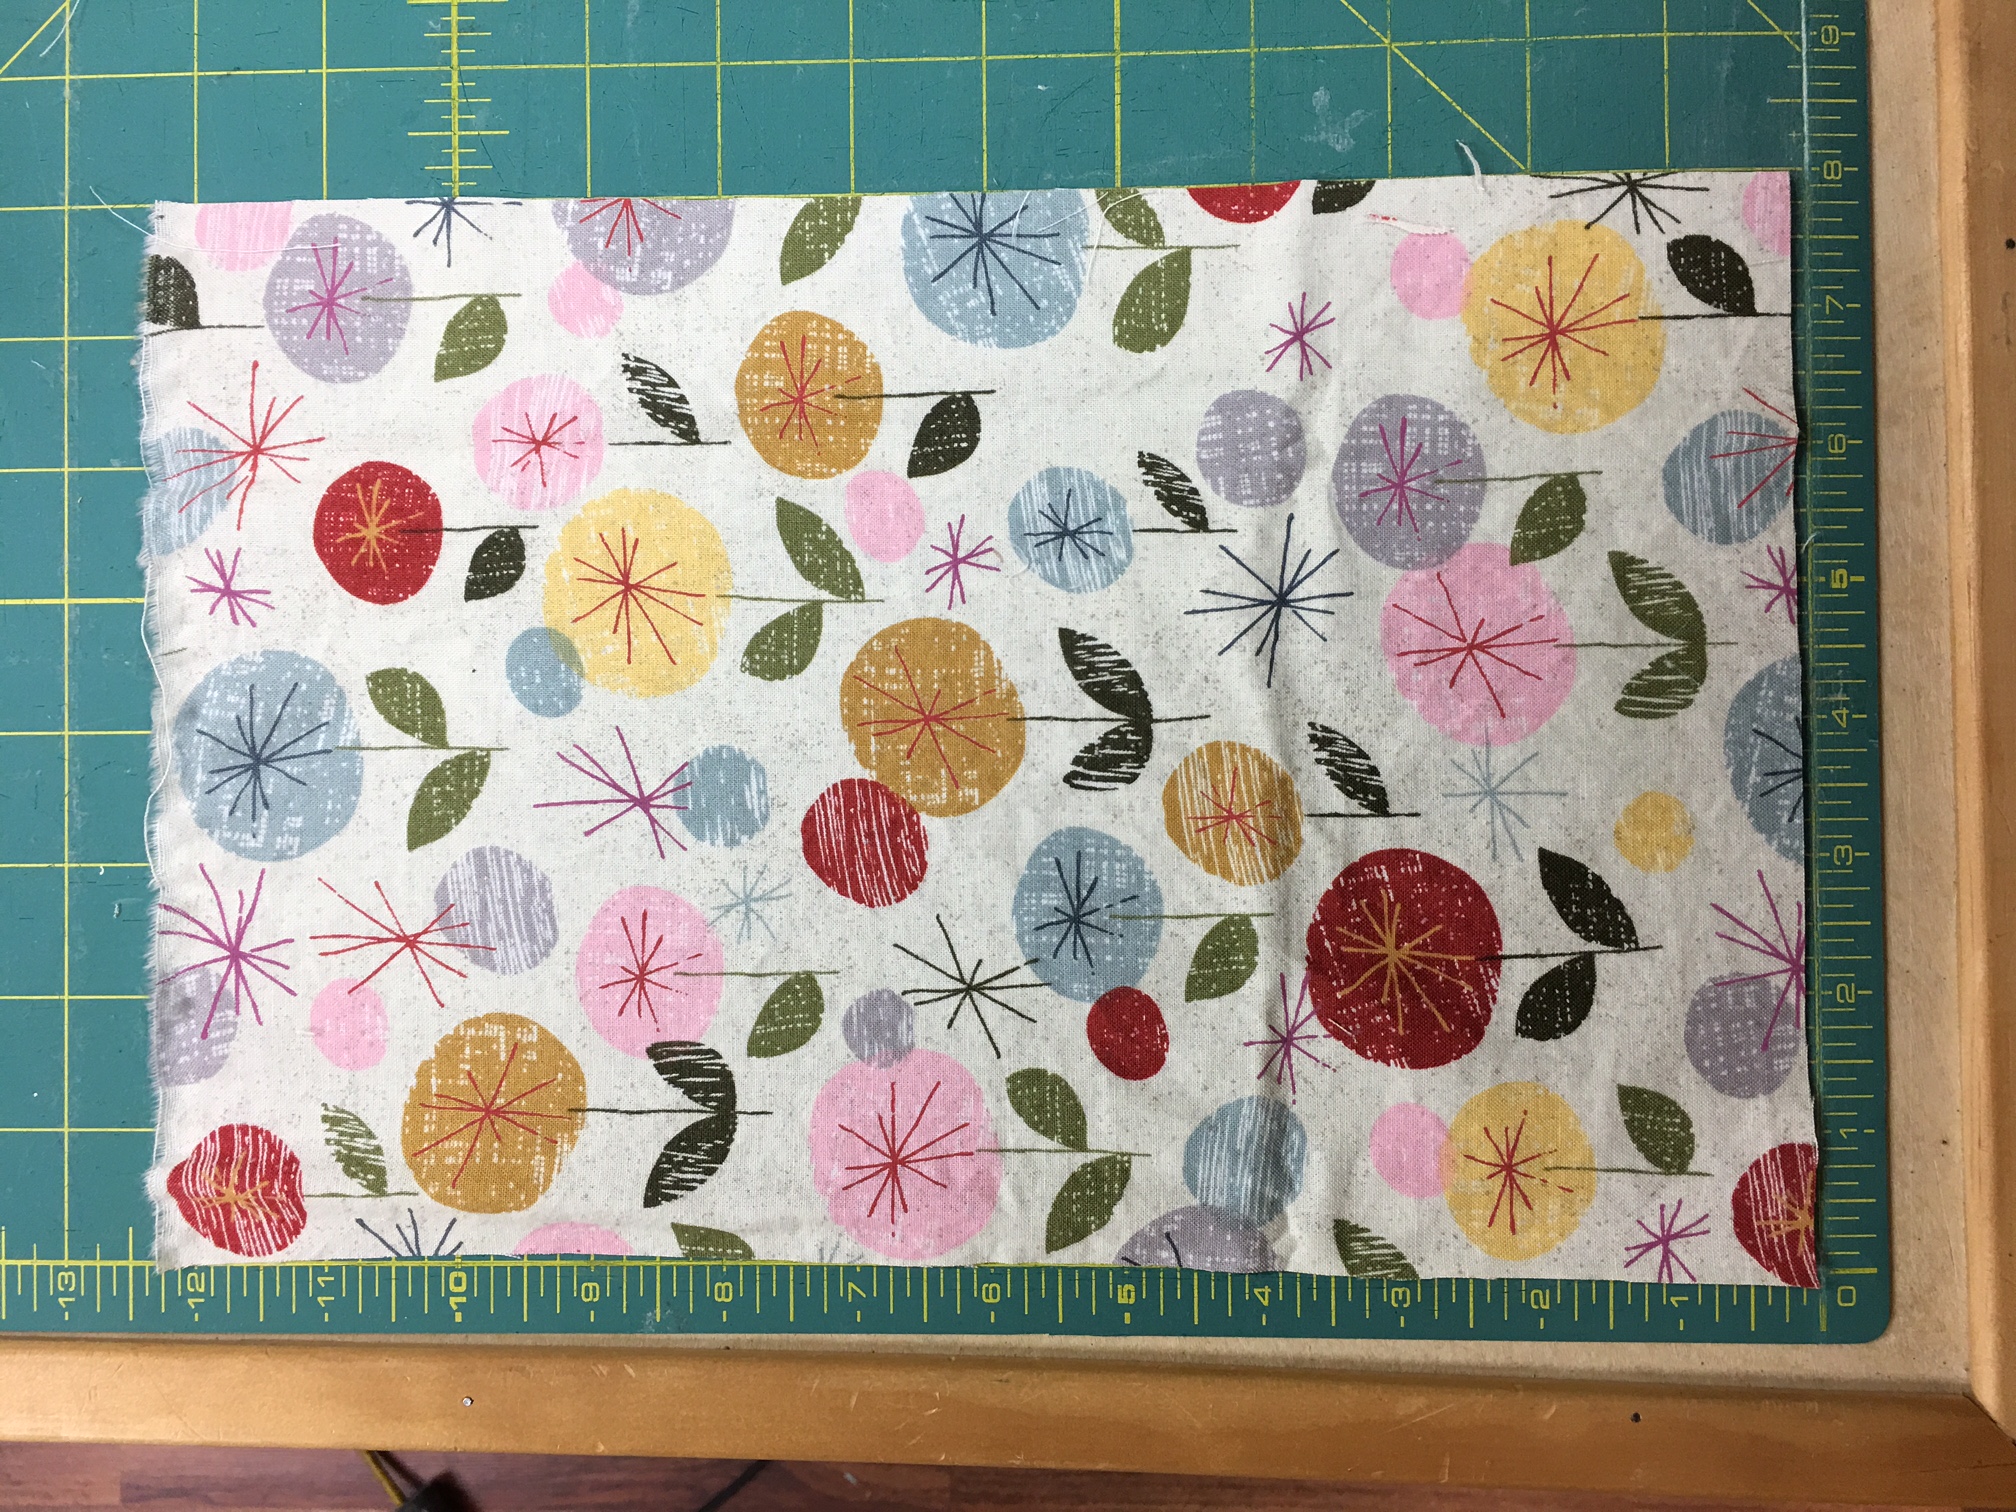 Fold in half with wrong sides together so the piece is now 8” wide by 6” high. Cut a piece of stabilizer (I am using non fusible interfacing but Pellon 931TD also works fine). that is also 8” x 6”
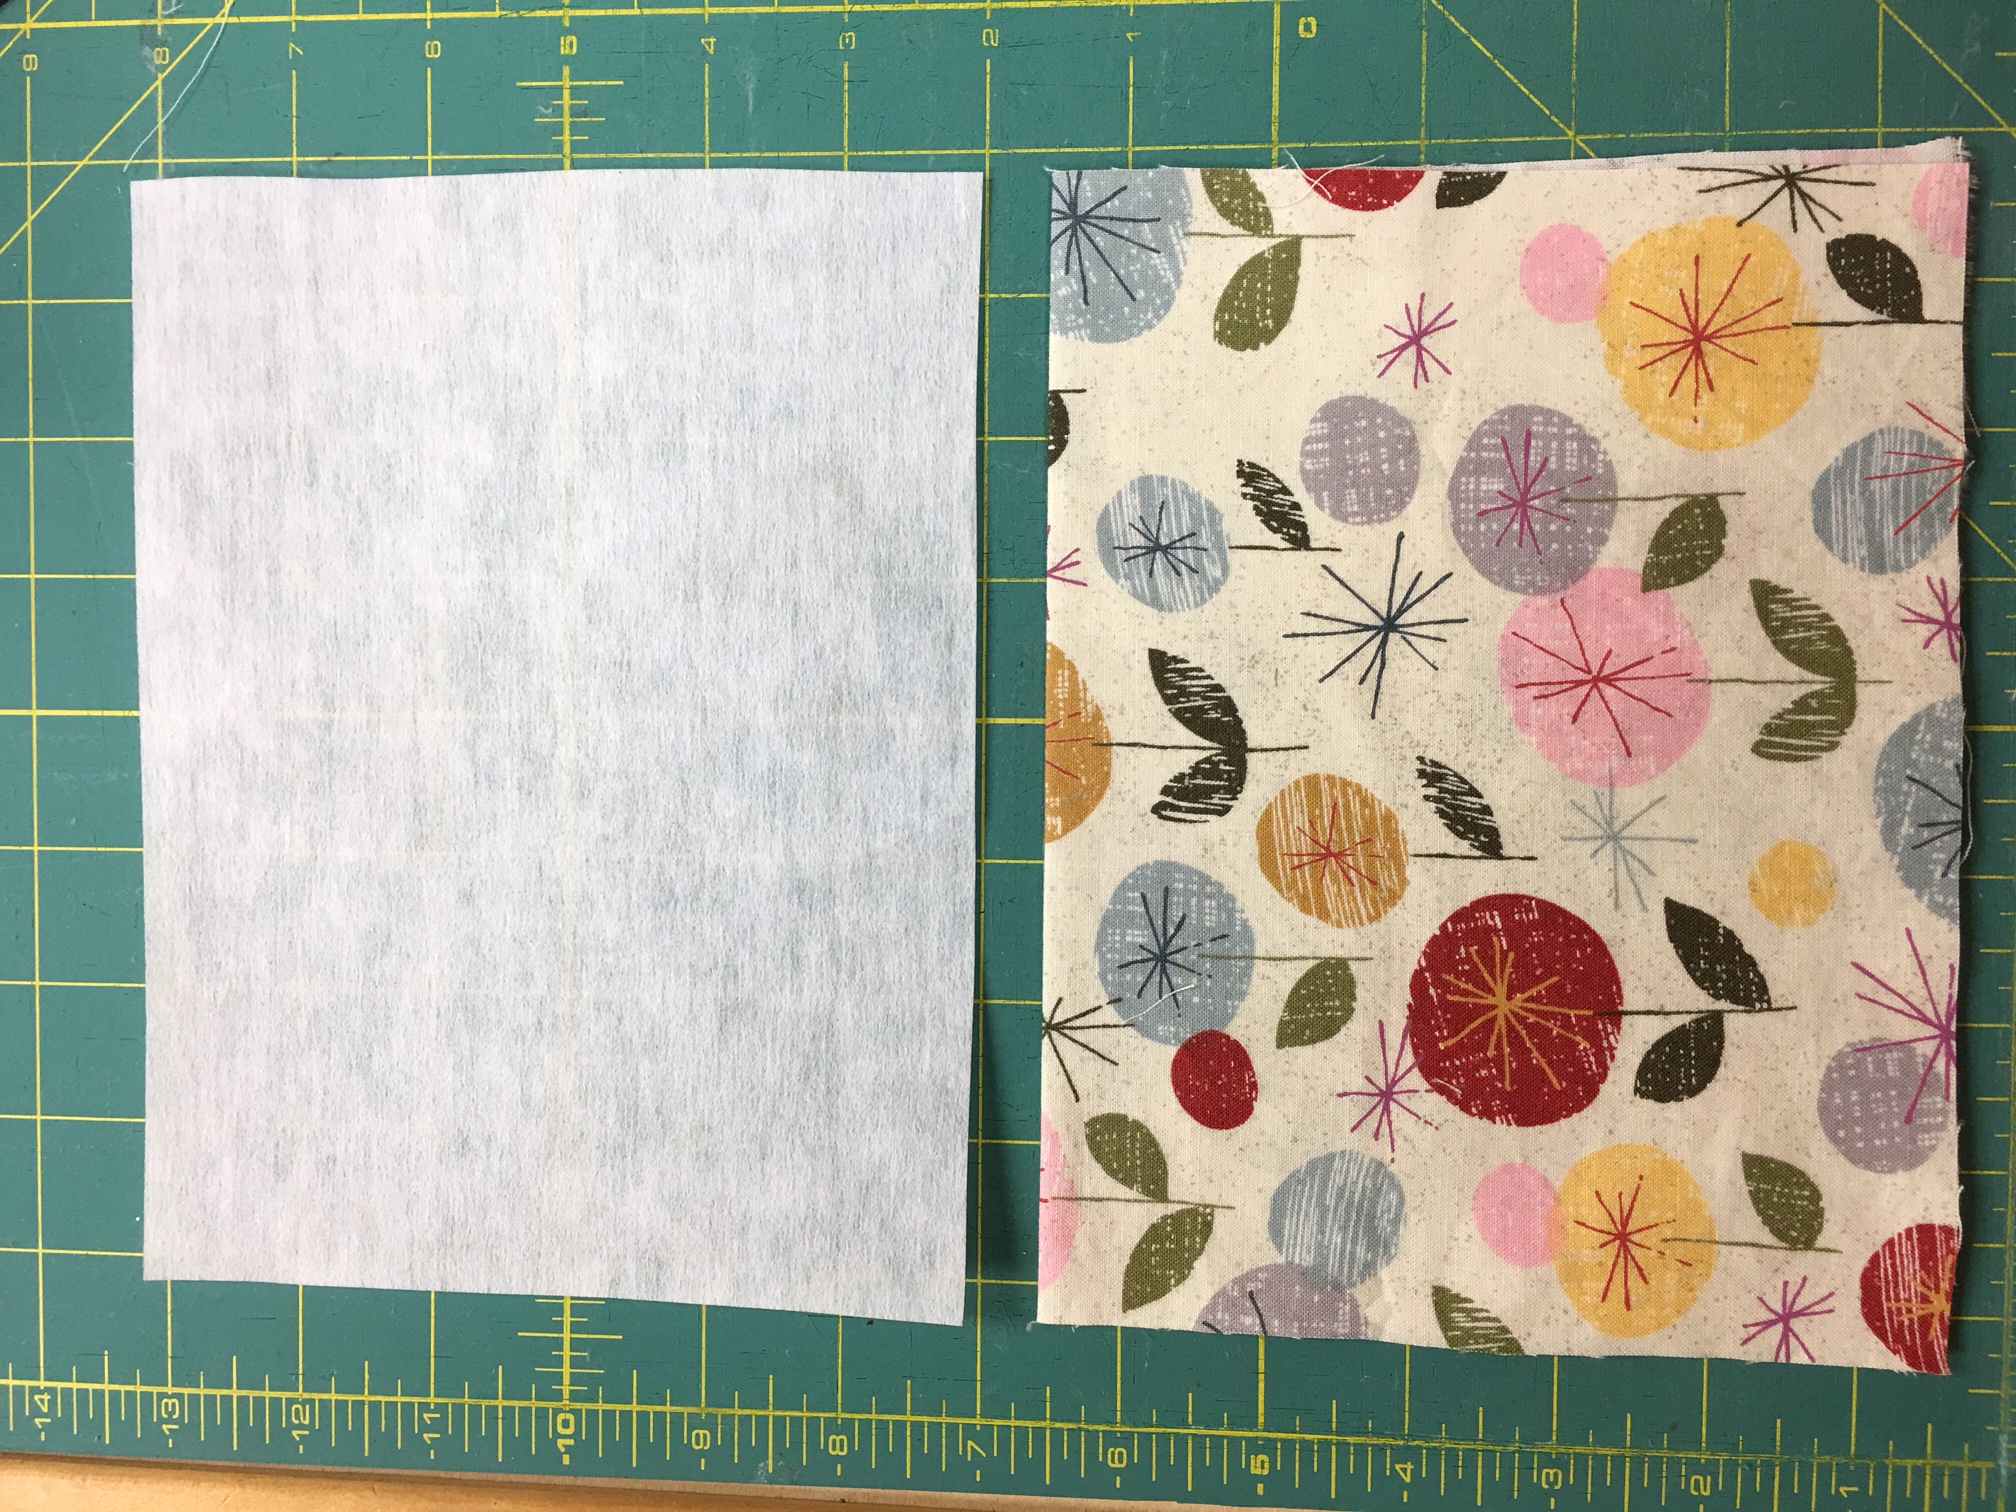 Layer the interfacing inside the folded fabric and top stitch across the top folded edge. Now you have a pocket!
 Layer the end piece on top of the pocket piece, face down on your work table. Pin if needed. Baste together by sewing 1/8” close to the edge of the end piece. Then, trim off the edge of the pocket to match the curve of the end piece. See the photo below.
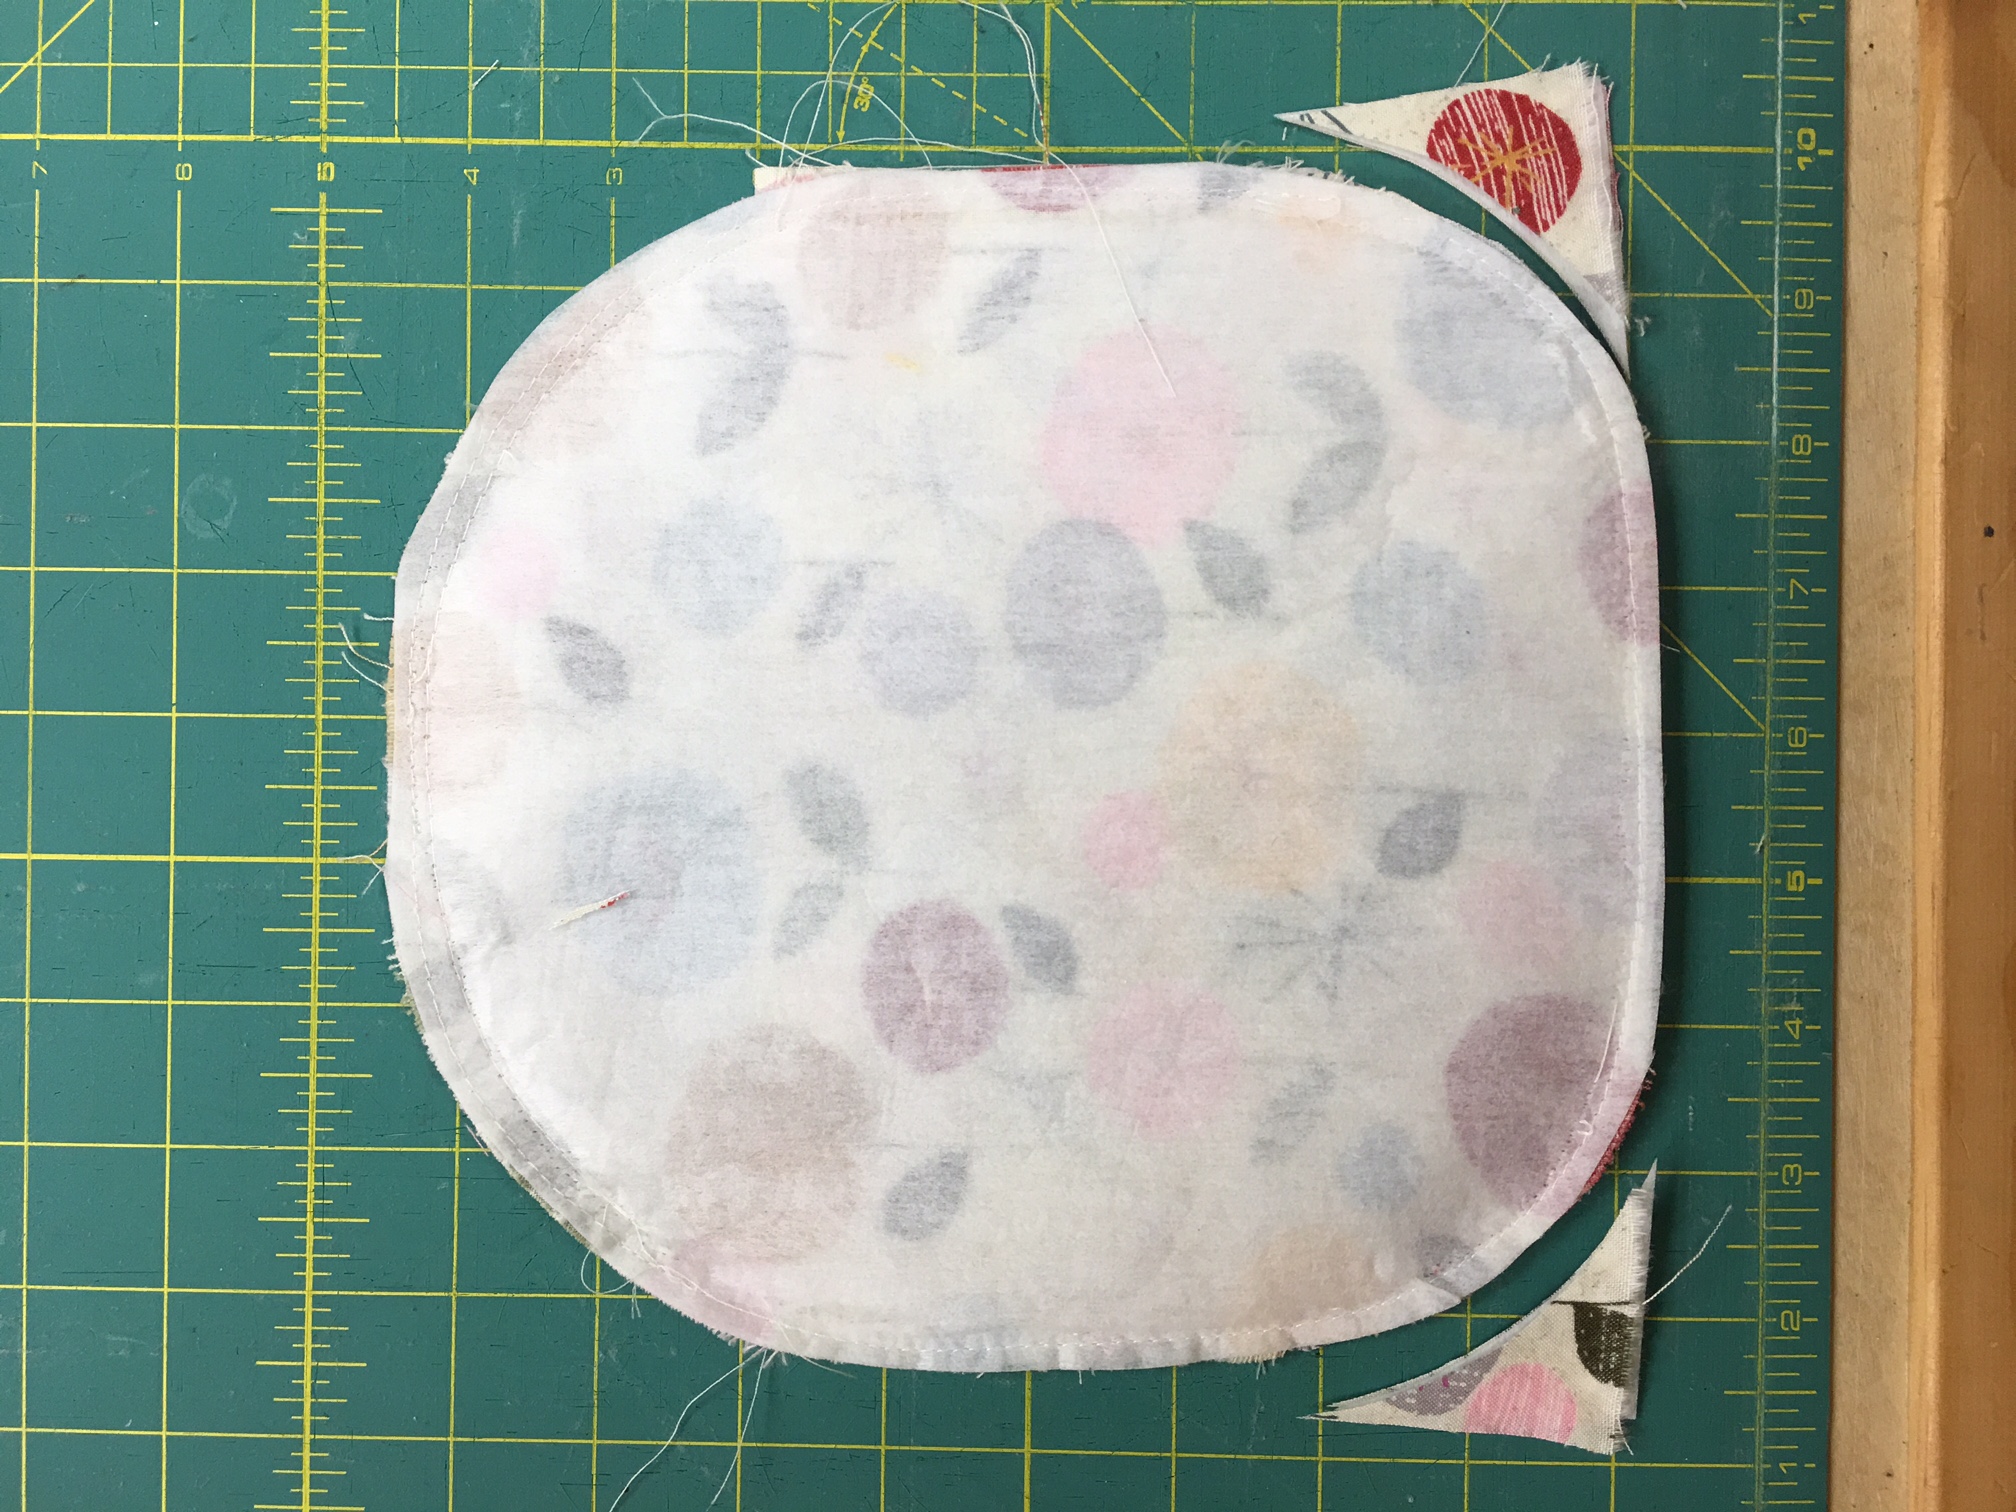 Turn the piece over and now you see your pocket piece in place!
 Follow the pattern instructions to add the end piece onto the sides. Your basting stitches that you make to ease the end piece in place, should begin just above the pocket top edge.
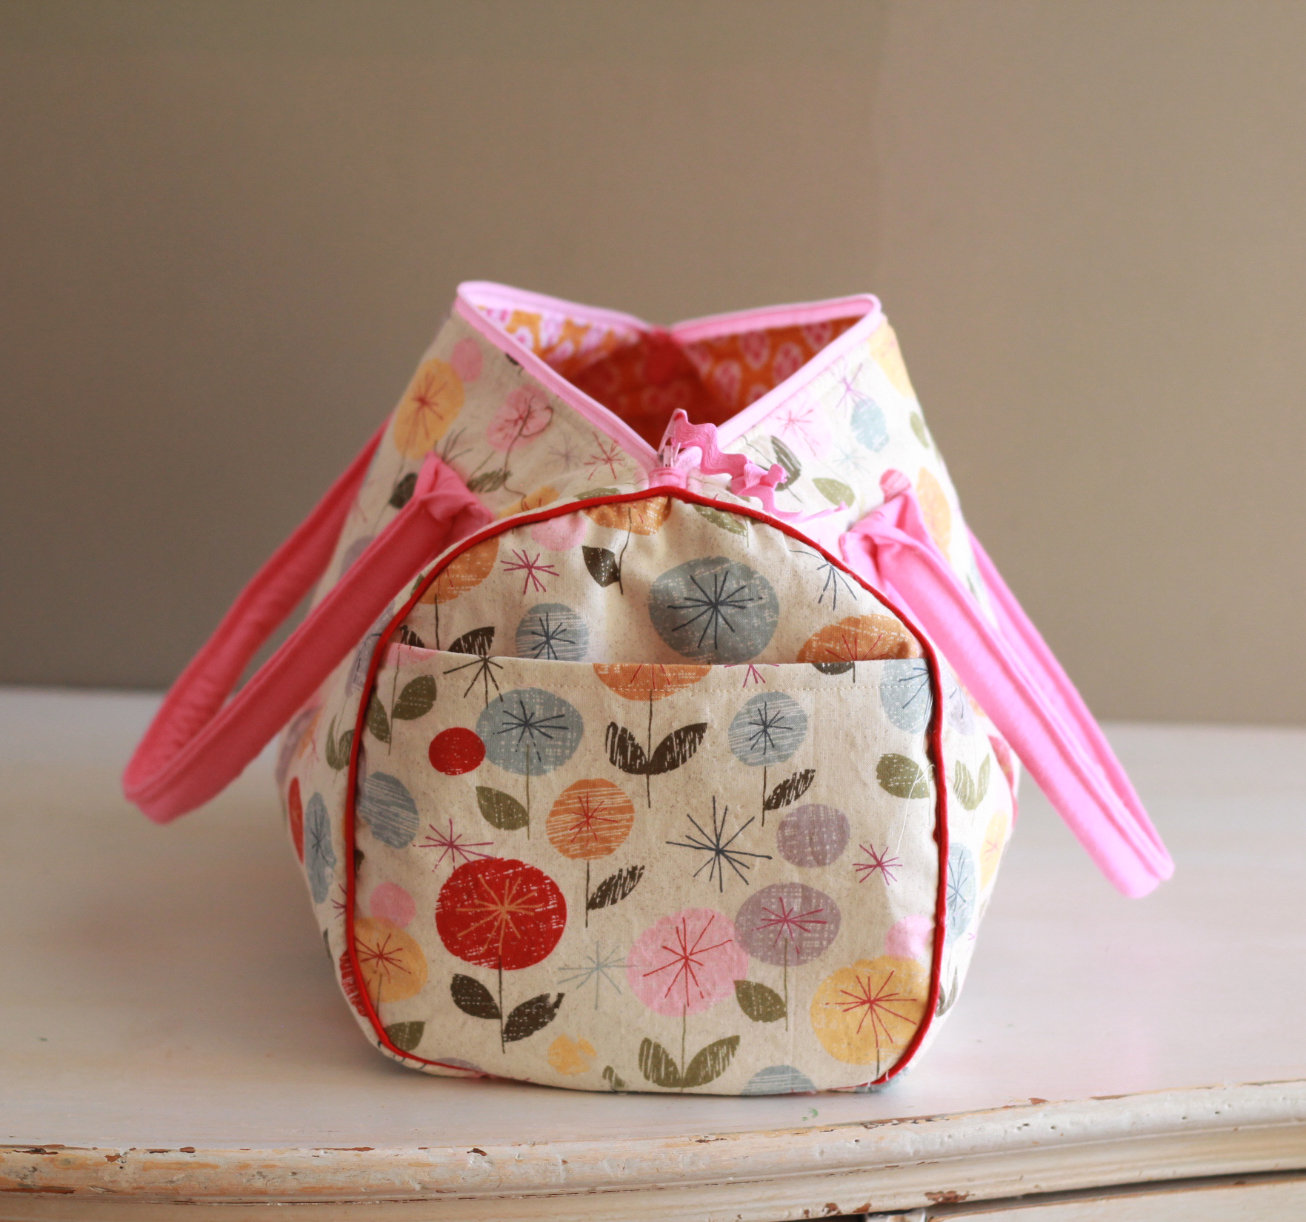
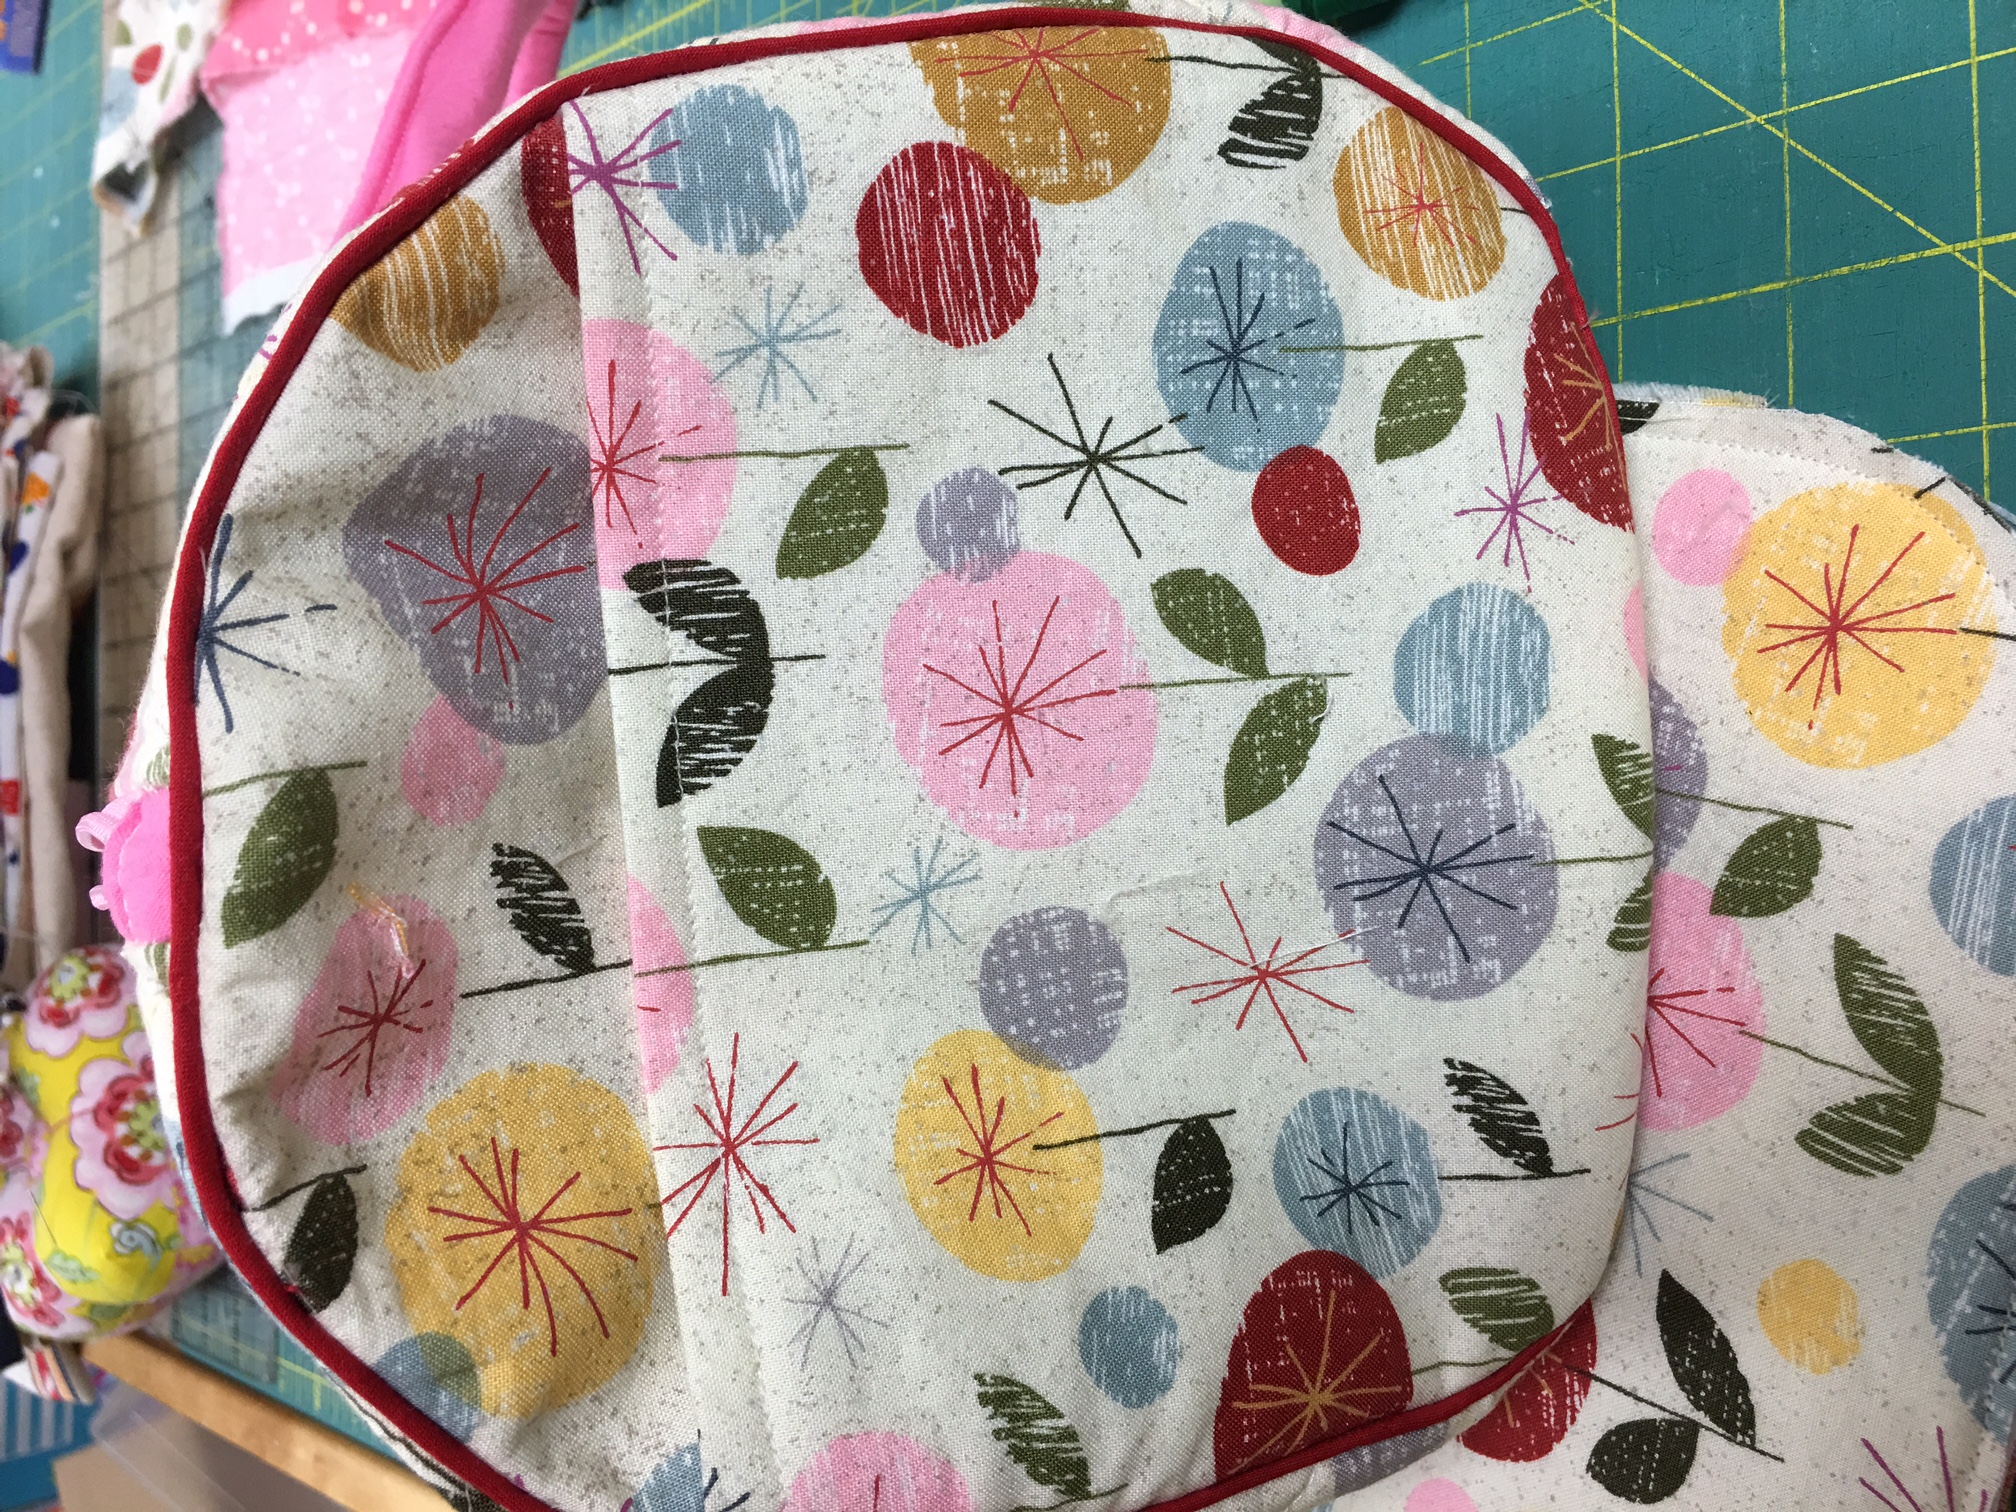 In the pattern, I give you the option of hand stitching the seam of the end pieces over toward the sides to define your bag. It is optional in the pattern, but if you add pockets to your ends, it is highly recommended. Otherwise, the pockets with bow out and distort the look of the bag.
 Now you can enjoy the extra storage of end pockets on your Classic Bowling Bag!
 Visit my PDF pattern shop to purchase your copy of the Classic Bowling bag pattern and make something beautiful today!

