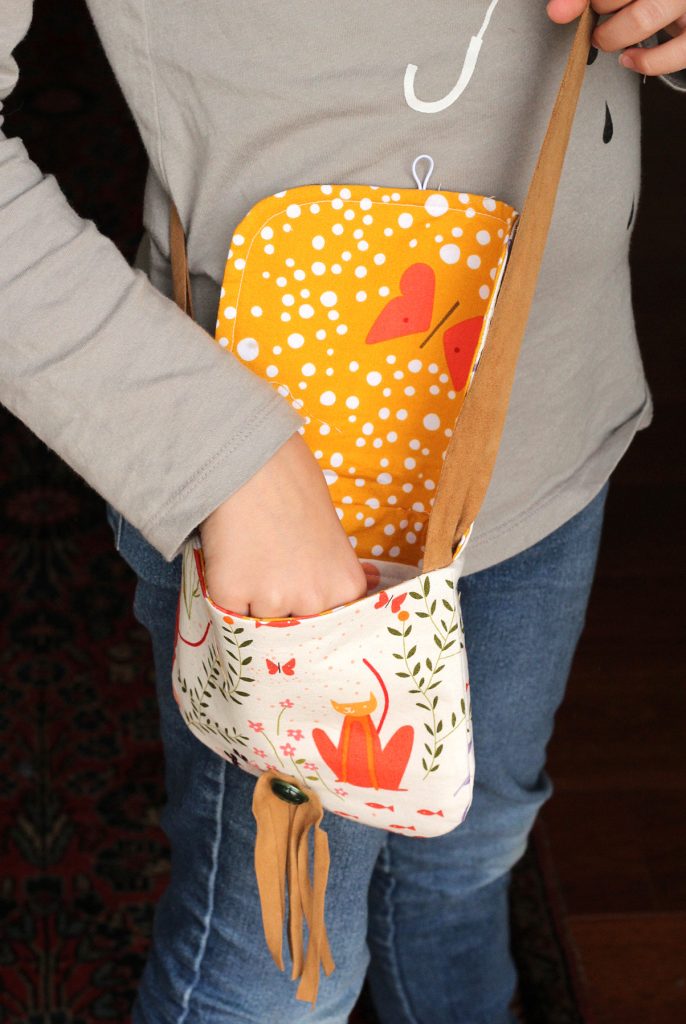
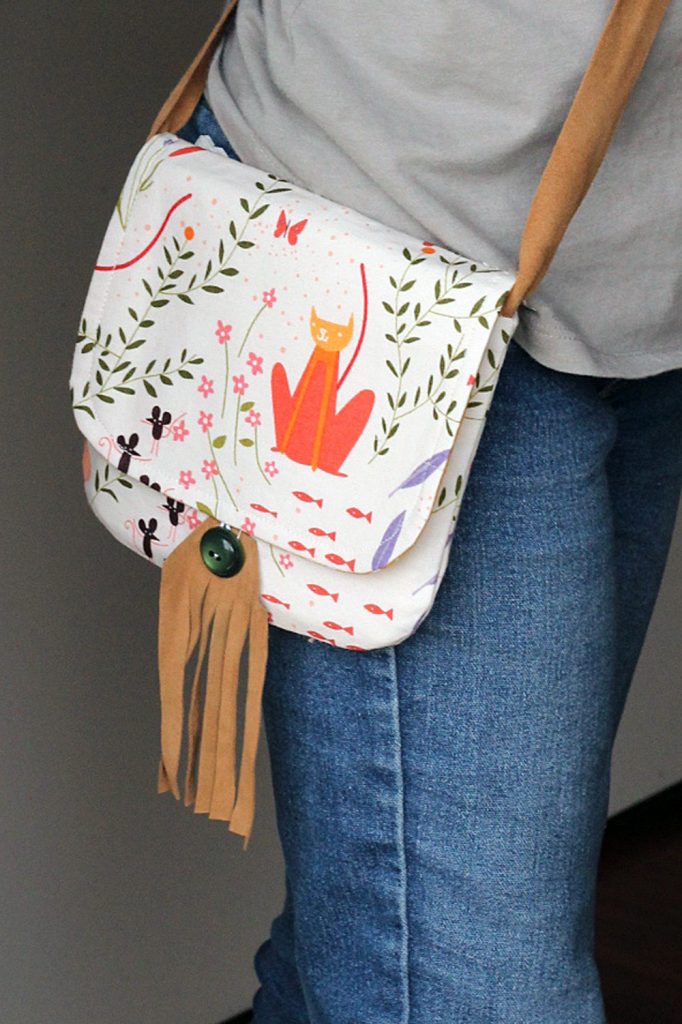
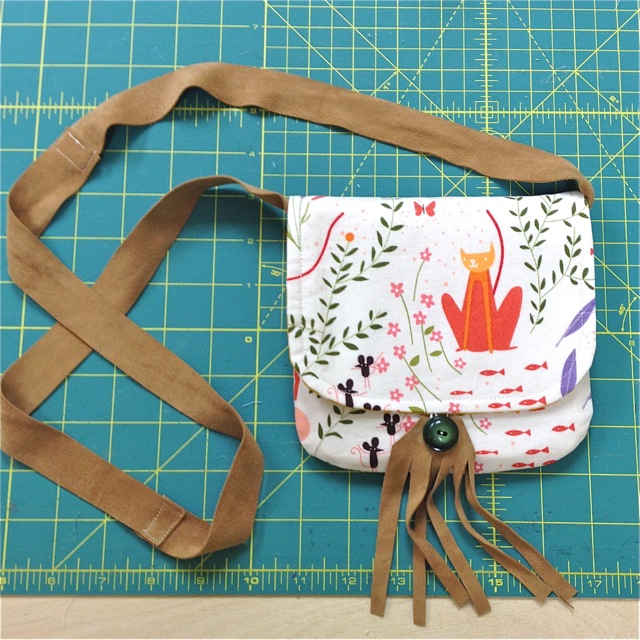
Sometime you just want to carry something small and cute and stylish, right? A little purse like this one is the perfect accessory to brighten any outfit! For makers, it is easy to make, has little fabric waste, and can be enlarged, simplified, and trimmed to your heart’s content! A great combination for Sewing to Sell!
Price Point: $15 to $25
I used Lizzy House’s Cat Nap fabrics by Andover to make this bag.
Supplies
Note: Quilting weight fabric is used in my version with fusible interfacing, but you could use a heavier weight fabric like duck cloth or denim for part of the bag and eliminate the use of interfacing.
Cotton fabric 6’’ x 42’’ for exterior fabric
Cotton fabric 6” x 21’’ for lining
1 yard of fusible interfacing that is 20’’ wide (I use pellon 931TD)
3’’ piece of elastic cording
3/4’’ button
3’’ x 3’’ leather/ suede scraps for tassel
1’’ x 36’’ leather/ suede for strap
Seam allowances are 1/4’’ unless otherwise noted.
1. Fuse interfacing to the wrong side of all cotton fabric according to the product instructions.
2. Use pattern piece to cut the following: 2 pieces for lining, 2 for flap (1 from lining fabric and 1 from exterior fabric), 2 for exterior, 1 shortened (use green line on pattern piece) piece for large interior pocket, and 1 piece that measures 5’’ x 14’’ for card pockets.
Make interior pockets…
1. For the card pockets, make a tube by sewing right sides together along the long 14’’ edge. Turn the tube right sides out and press flat. Top stitch the edge without the seam. See photo 1.
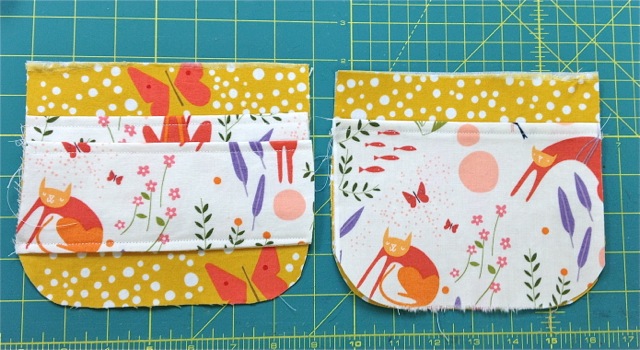
2. Cut in half and attach bottom of first half to one side of lining 2.25’’ up from curved base. Attach 2nd half of tube 1.5’’ from curved base. Next mark the center of the 2 pockets and sew a vertical line to make pocket dividers. Cards are meant to fit in pockets vertically. See photo 1
3. Fold large pocket piece’s straight top edge over toward wrong side 1/4’’ and then again 1/2’’. Top stitch folds down to create top edge of pocket. Baste edges to other lining piece if desired. See photo 1
Assemble lining
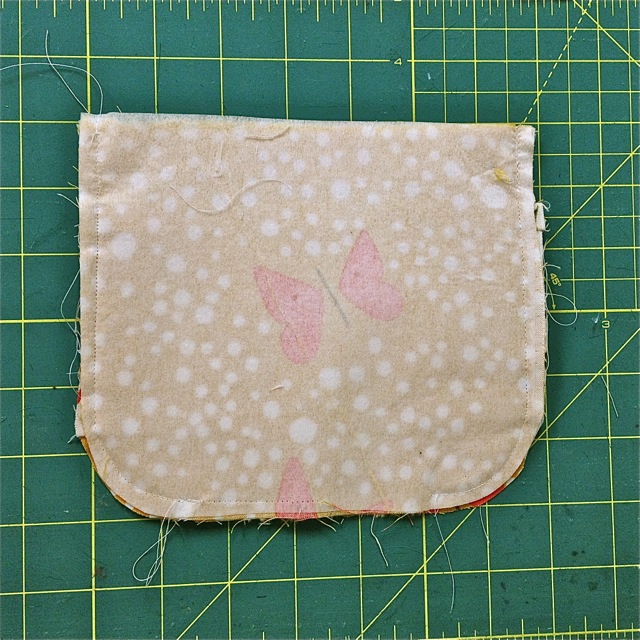
1. Pin and sew 2 lining pieces right sides together (sandwiching pockets inside). Leave a 3’’ gap at the base for turning right side out. See photo 2
Make the flap
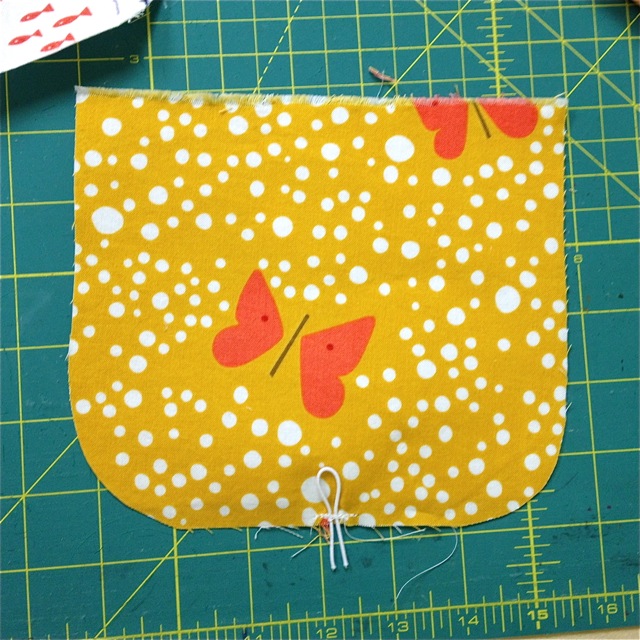
1. Take the lining fabric piece that will be the inside of the flap. Mark the center of the curved base.
2. Fold elastic cording in half and place at marked center spot with loop facing in toward center. Sew back and forth a few times to attach it securely. See photo 3
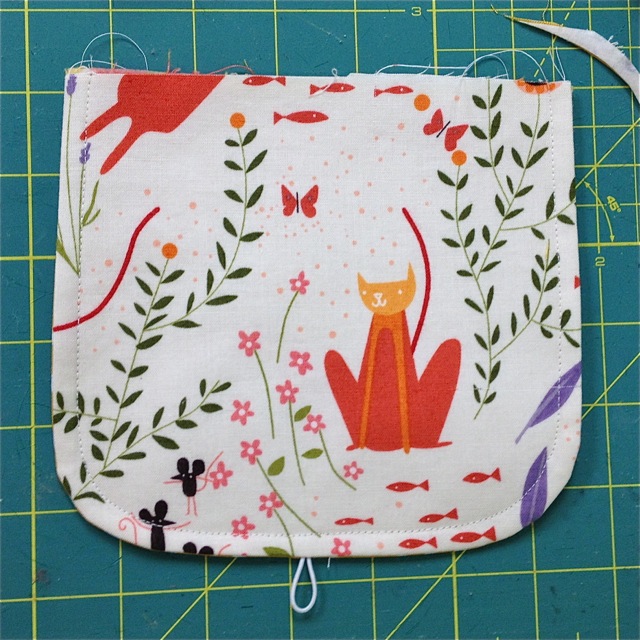
3. Take exterior flap side and sew right sides together with the lining flap- sandwiching the elastic piece.
4. Turn right side out and press flat. Top stitch down sides and curved base.
See photo 4
Make strap
1. Make strap by attaching 1’’ wide strips of suede to make a 36’’ long strap. I used three 6.5’’ straps*.
*a strap can be made so many different ways. I chose suede for a texture contrast but fabric or ribbon would also work fine. For fabric you will need to enclose the raw edges by either folding then in toward the center or making a long tube and turning it right side out.
Make exterior
1. Sew right sides together of exterior pieces down along the side edge, around curved base and up the other side edge. Leave top edge open. Turn right side out.
2. Baste or pin the flap to the backside (if you have a designated “back” side) by lining up the raw edges of the exterior top opening with the raw edges of the lining top. The exterior fabric side should be facing toward the exterior fabric pieces.
3. Baste or pin the ends of the strap to the right side of the exterior piece at the top edge where the seams join together the 2 sides together. The strap should be un twisted and facing down. The strap should loop down around the exterior piece and come back to be basted on the other seam at the top edge.
Sew lining and exterior together
1. Insert exterior (with strap and flap attached) inside the lining piece so they are right sides facing. Line up the side seams and pin if needed.
2. Sew all the way around the top edge to attach lining and exterior.
3. Turn piece right side out through 3’’ opening at base of lining. Push lining inside exterior. Press thoroughly.
Make the tassel and attach button.
1. Since suede does not fray, I simple cut a 2’’ by 3’’ scrap of suede into a tassel shape. I made the top 1’’ angle in toward the center and then cut strips into the bottom 2’’. See photo 5
2. Next center your button on the top angled 1’’ section and poke holes into the suede.
3. Sew on the button using your favorite method and use the holes made into the suede to guide you. See photo 5
Ideas for Your Day Out Purse:
~Use what you have in your studio to make this simple purse special
Suede for the strap and tassel what I had on hand but many different things would work including ribbon, cotton fabric, webbing and more. Experiment!
~For the tassel, knit fabrics, leather, yarn and many other items would make a cute addition.
~Omit the tassel and add some purse hardware!
~Use magnetic snap instead of elastic cording and button
~Add extra pockets (like to the exterior) or omit pockets for a faster sew.
~Enlarge the purse, add darts, square it off, experiment to make it your own!