I like to think my sewing skills and spacial talents help to create out new bookcase. All these hours working out sewing patterns and honing my spacial skills must be helpful in other household endeavors! Forgive the big words- I have been listening to Jane Austen books free on Prime Reading!
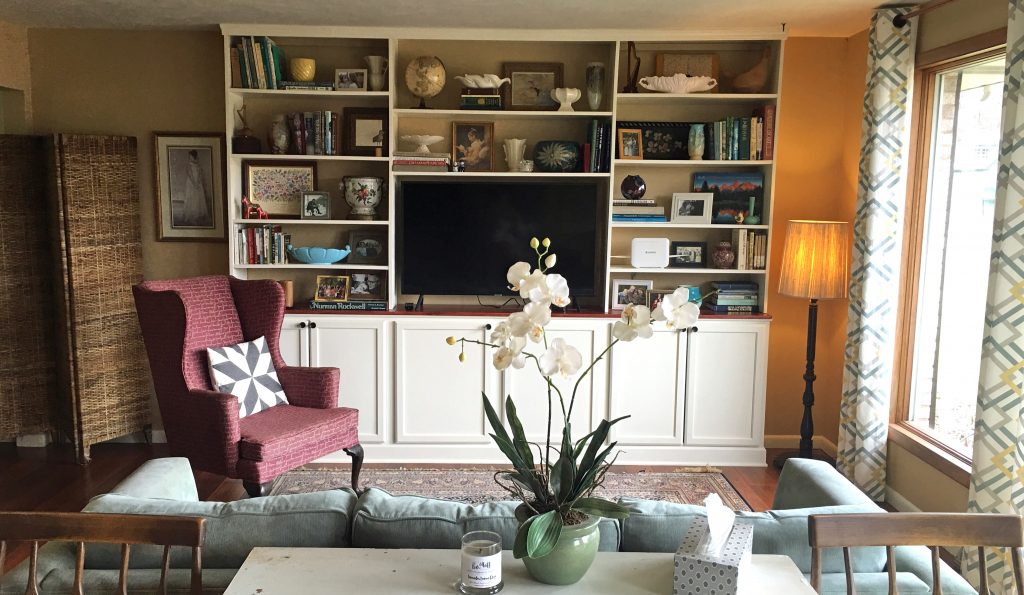
Now, even though I do consider myself very capable, I did except the help of my kind husband AND the kind workers at Lowes Home Improvement! The Lowes workers cut all the board for me (I went in there prepared with very specific measurements) and my husband did all the drilling, attaching, and heavy lifting. I did all the planning, shopping, sanding, filling, and painting.
To the workers at Lowes, I gave smiles and many thanks. To my husband, I gave a new TV in the center of the bookcase! Well, it is really for the whole family but he was very excited about it 🙂 . Here he is in the middle of the work…
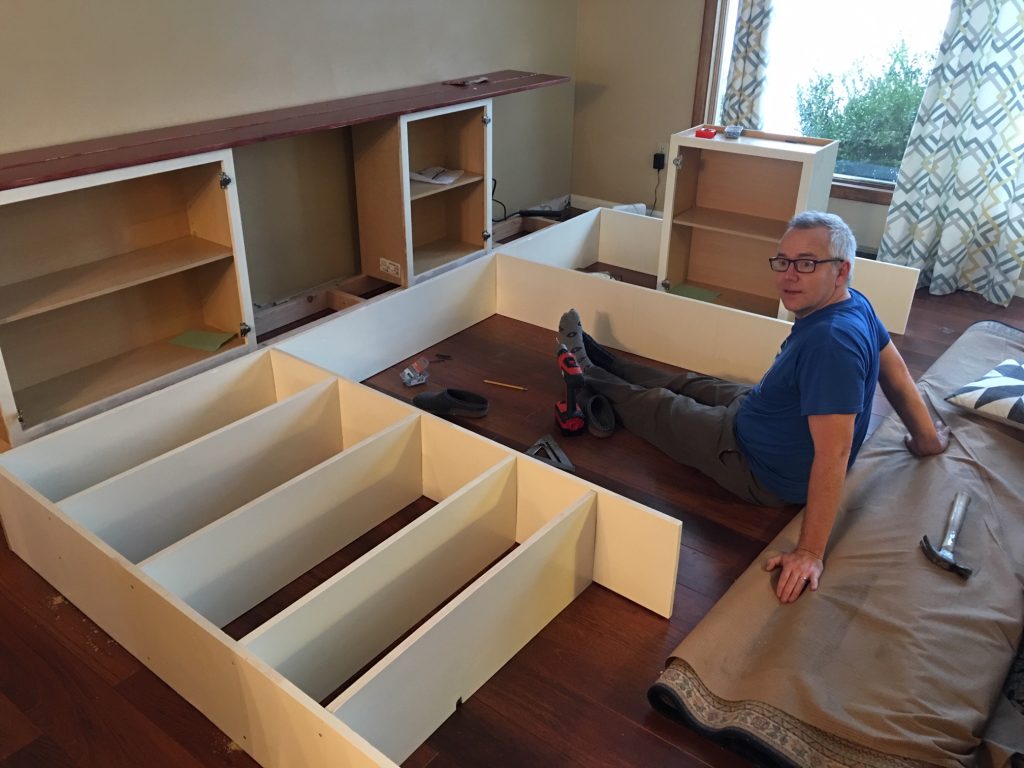
What a trooper! First, we took out the old shelves and removed the baseboard moulding.
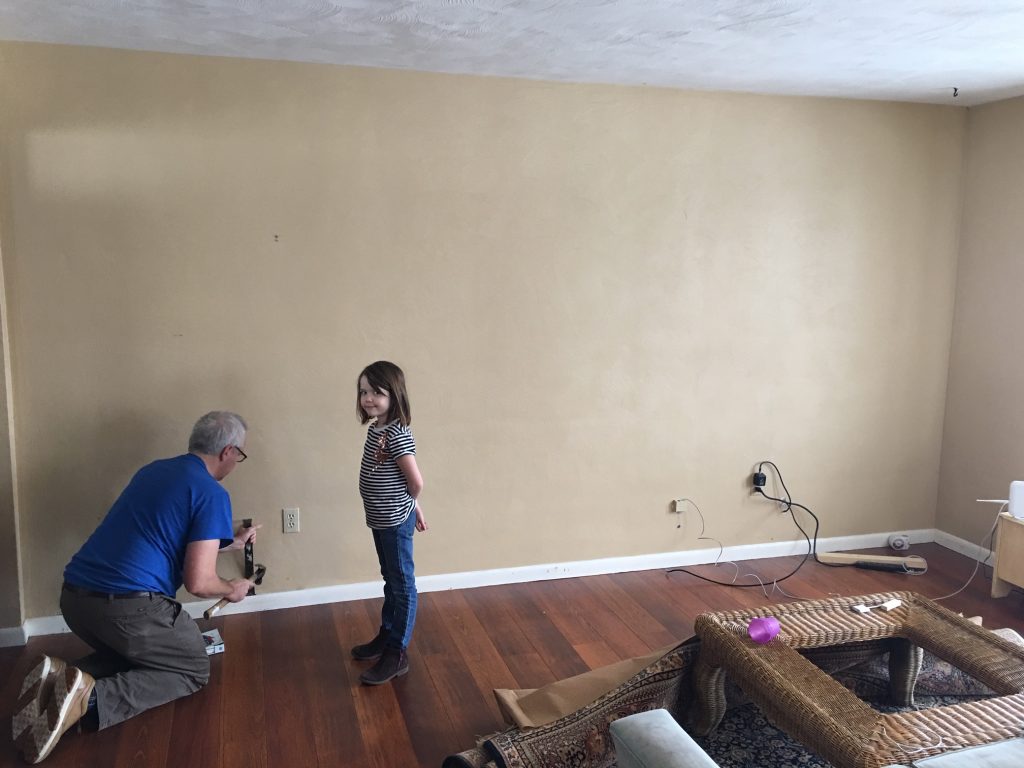
I purchased these unfinished cabinets from Lowes. They are actually the upper kitchen cabinets. They are only 12” in depth and 30” high. I wanted a 10′ cabinet base, so I bought two 36” cabinets and two 24” cabinets. I sanded, primed and painted these cabinets my self. My husband then created a base for them using simple 2” x 4” boards. We made the base 16” by 10” so that the cabinet base would come out from the wall. That meant there was a gap between the wall and the cabinet (since they are only 12” depth. This was easy to cover up with moulding.
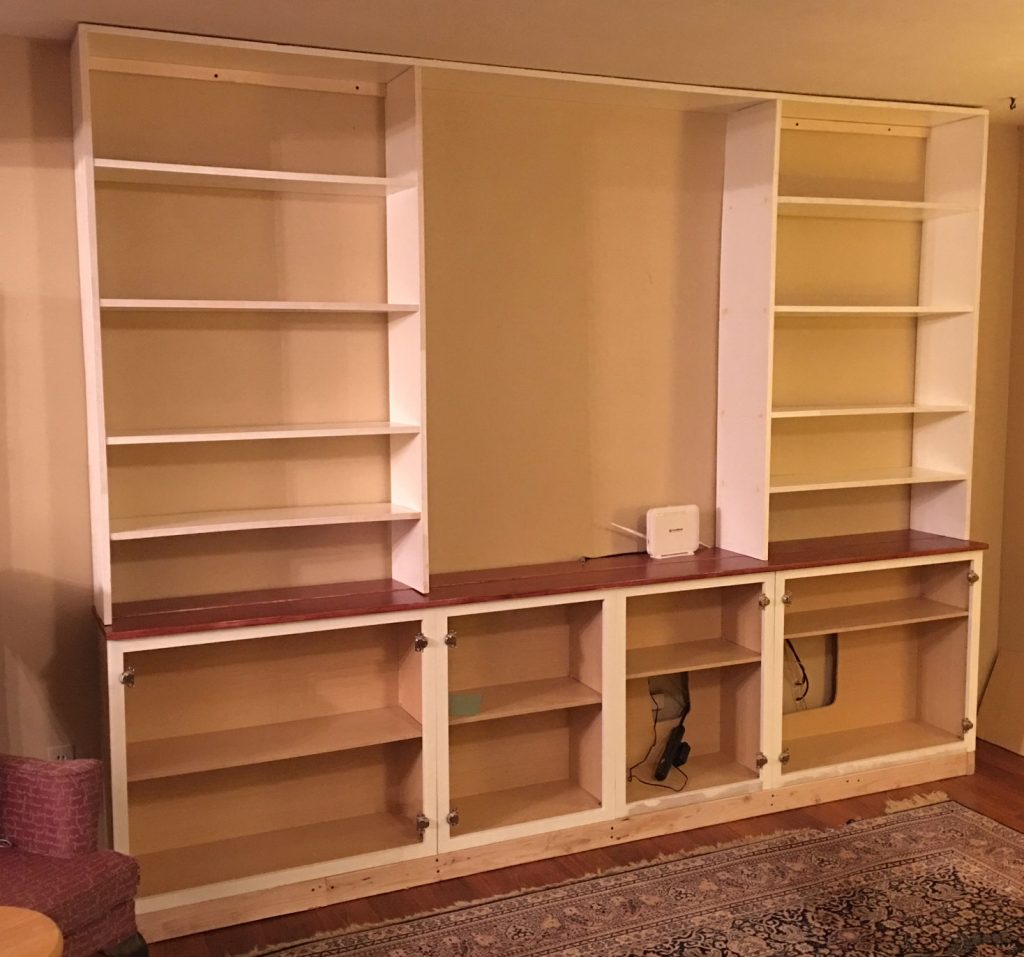
We bought the mid grade planks of 12”x 1” wood from Lowes. It took awhile to choose the straight ones! But worth it since a warped shelf would have made it look even less professional. There is one that is slightly bent, but it couldn’t be helped! Can you see it? Hopefully not! The planks come in 8′, and 12′. It’s easier to find straight ones in the 8′!
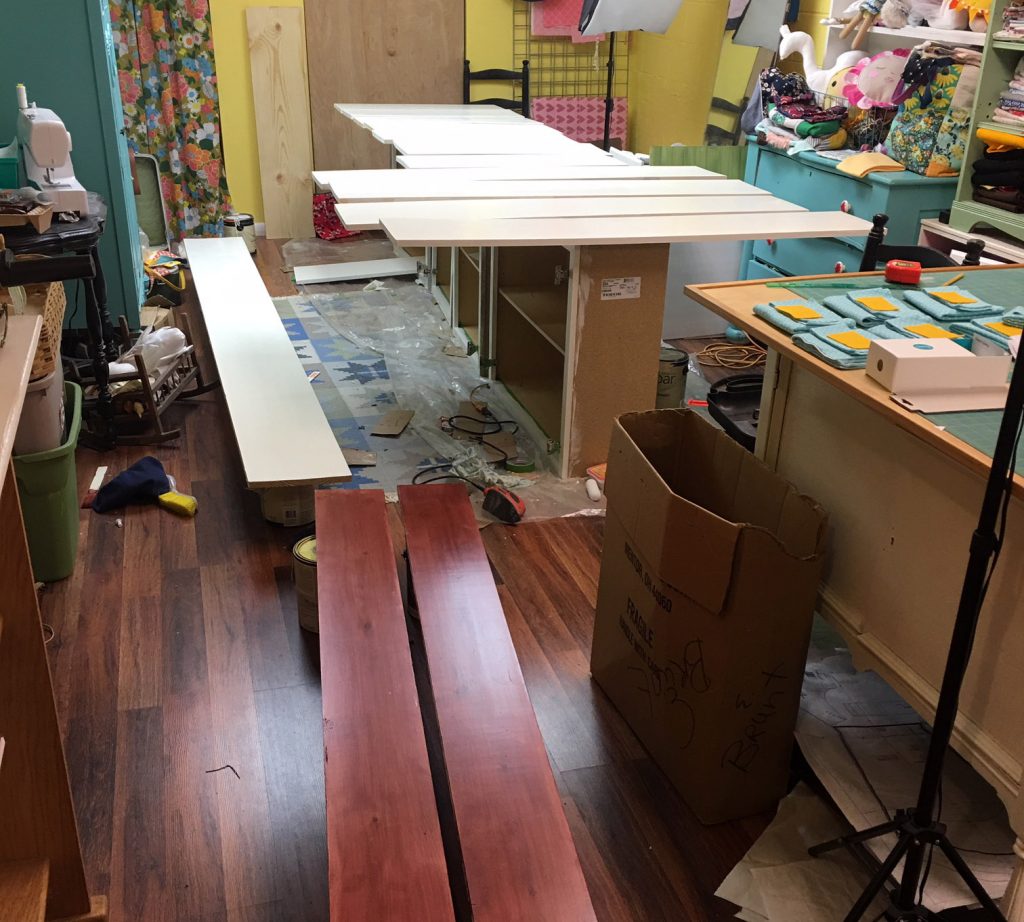
This blog post makes this project seem quick and simple, but I will tell you it was simple but not very quick! Above is a photo of my basement/ sewing room. There was a lot of sanding, painting and staining. The 2 planks in the lower part of the photo are the two 10′ x 8” by 1” I used for the top of the cabinets. My sewing room was in shambles for about a week! Thank goodness I am not a total neat freak 🙂
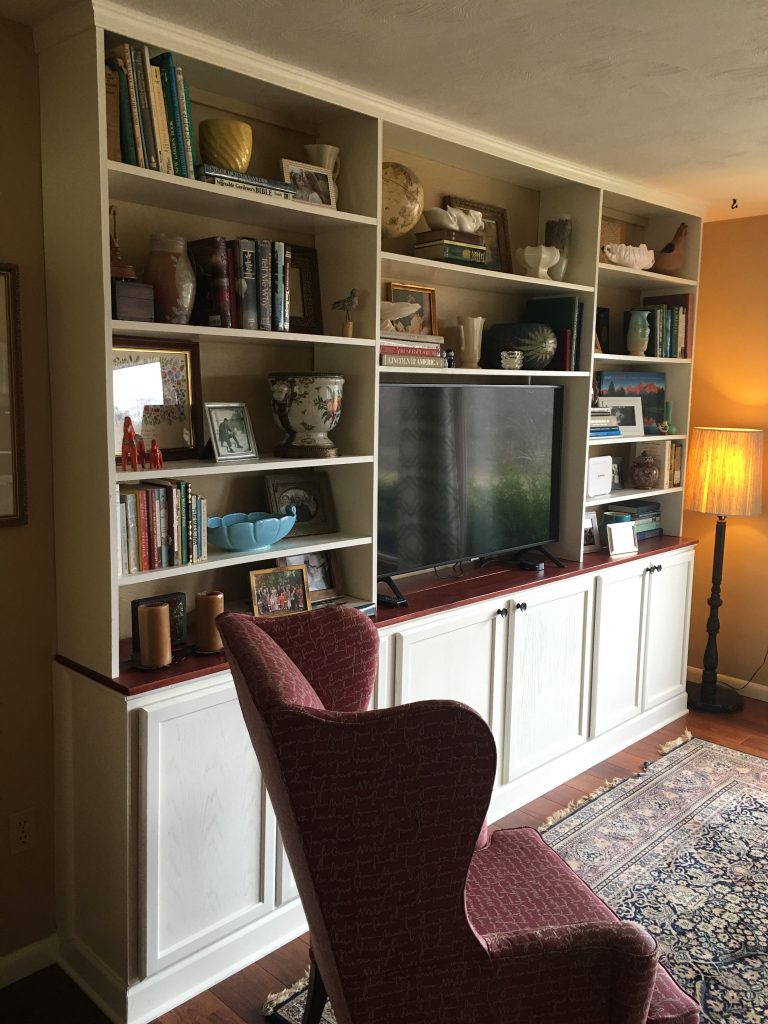
So you can see from above that the trim and moulding really dressed things up. There was also a lot of careful caulking and wood fill to create a seamless look. I love it so much! My room feels transformed and the storage is amazing! Half of those cupboards are still empty!
If you want to use your measuring skills to create something similar, I would suggest planning it out and understanding that it will take many calculations. Start with the size of those cabinets and the height of the ceiling and go from there. Measure, measure, measure! You expert quilters will really like it! Here is the link to a blog that did something similar with more details than I am giving. I used this but you have to change things to fit your own needs so be ready to improvise!
One thing to keep in mind though- unlike our perfect square cutting tools, walls and ceiling are not always as predictable. I honestly thought I had more room at the ceiling than I really did! My top fit with less than an inch to spare! My husband and I laughed that we missed a bullet since this was VERY heavy and taking it down to shorten would have been a huge production. He claimed he wouldn’t have fixed it but I know differently, right?
Let me know if you have questions. It was really fun and the result is a big difference in our living room! The total cost was around $650. Not all that cheap! Plus a $450 TV for my main squeeze. But I feel like it was well worth it for the space, style and happiness it has added to our lives 🙂
