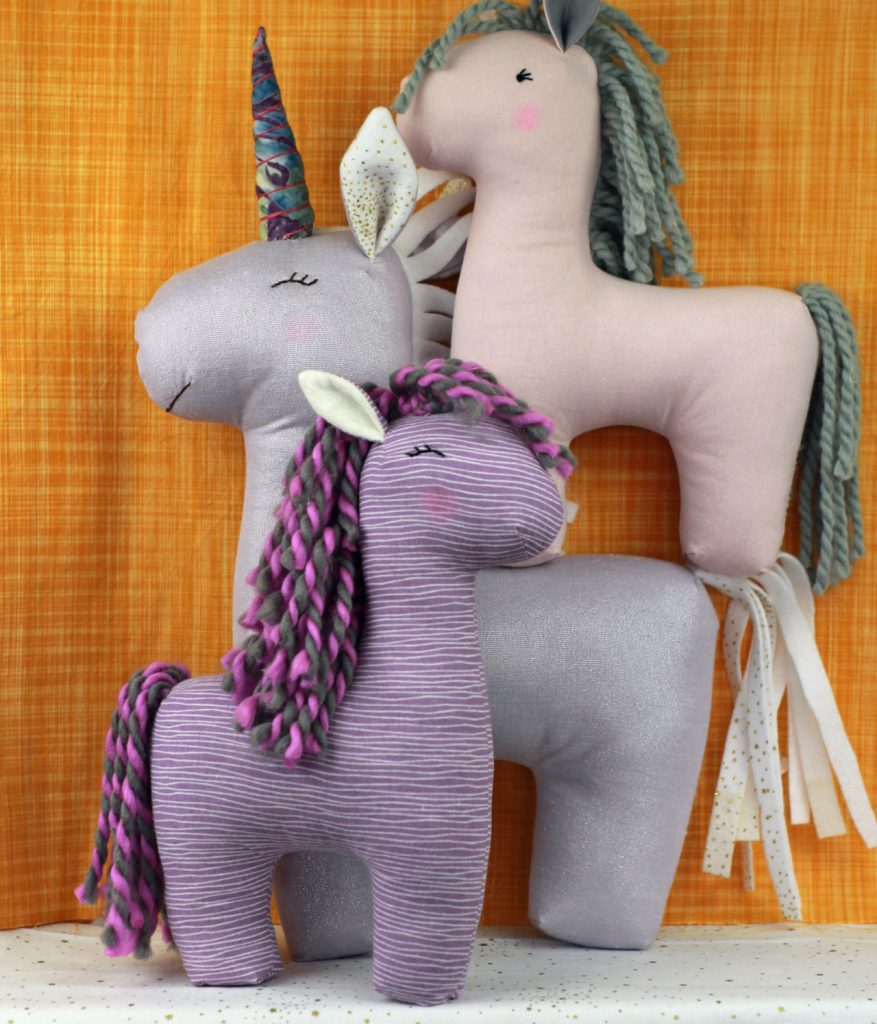
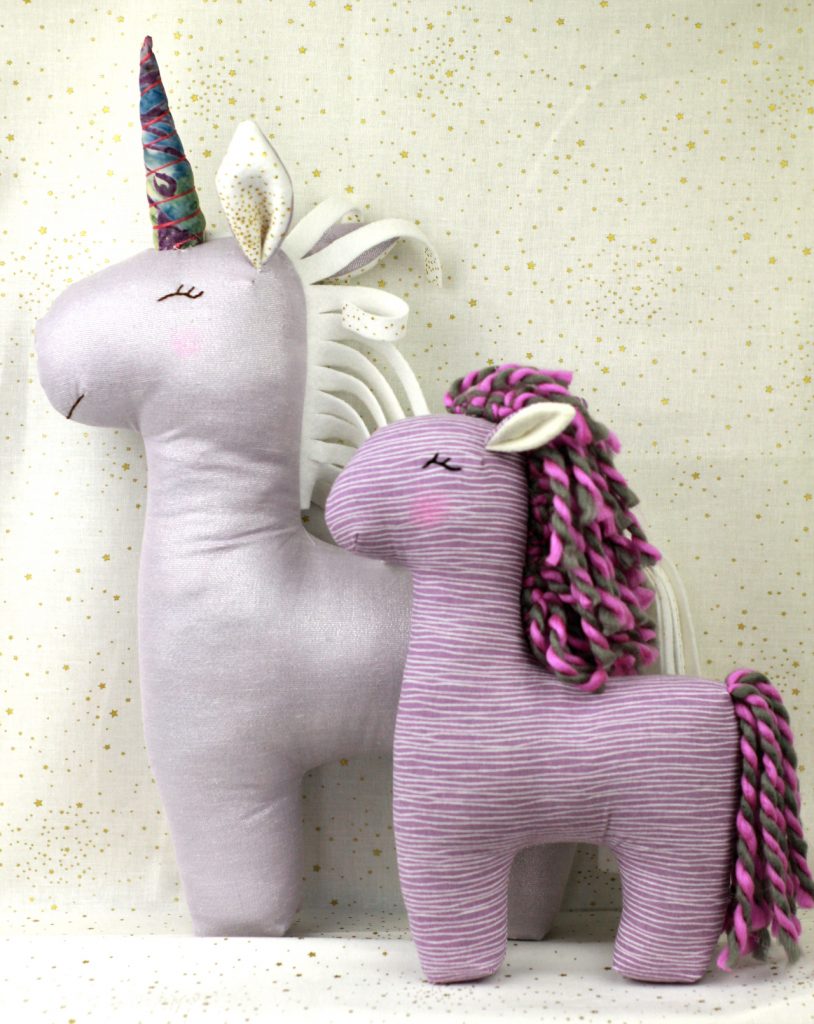
When I first started the Magical Unicorn Pattern, I was actually making a horse for my daughter. But then, of course, she wanted for the unicorn:) The “pony” is simply the unicorn pattern without the horn and printed at 75%. Easy! But I do want to tell you some tips making this smaller and also how to make that fun yarn mane and tail.
Want to make the Magical Unicorn?
You will love this simple, fun and adorable DIY project!
Making the pattern at 75% is pretty easy. Simply change the setting on your printer to 75% instead of the regular 100% and press PRINT! The ears are more challenging at this smaller size. They are a little tedious to turn right sides out. Also, those little boxy feet are more challenging than the orginal size, too. I do love that this size fits perfectly on a fat quarter! That is a fun bonus. So, just take your time on those little ears and feet. It will be worth it to have such a cute pony.
I have made yarn “hair” several ways for dolls and the llama pattern– most often I make it by looping yard around a piece of cardstock. Have you tried that method? It works fine- I just don’t like the whole tearing the paper away part. I saw a method for making a yarn mane for a hobby horse (the wooden kind) that I liked so much more! This works best with chunky yarn. Thin yarn would work but use several strands at once. Here is how I did it…
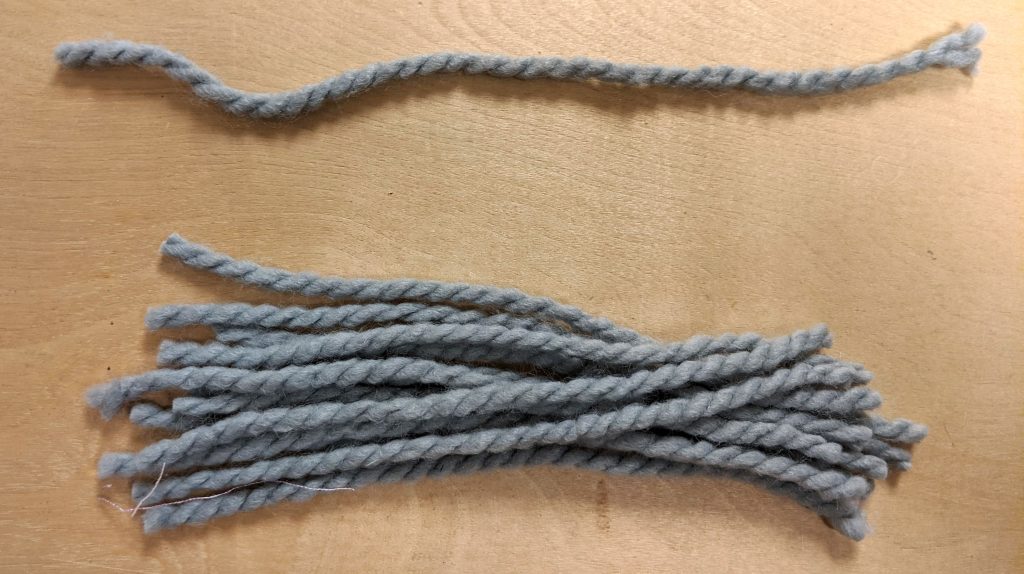
This is for the smaller size (printed at 75%). Add a few inches to these measurements for the original unicorn size! Cut 1 piece that is 12”. Then cut about 20 pieces that are 8”. Again, I am using chunky yarn! You might need to cute additional 8” pieces but begin with 20.
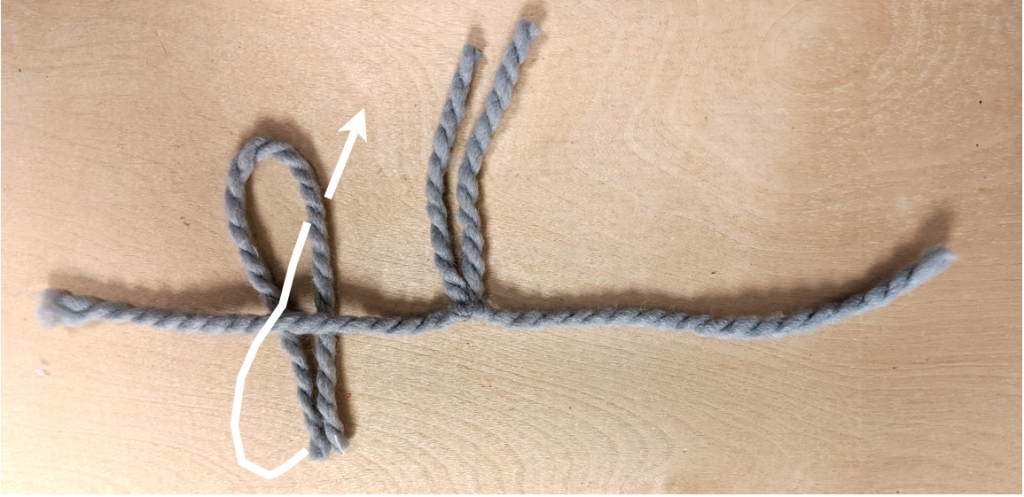
Using the 12” piece as the “base”, tie the 8″ pieces in slip knots. Don’t know how to slip knot? Look at that photo above to see how. Simply make a loop and then thread the 2 ends through the loop with the base yarn holding it all together. Repeat this with all the 8” pieces until you have a nice full “mane”. Keep sliding the knotted yarn toward the center to create fullness.
Want to make more like this?
Try the Lulu Llama sewing pattern!
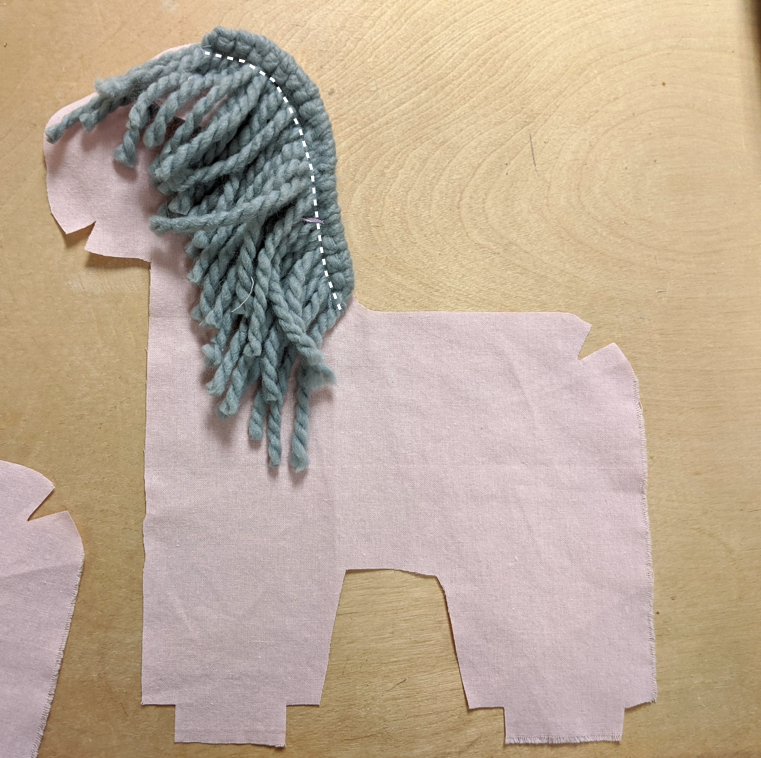
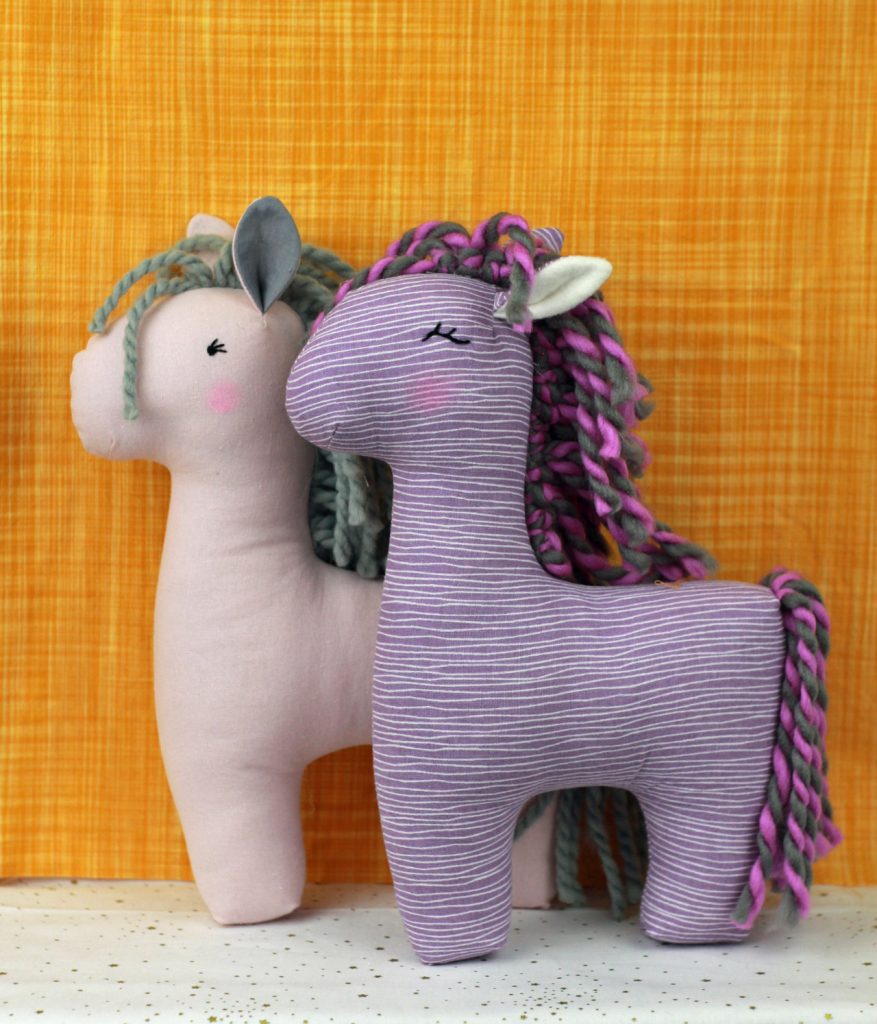
You have 2 options to attach the mane one you have it made. You can either sew it on as pictured above. This works well- especially if you have a walking foot. But make sure that you sew below the knots or it will be too bulky. The other way to attach is to hand sew the mane on after the pony is sewn and stuffed. I prefer the look of this method- even if I am the only one who notices the difference! I like how the knots look! But you do run the risk of the mane coming off if you think your kids are going to play a lot with the pony 🙂 . In the photo below, I hand sewed the purple mane on, and the pink pony has the mane sewed on by the machine. Both look great!
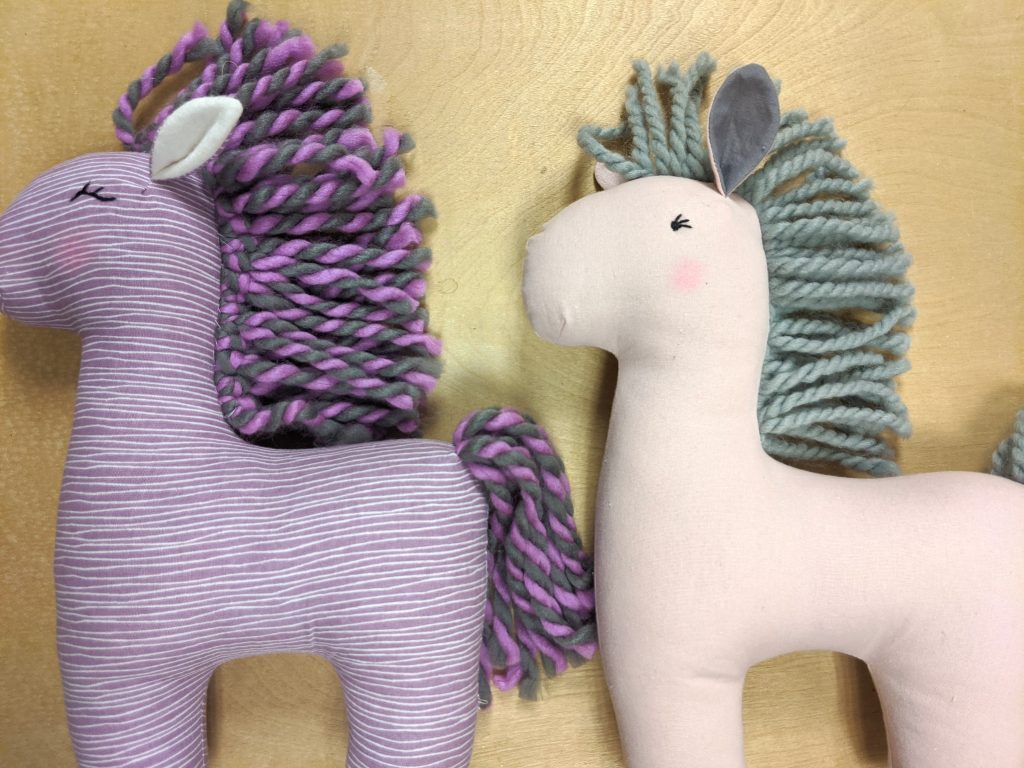
The tail is made by looping the yarn about 6 times around an 8” board. Tying one end and then inserting it into the tail opening as descibed in the Magical Unicorn Pattern. Then, after it is turned right side out, I cut the end of the loops. Very simple and easy! Let me know if you have questions in the comments below and I will try to answer! Enjoy your pony sewing!
